Scanning a Document on a GU PaperCut Printer
With PaperCut you can scan documents to your email, Box account, or Google Drive.
- Log in to the printer, either by tapping your Mobile GOCard or NFC-enabled (chip) physical GOCard on the card reader, or by following one of these alternate methods to log in to the printer.
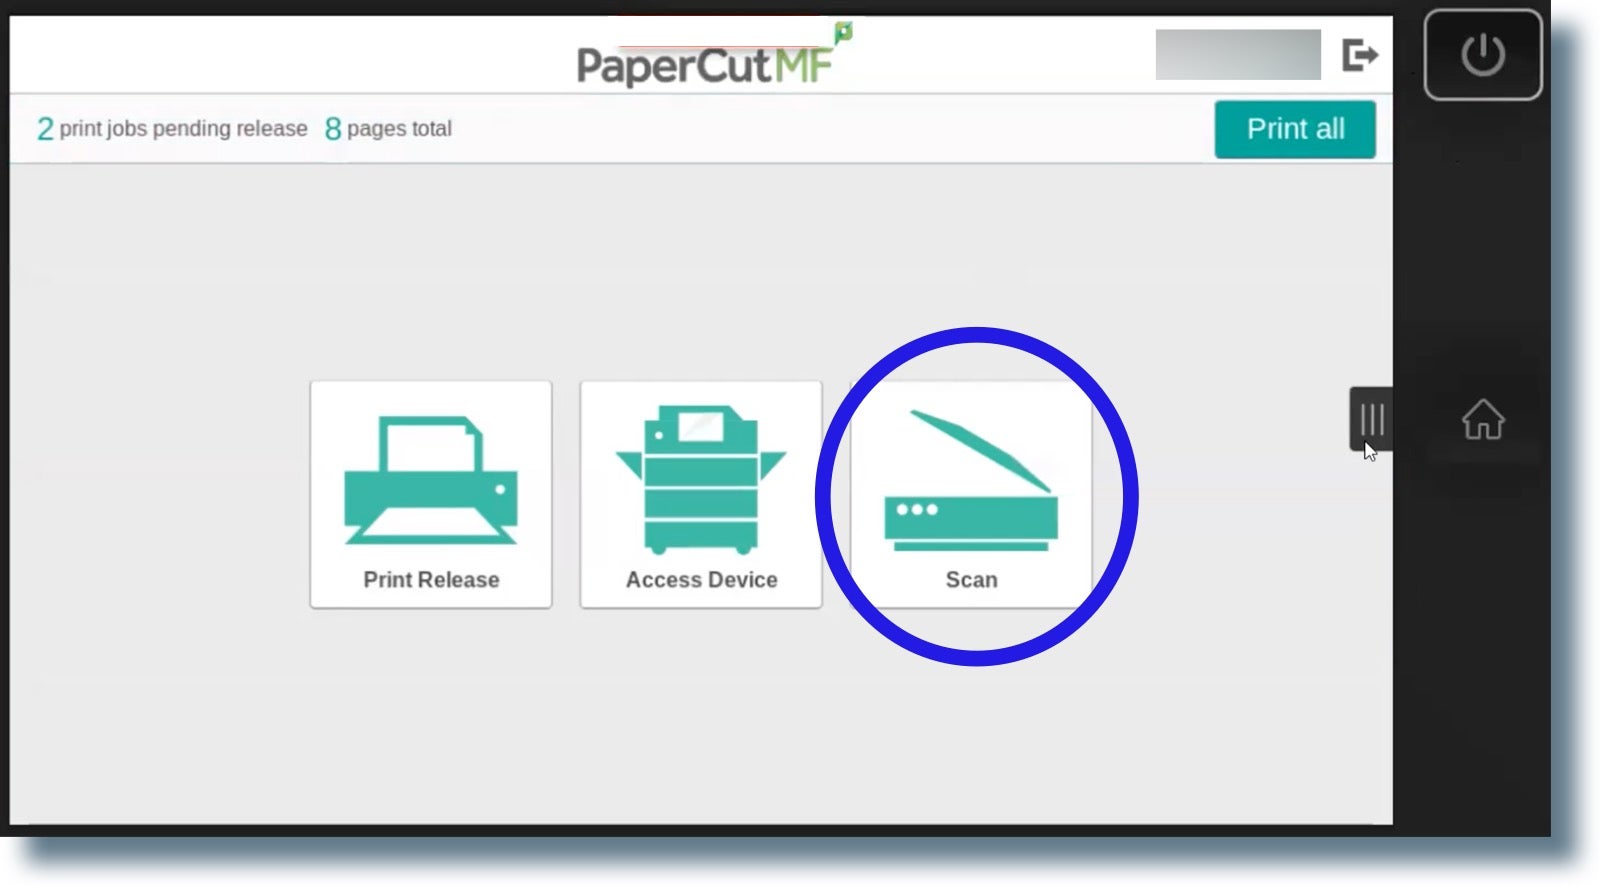
- In the next screen, select Scan.
- Select the destination. You can scan your document to your email as a PDF attachment or save it to your Box or Google Drive account.
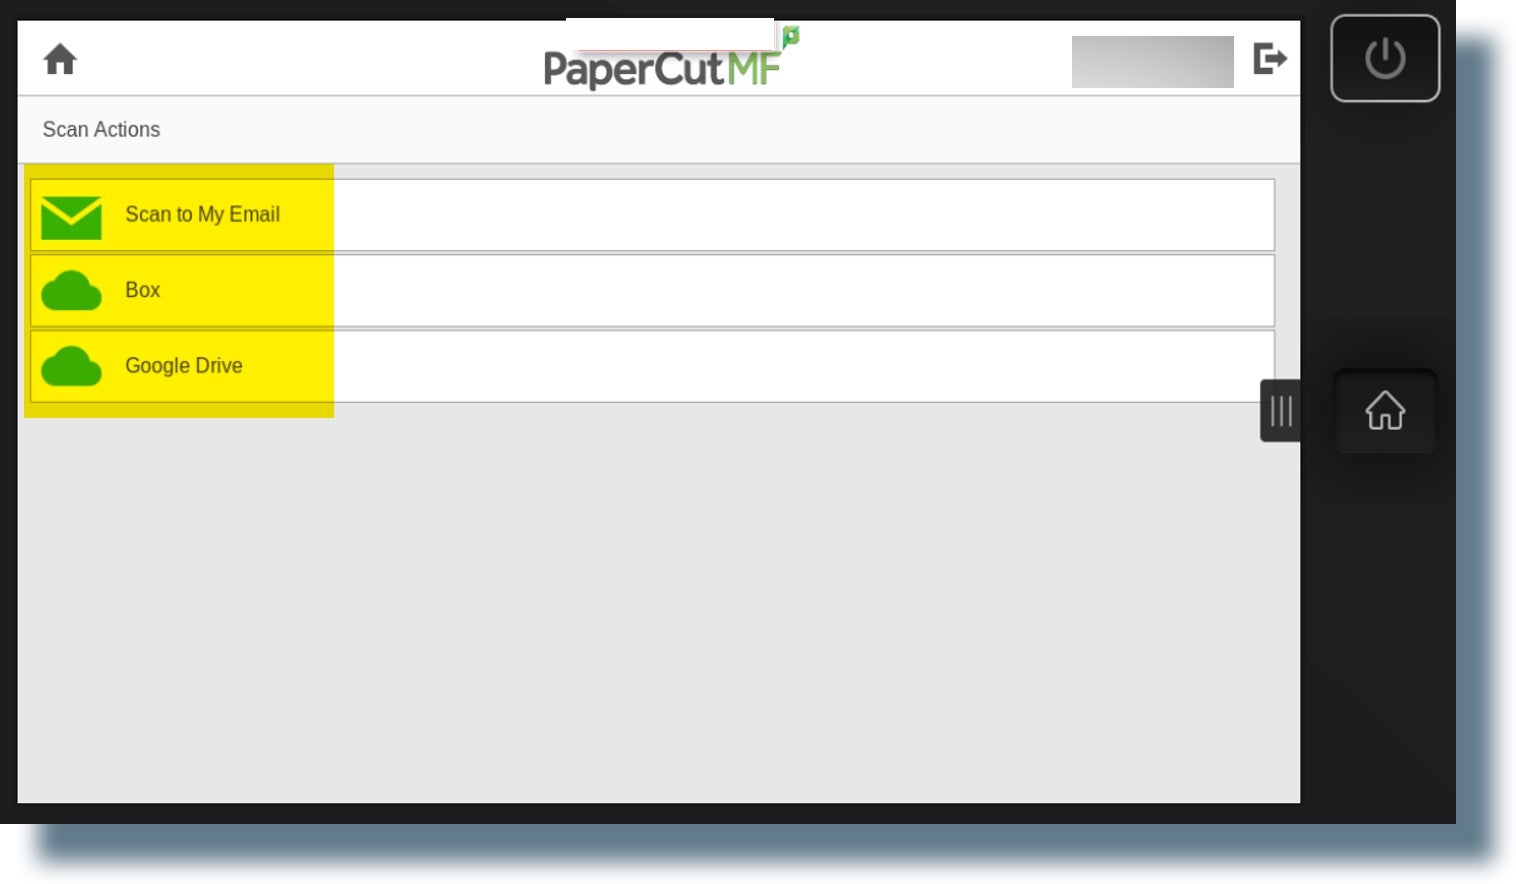
- If you choose Scan to My Email, PaperCut will compose a message to your GU email.
- If you choose Box or Google Drive, you’ll need to link your Box or Drive account to PaperCut. (Note: You’ll only need to do this once.) Check your email for a message with the link to complete the integration on first use, and then click on Login to authorize. (Note: In the example below, an email message is displayed showing that Scan to Box was selected.)
You can then access your scans from the cloud service in the Scans for PaperCut MF folder that was created when you provided authorization.
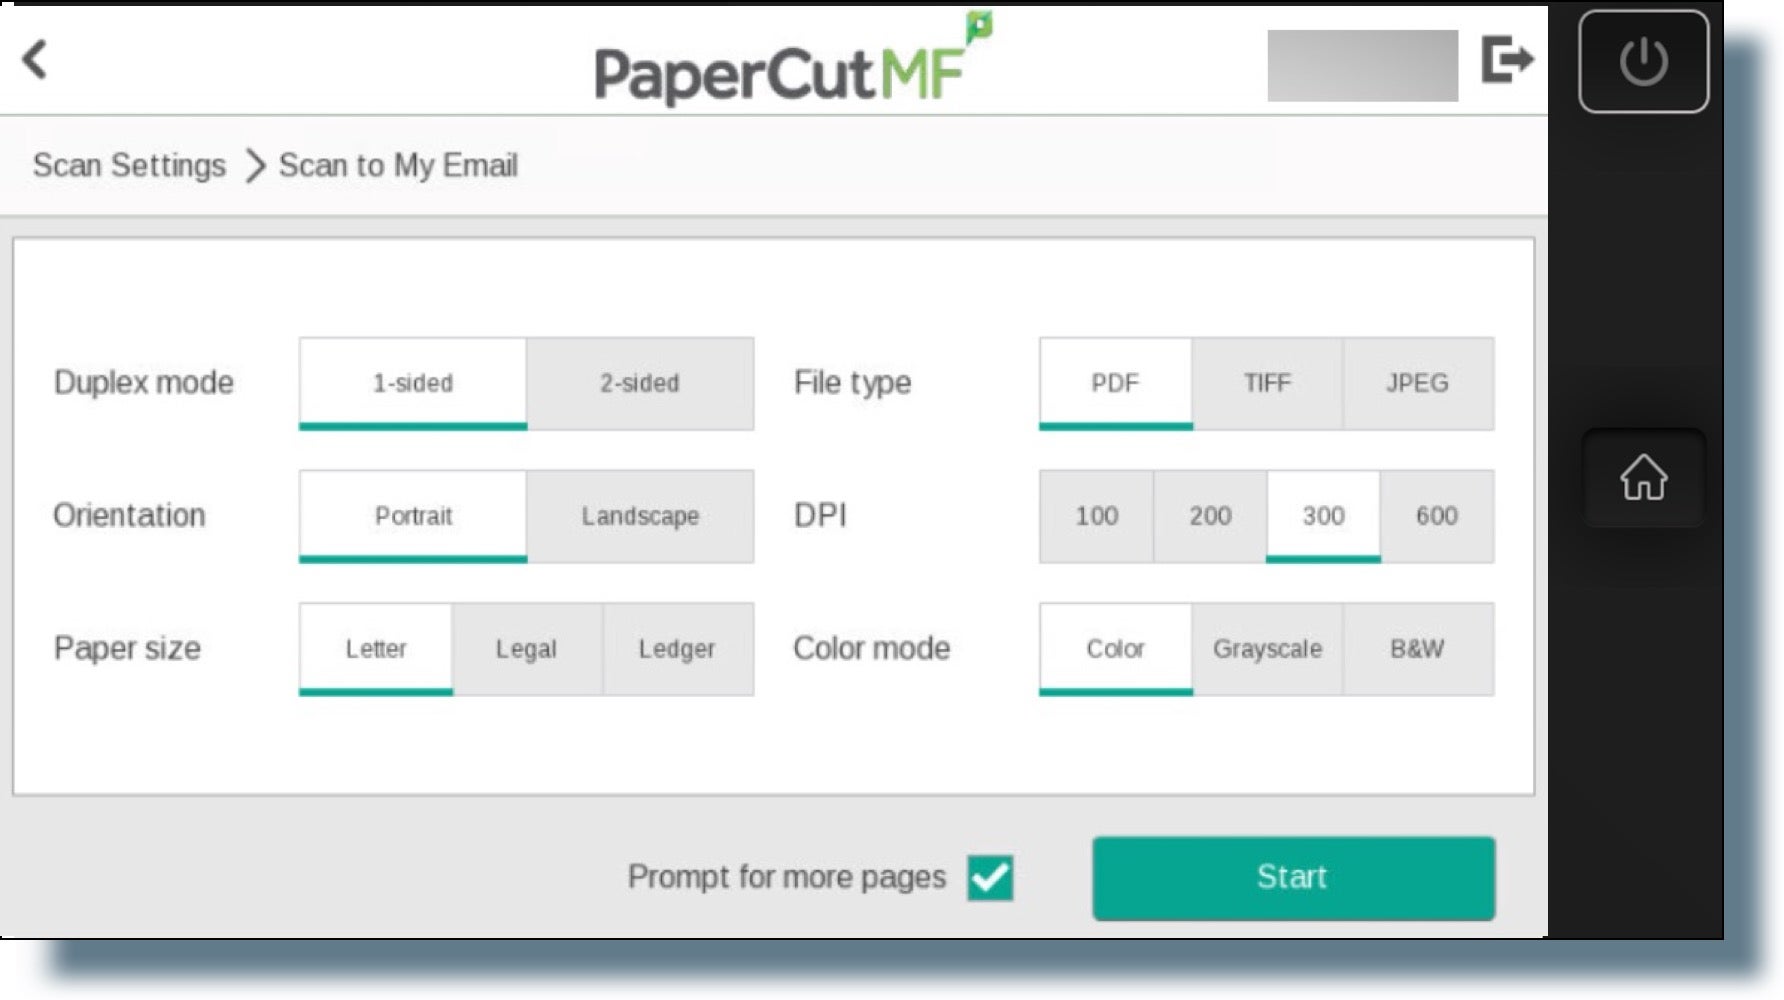
- Enter the parameters for the scan, such as prompt for next page (only needed if using the scanner glass instead of the Automatic Document Feeder (ADF) ). Enter the Email Subject and the document Filename.

You can also select Change Settings to view or change additional settings, as shown below. Click Start to begin scanning.