
Installing the PaperCut Print Client
University-Managed Computers
Mac
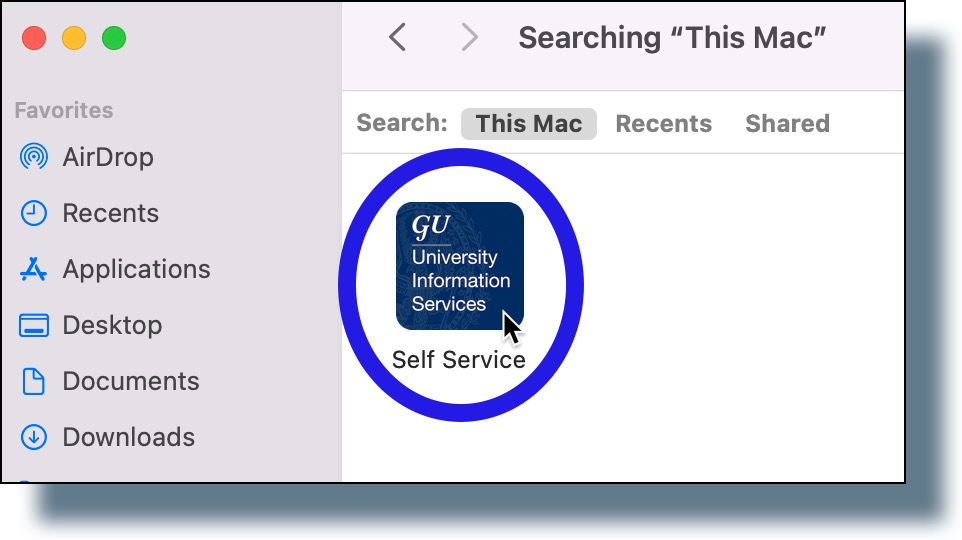
- From a Finder window, enter self service in the search text area.
- Double-click on the Self Service icon.
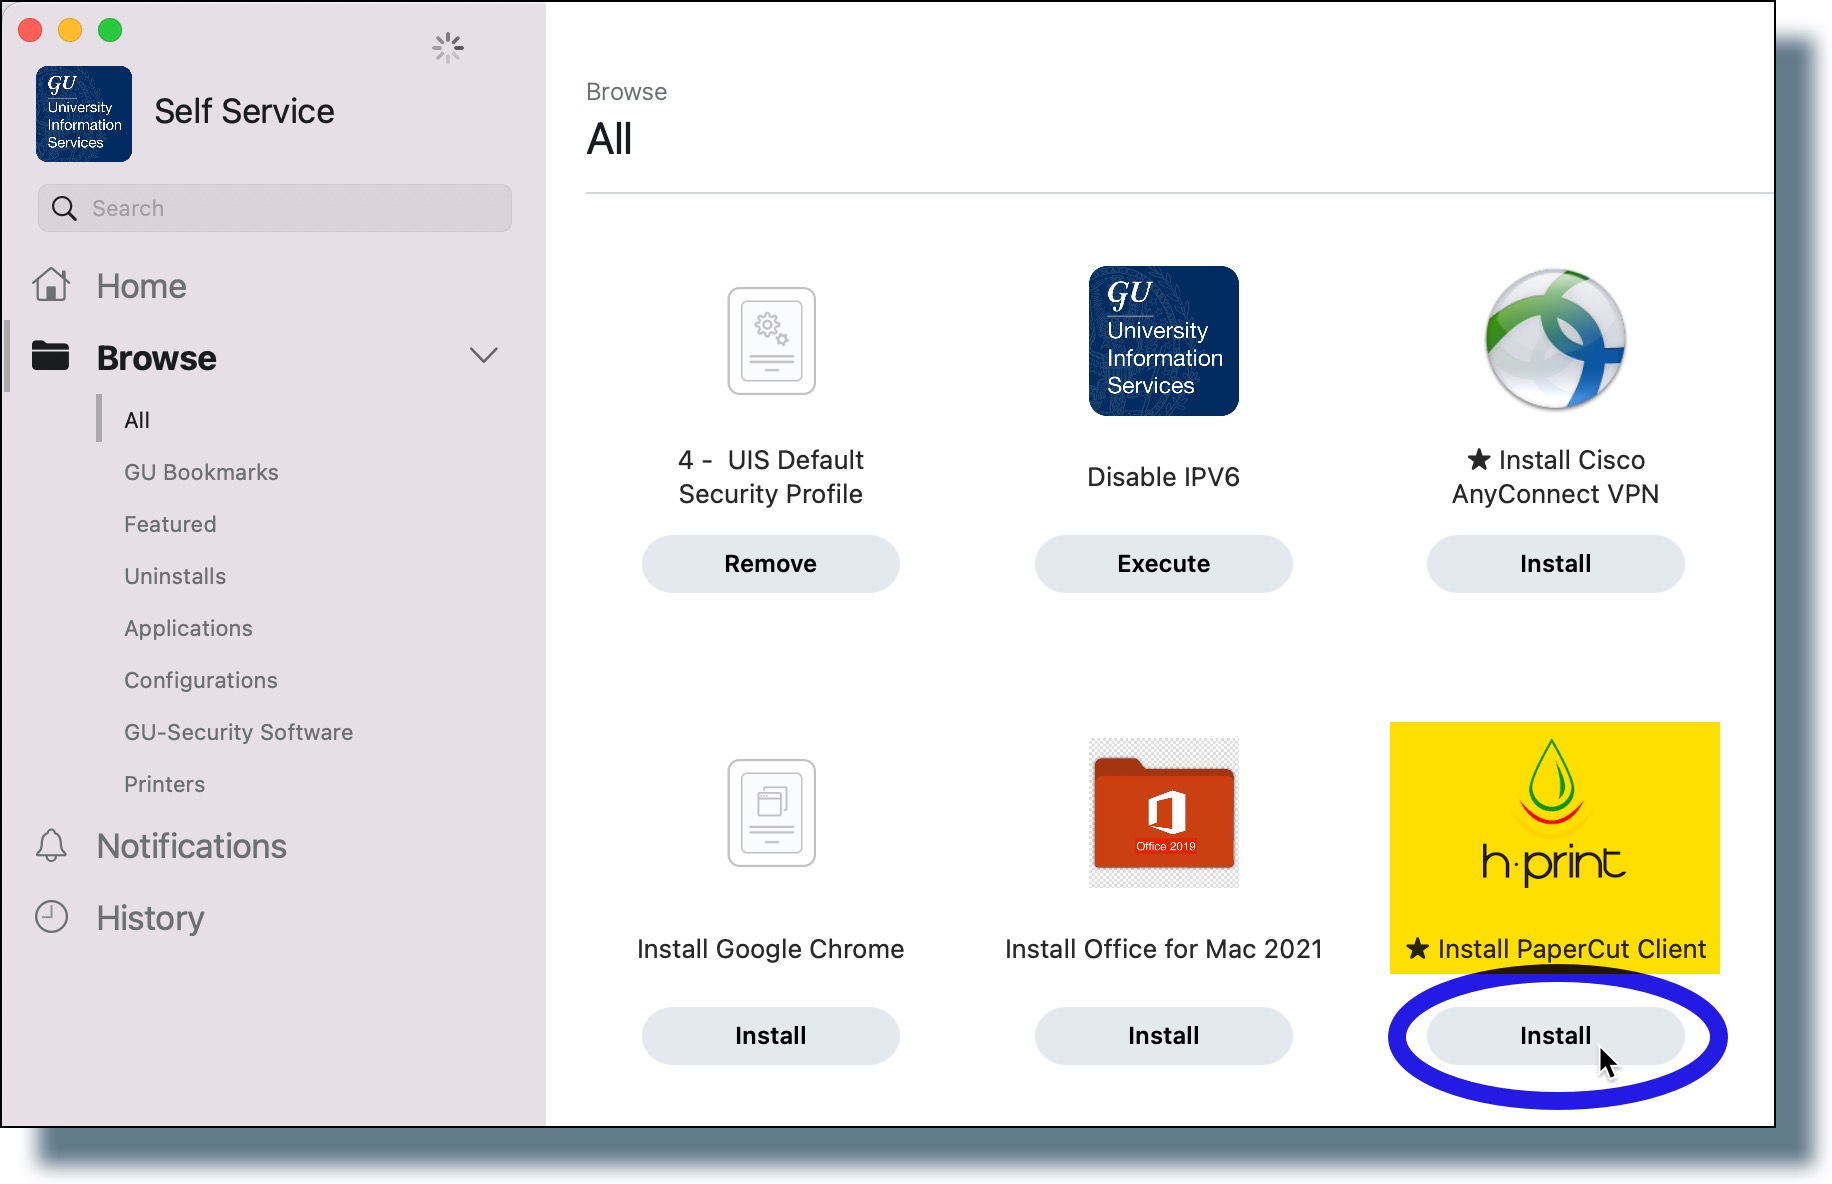
- In the Self Service window, click Install below the h.print icon that states Install PaperCut Client.
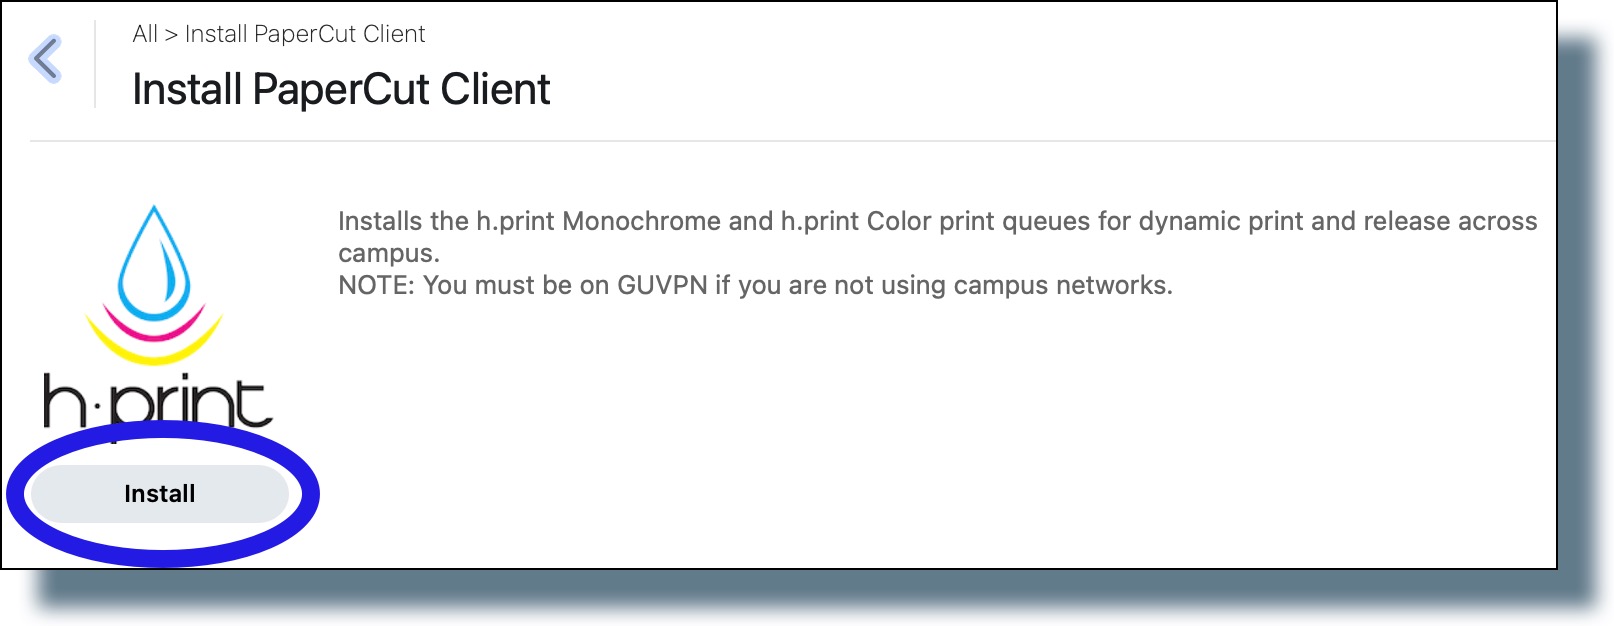
- In the next window, click Install.
After a few moments, you should see the PaperCut Client window.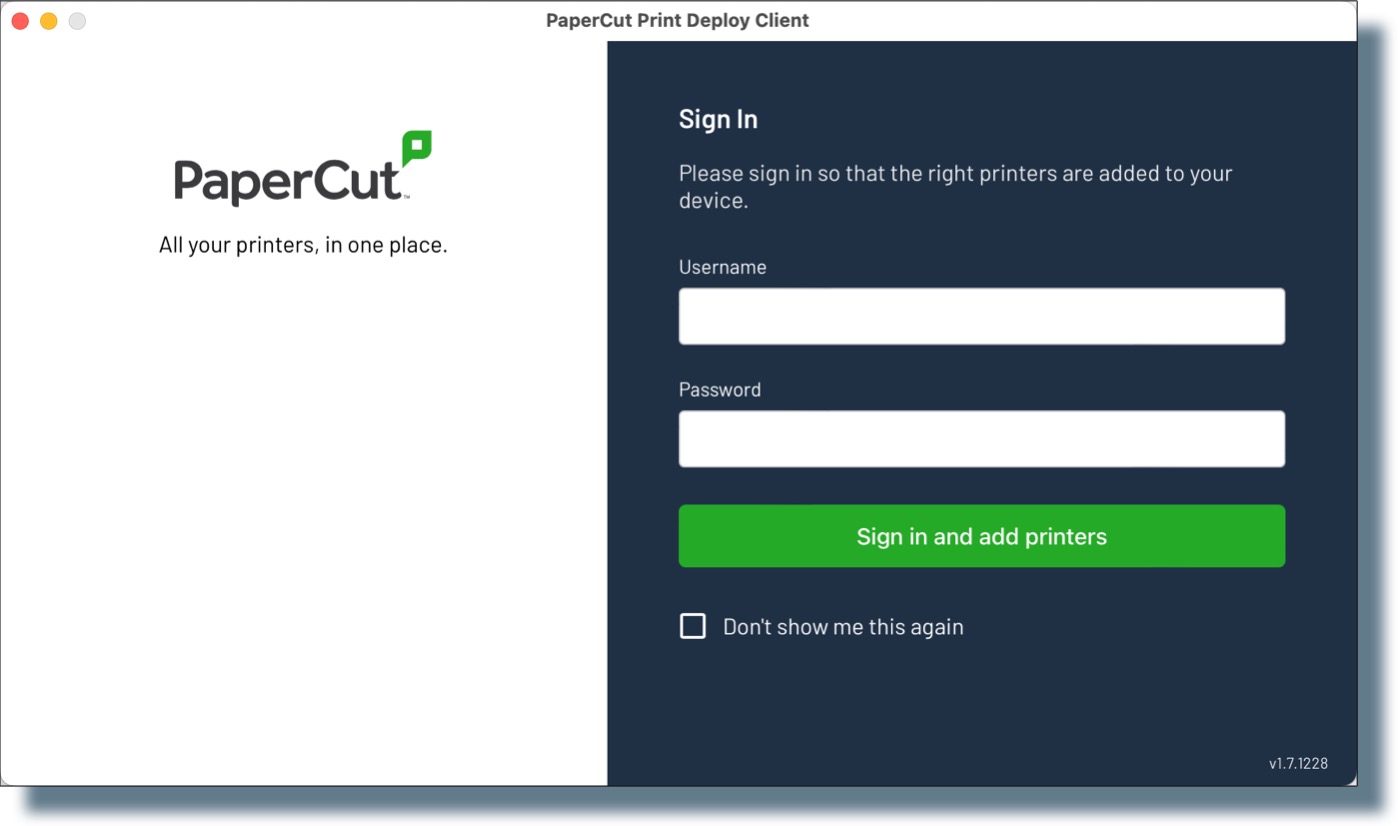
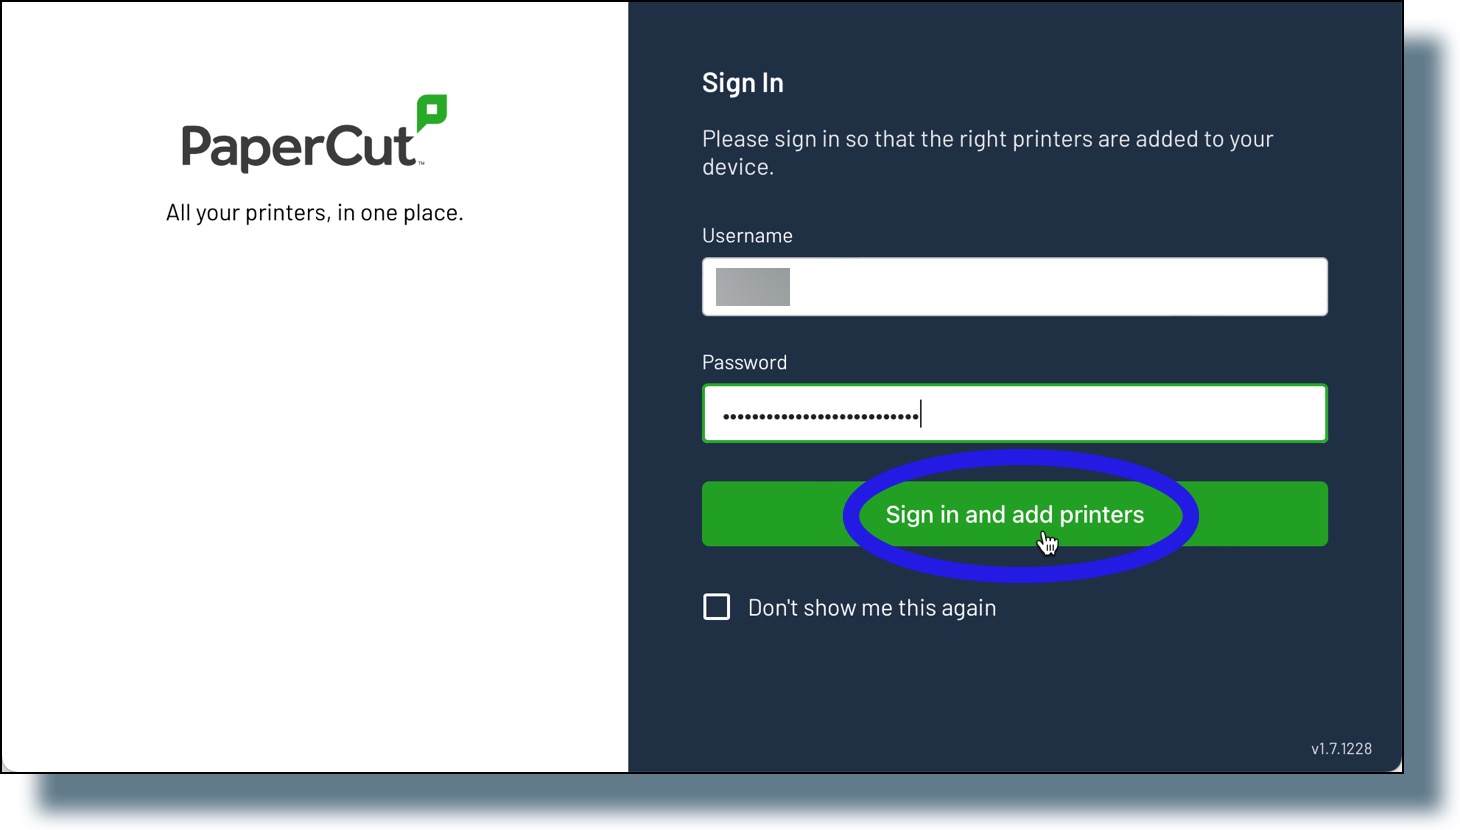
- In the PaperCut Client window, log in to the PaperCut client with your NetID and password, then click Sign in and add printers.
After a few moments, you’ll be logged in and the printers added. You should see GU_Print listed, as shown below.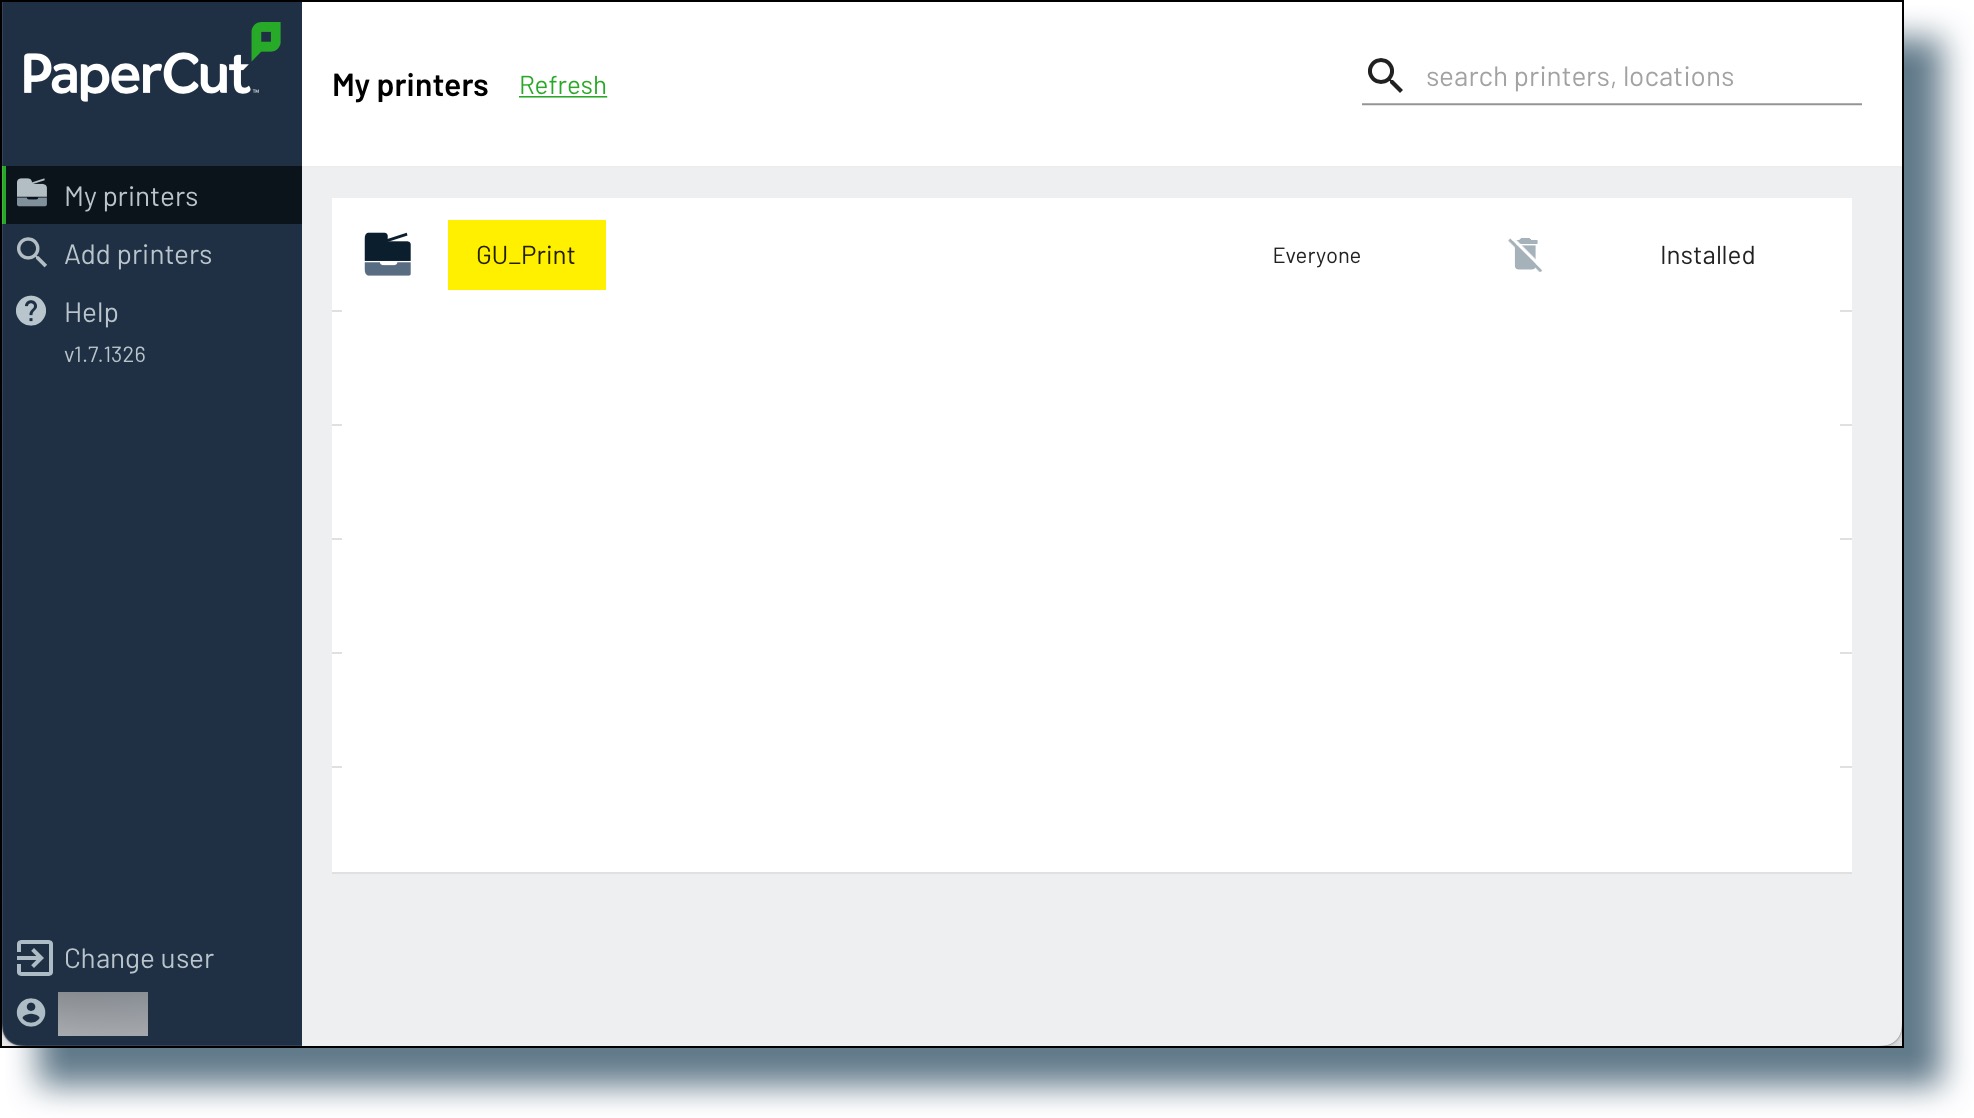
Windows
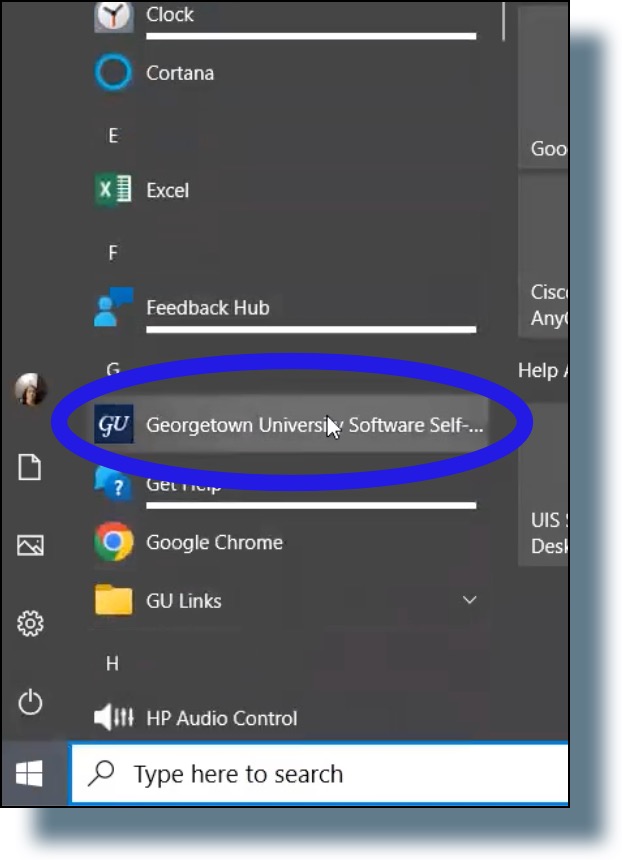
- Click on the WIndows icon on your desktop, and then select Georgetown University Self Service from the application listing.
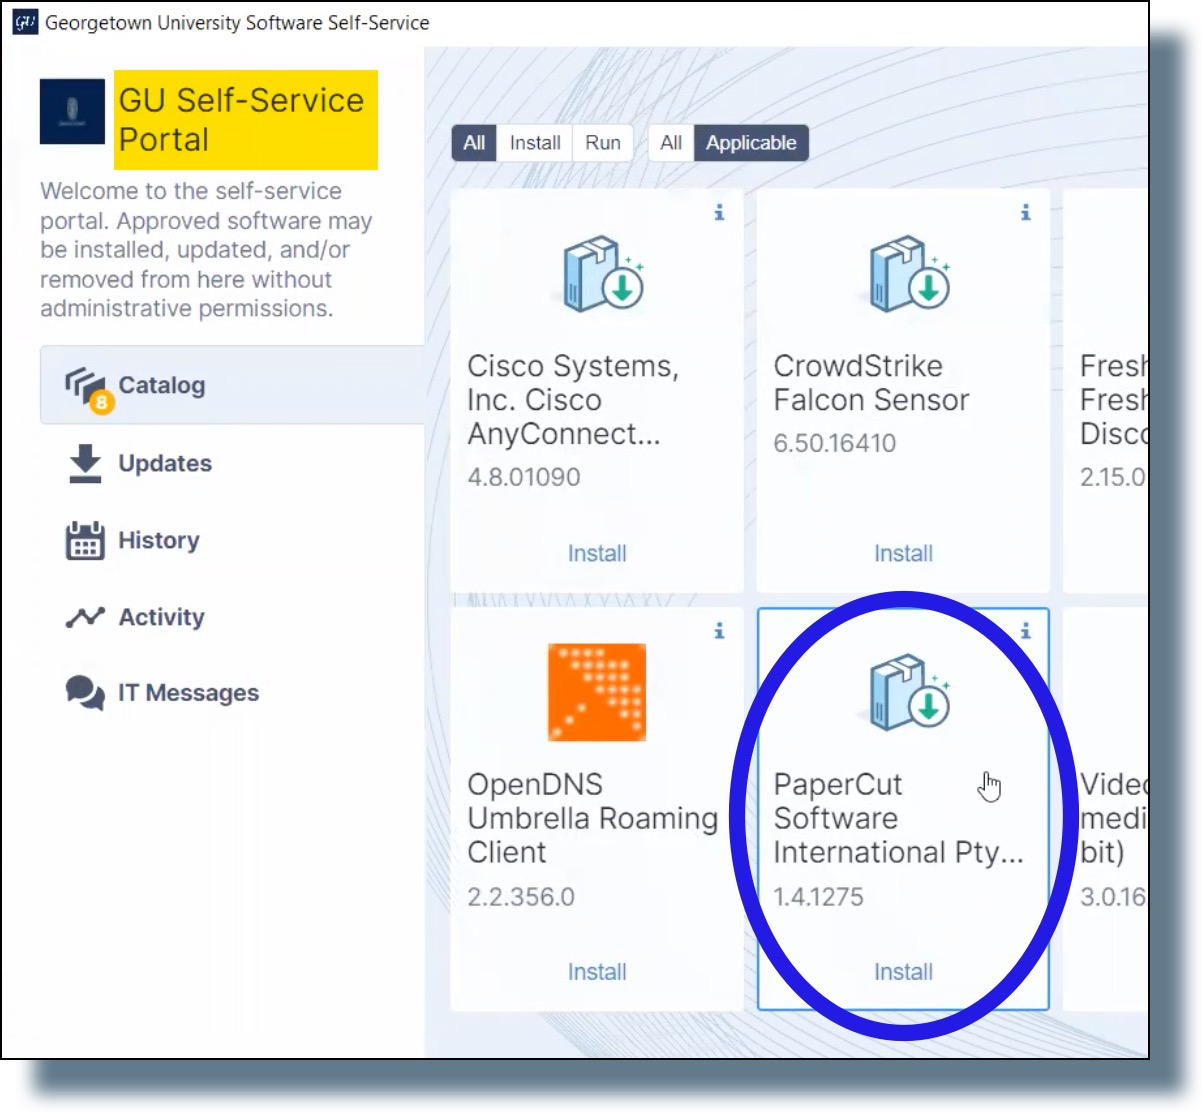
- In the GU Self-Service Portal, click on PaperCut Software International to begin the installation process.
You should see the following message: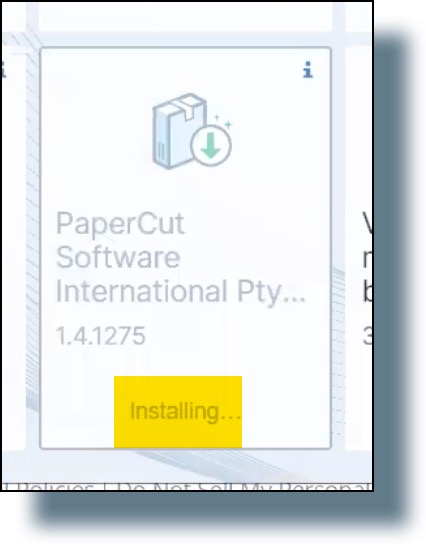
- After a few moments, the client should be installed. (You should see a PaperCut icon in your system tray, as shown below.)
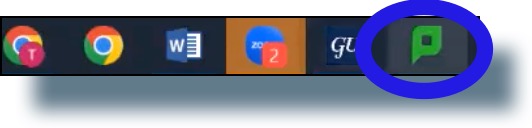
- Click on the PaperCut icon to open the client.
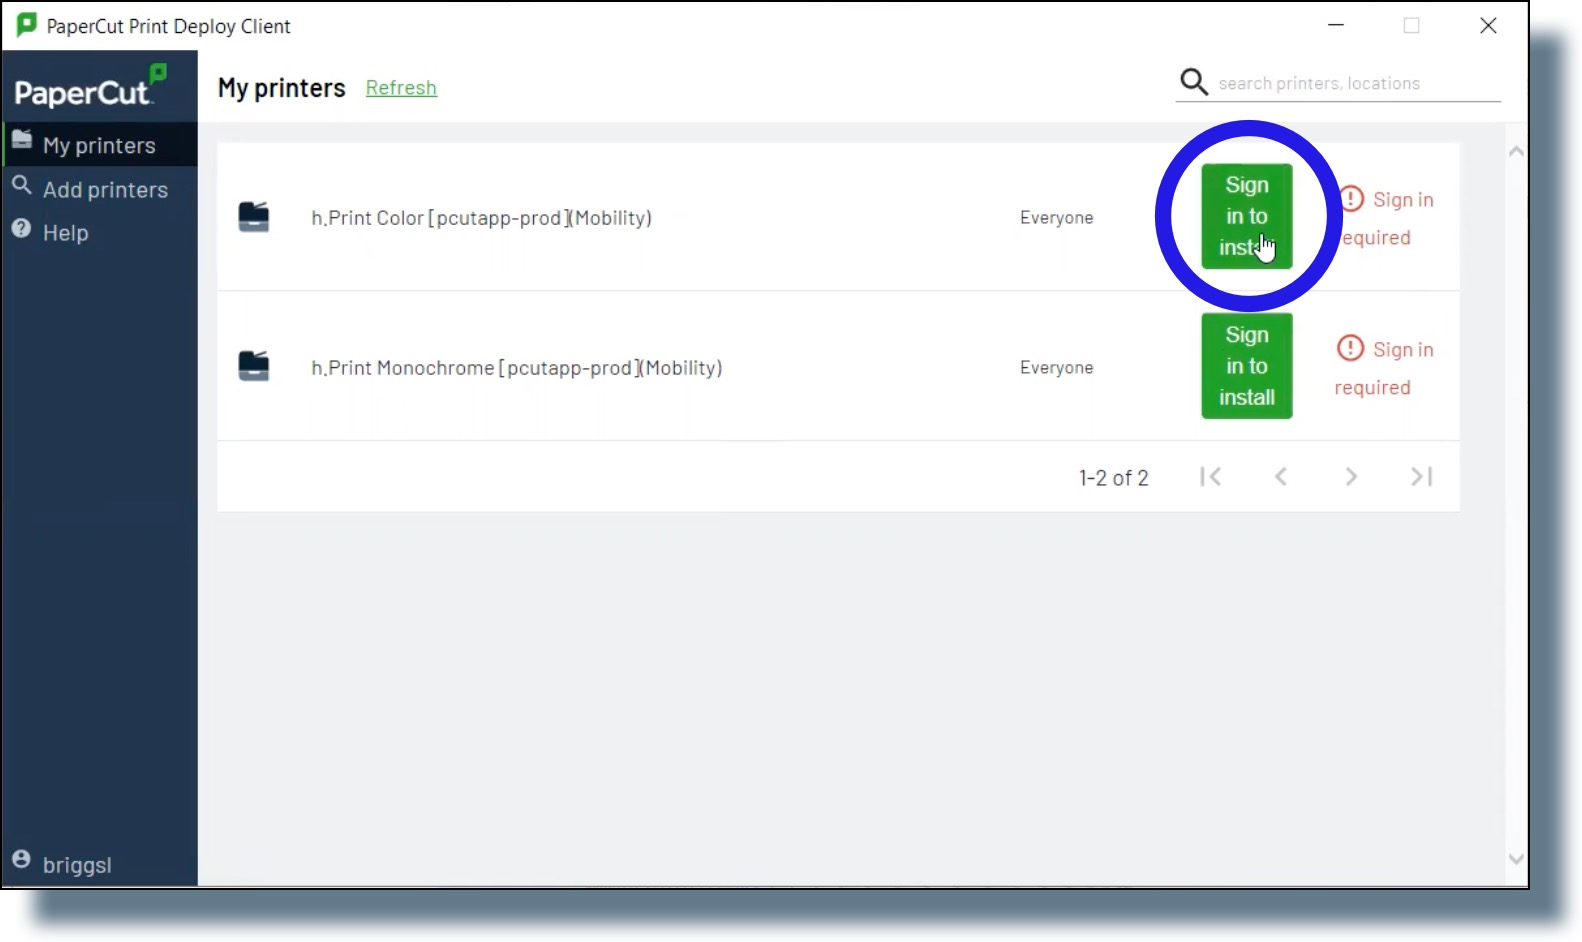
- In the PaperCut client window, click the Sign in to install button for either of the print queues shown below. (Both queues will install regardless of which button you select.)
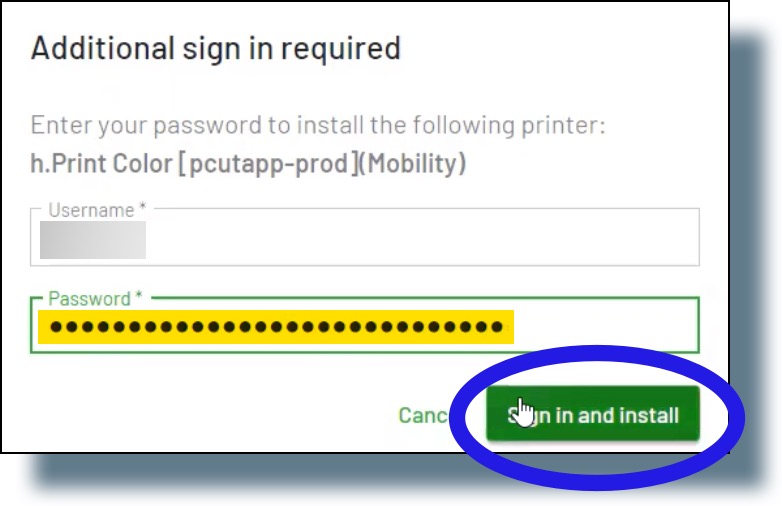
- In the next window, enter your NetID password, and then click Sign in and install.
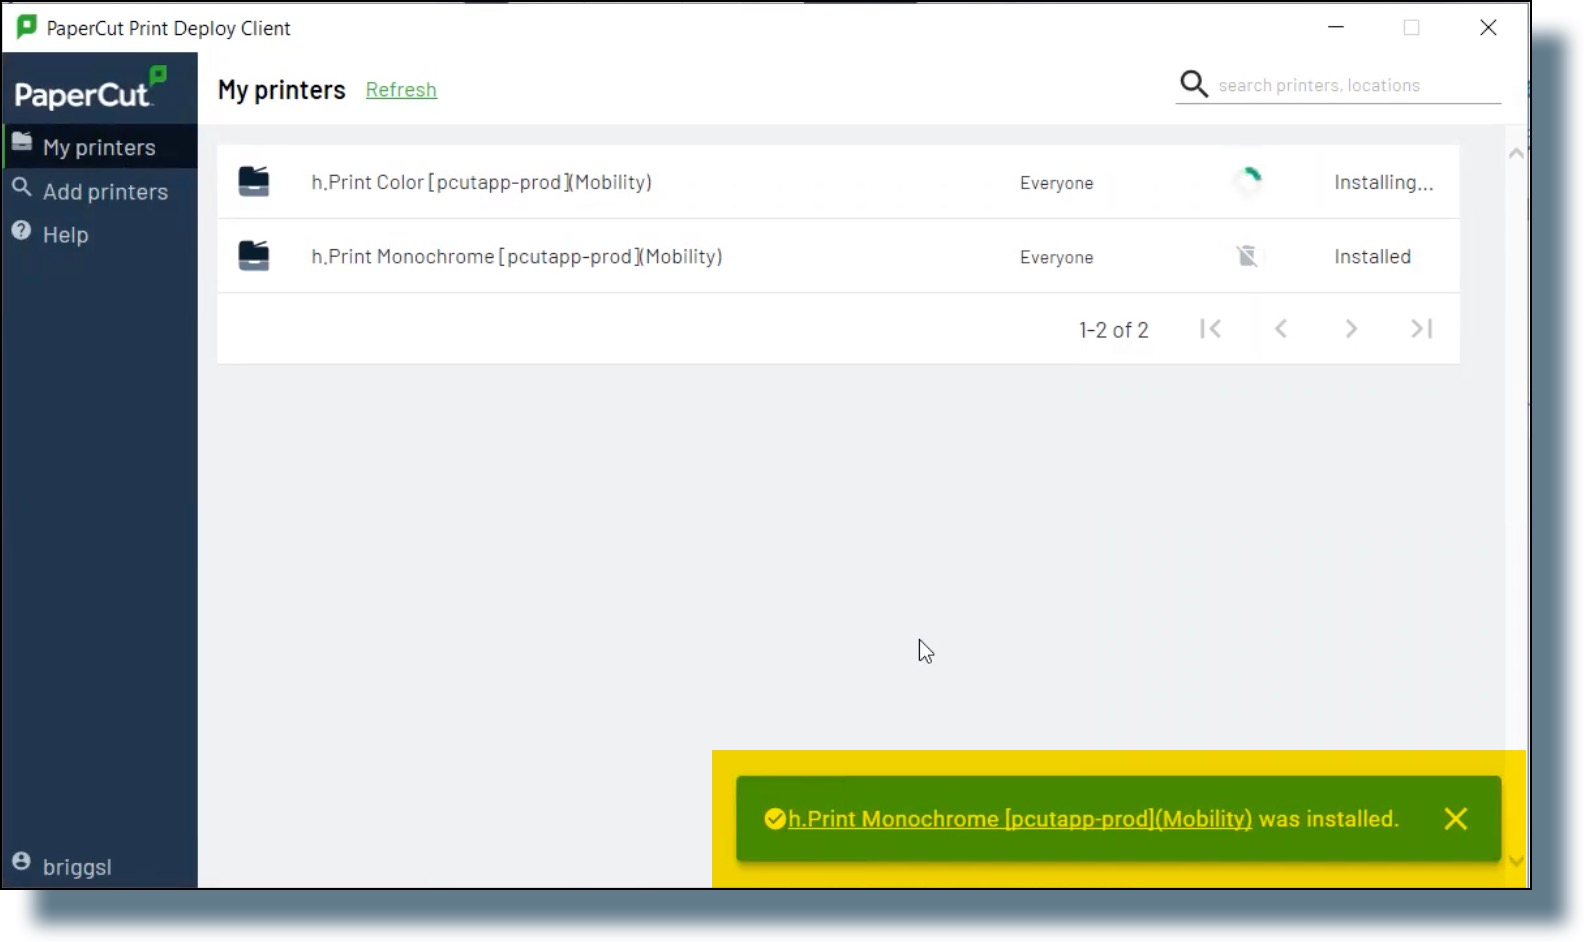
As each queue installs successfully, you should see the following confirmation messages: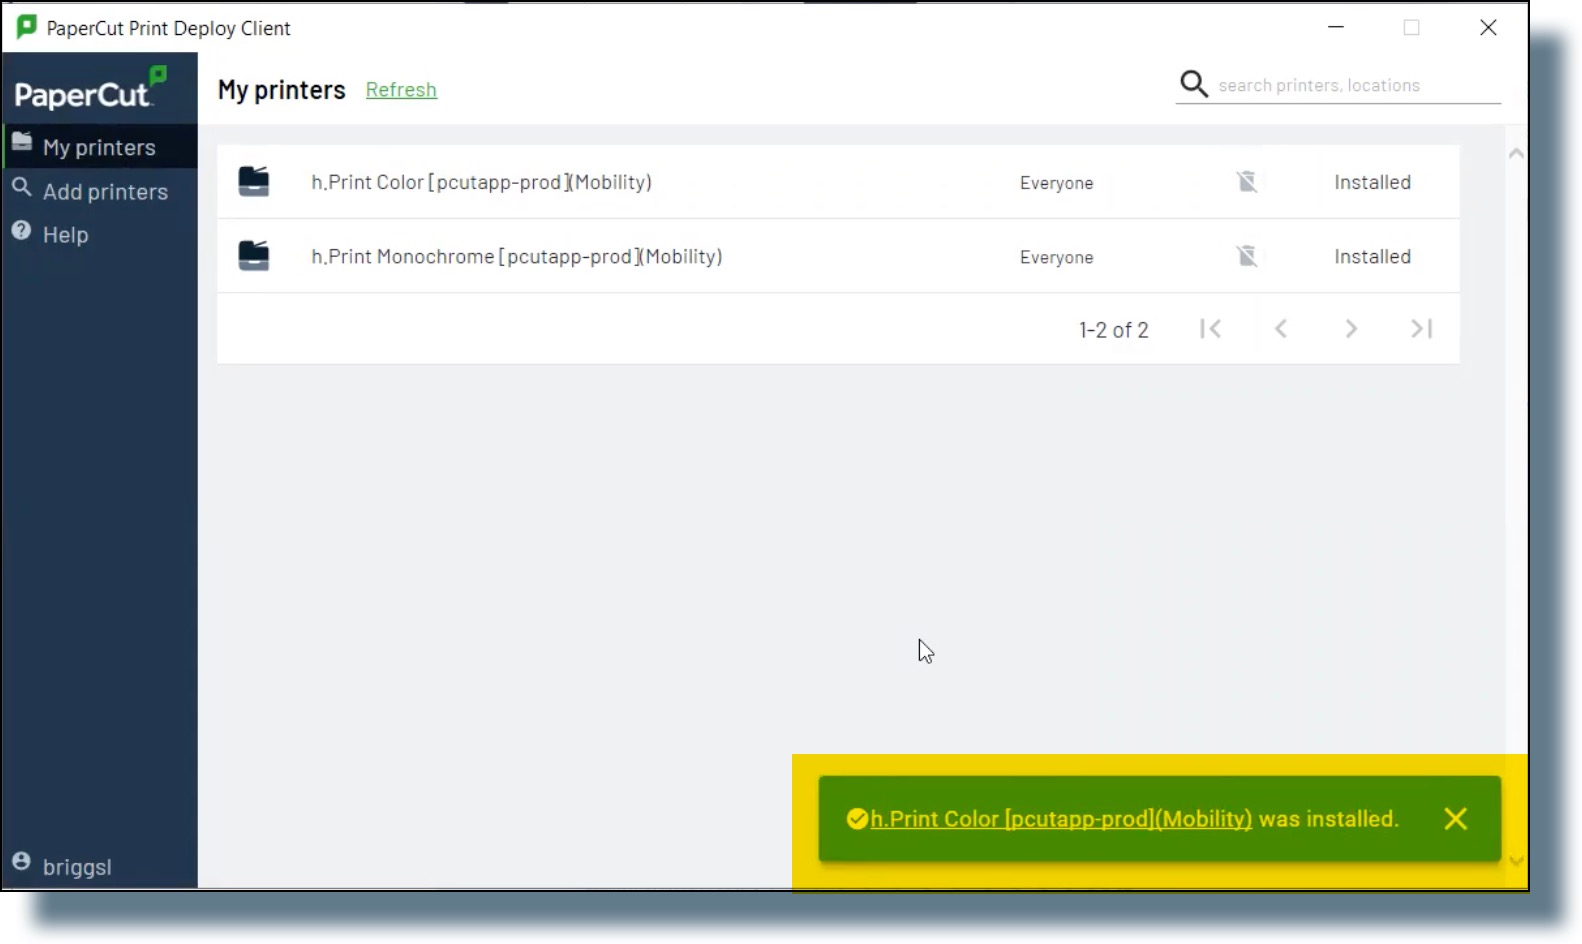
After a few moments, you should see Installed displayed next to each print queue.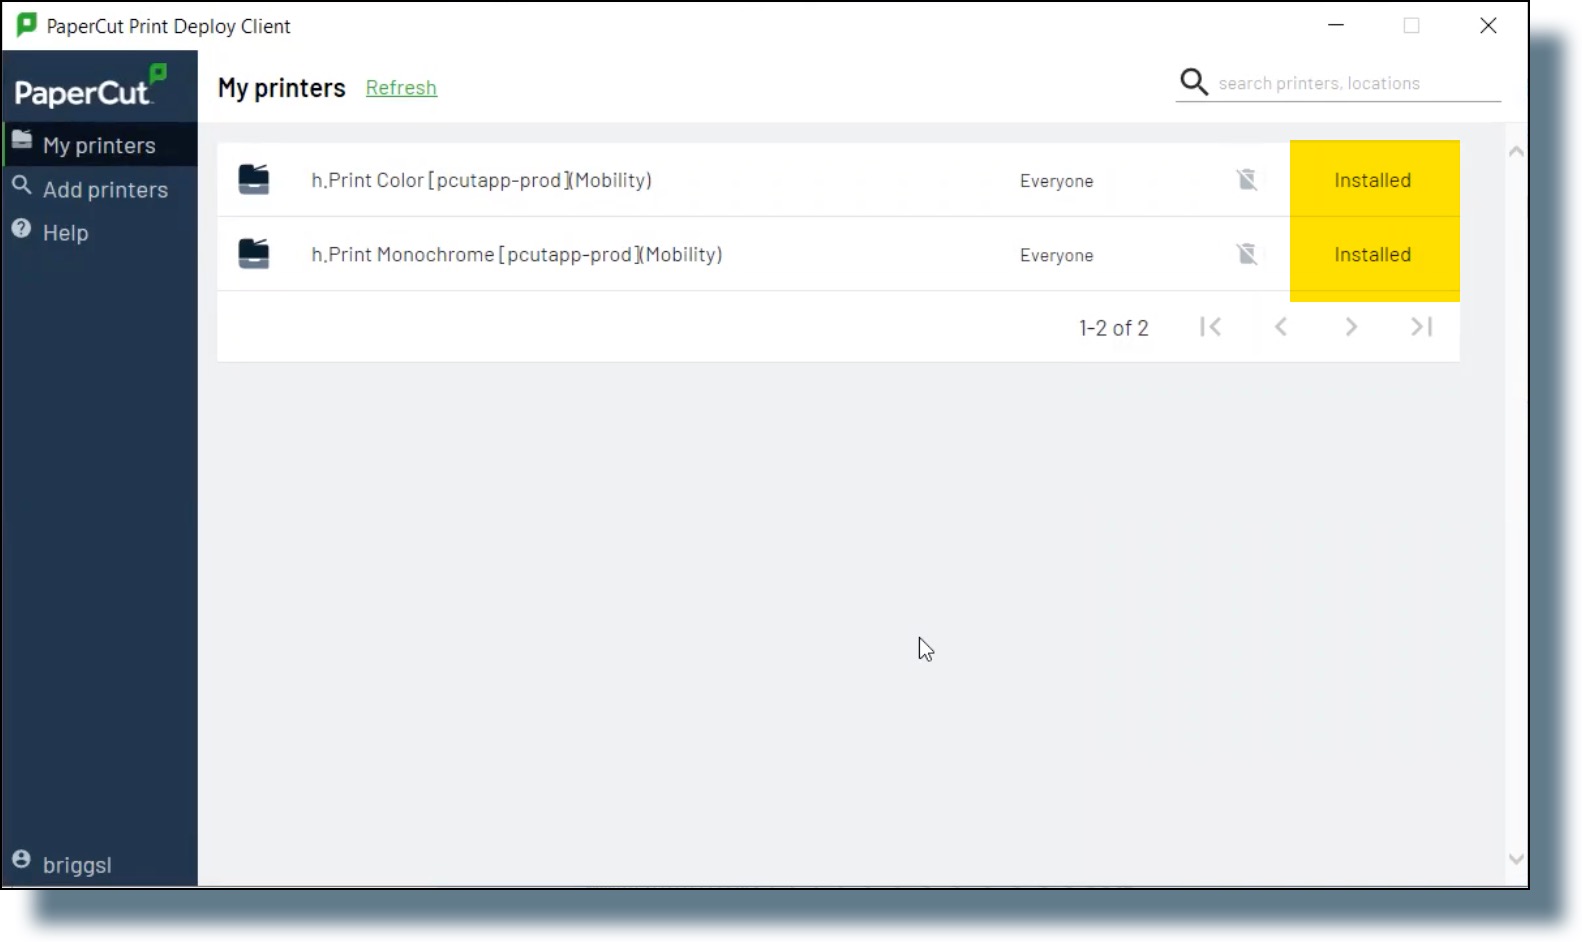
You’ve now successfully installed the PaperCut print client and the print queues. For each document you now go to print, you should see the print queues displayed in your list of printers.
iOS
- Open a browser window (you must use Safari), and then go to the PaperCut Print Mobility Client installation setup page.
- Make sure the correct operating system for your device is displayed at the top of the screen. If it isn’t, click the icon for your operating system (icons for Windows, Apple, iOS, and Android operating systems are located at the bottom of the screen), and then tap Download.
- In the pop-up stating that this site is trying to download a configuration profile, tap Allow. You should see the “Profile Downloaded” confirmation message.
- Tap Close.
- Tap the Settings icon to open your settings.
- In Settings, tap Profile Downloaded.
- Tap Install in the next window displaying “PaperCut Mobility Print for iOS”.
- Enter your device’s passcode, and then tap Install at the prompt.
- Tap Done.
Android
Note: These steps were performed using a Samsung Galaxy S9 with Android 10. You may want to refer to your device’s settings to verify whether these steps are correct for your device.
- Open a browser window, and then go to the PaperCut Print Mobility Client installation setup page.
- Make sure the correct operating system for your device is displayed at the top of the screen. If it isn’t, click the icon for your operating system (icons for Windows, Apple, iOS, and Android operating systems are located at the bottom of the screen), and then tap Install or update. Google Play opens showing the listing for the Mobility Print client app.
- Tap Install, and then tap Sign in from the pop-up window.
- In the next screen, enter your Georgetown email address and then tap Next.
- In the next screen, tap Google Workspace account.
- At the Georgetown login prompt, enter your NetID and password, and then tap Sign in.
- At the Duo prompt, tap Send Me a Push. (Note: Make sure you have your mobile device with you to accept the Duo authentication notification. Be sure to check your device for the Duo notification immediately after you tap Send Me a Push.) A pop-up window should be displayed showing your device model.
- In the pop-up window, tap Install.
In the next pop-up window, tap OK. You should return to Google Play with “Installed” displayed on the screen.
Personally-Owned Computers
Notes:
- If you use a Chromebook to print, you will need to use the PaperCut Web portal or email-to-print option to print your documents.
- You must be on campus to install and use the client.
Mac
- Click here to download the PaperCut Print Mobility Client installer file. (Note: If you are using Chrome and experiencing difficulty downloading the installer file, we recommend switching to another browser such as Safari, Firefox, or Microsoft Edge.) The installer file should download automatically to your computer’s Downloads folder.
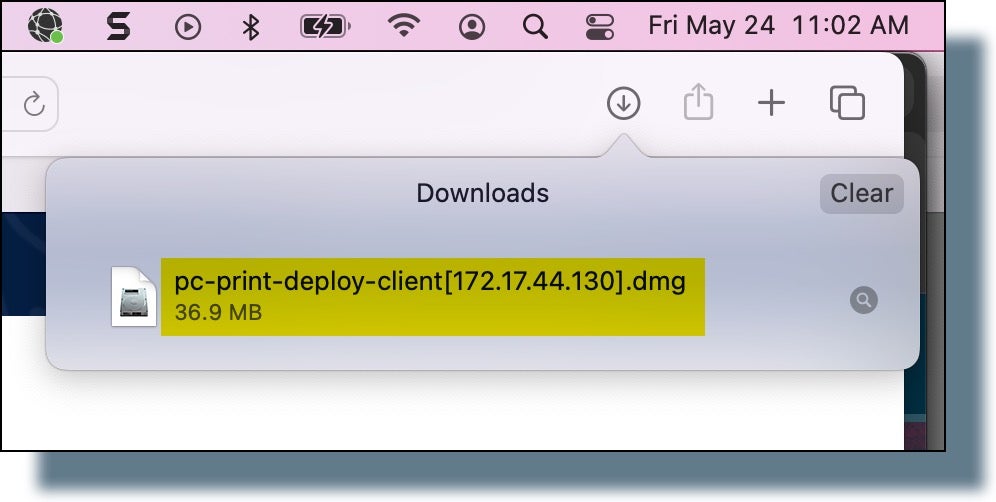
- Open a Finder window, navigate to the Downloads folder, locate the file pc-print-deploy-client [172.17.44.130].dmg, and then double-click on the file.
- In the pop-up window displayed, double-click on PaperCut Print Deploy Client.pkg.

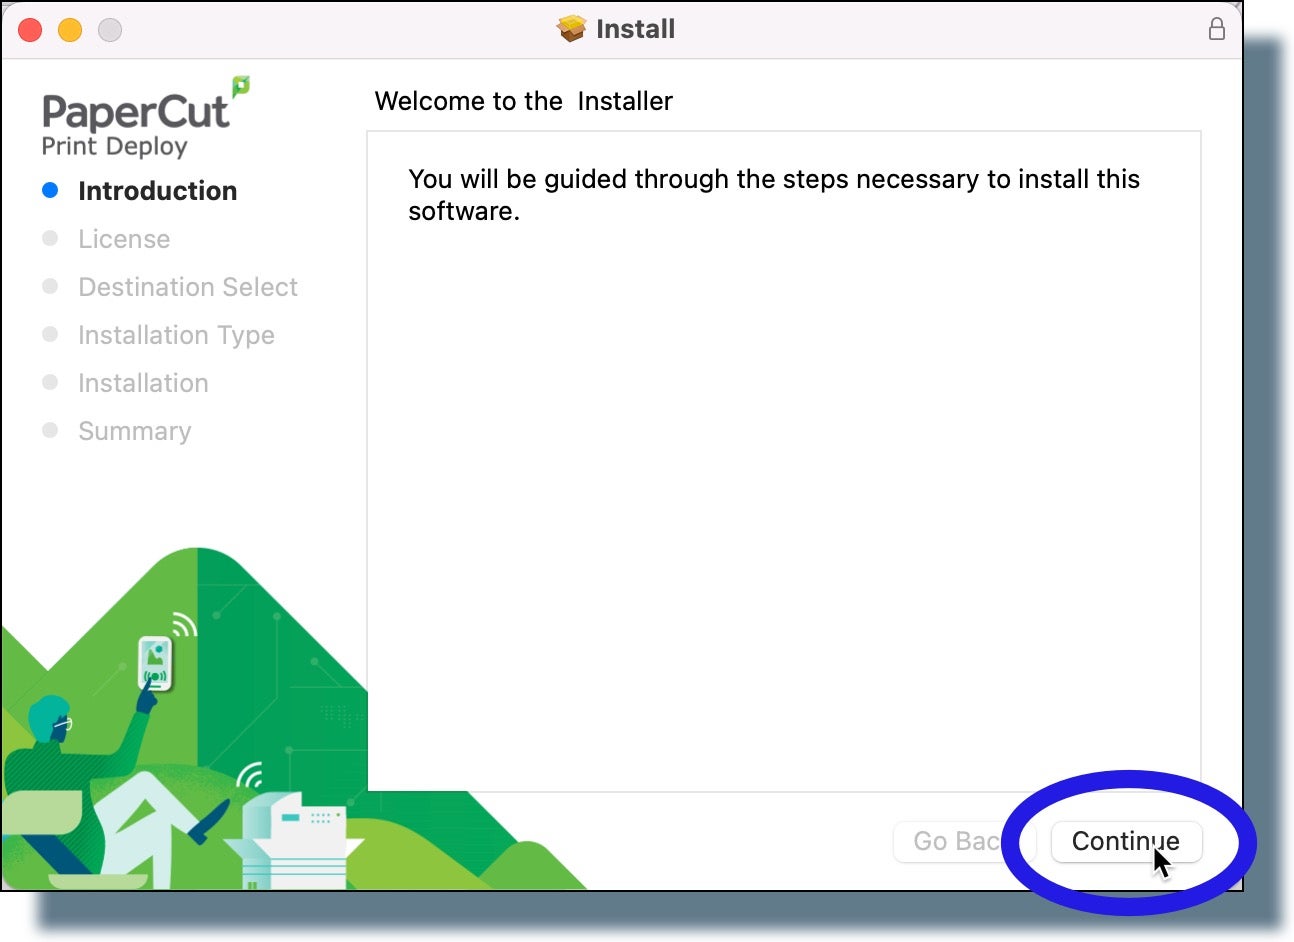
- Click Continue in the installer welcome window.
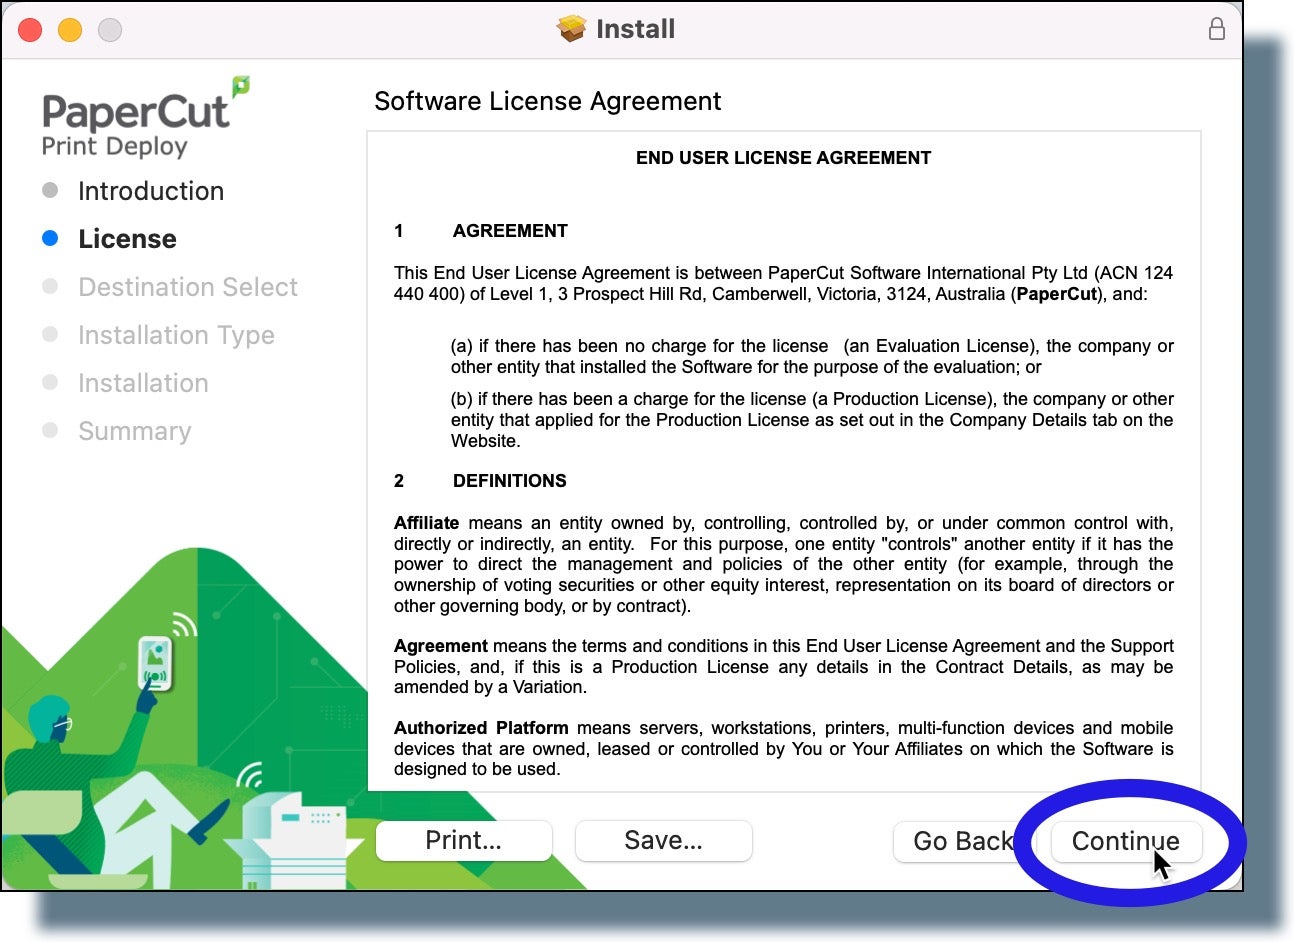
- Click Continue in the next window displaying the software license agreement.
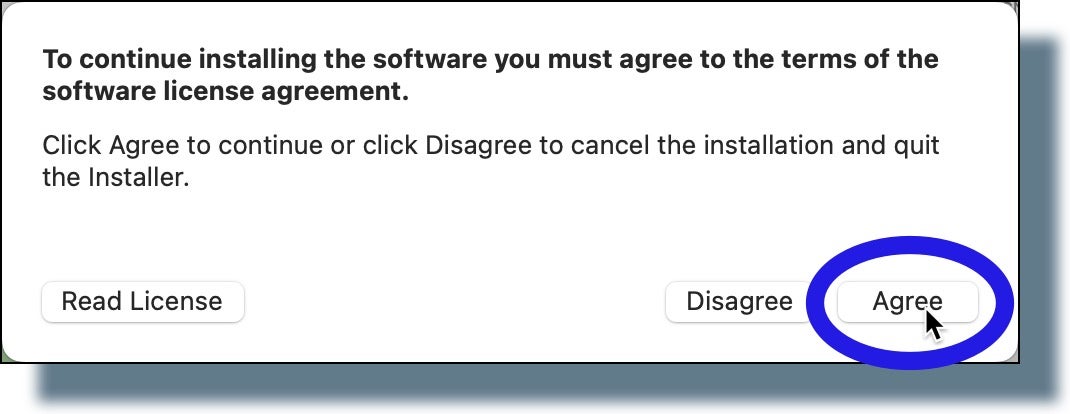
- Click Agree in the next window to accept the license agreement.
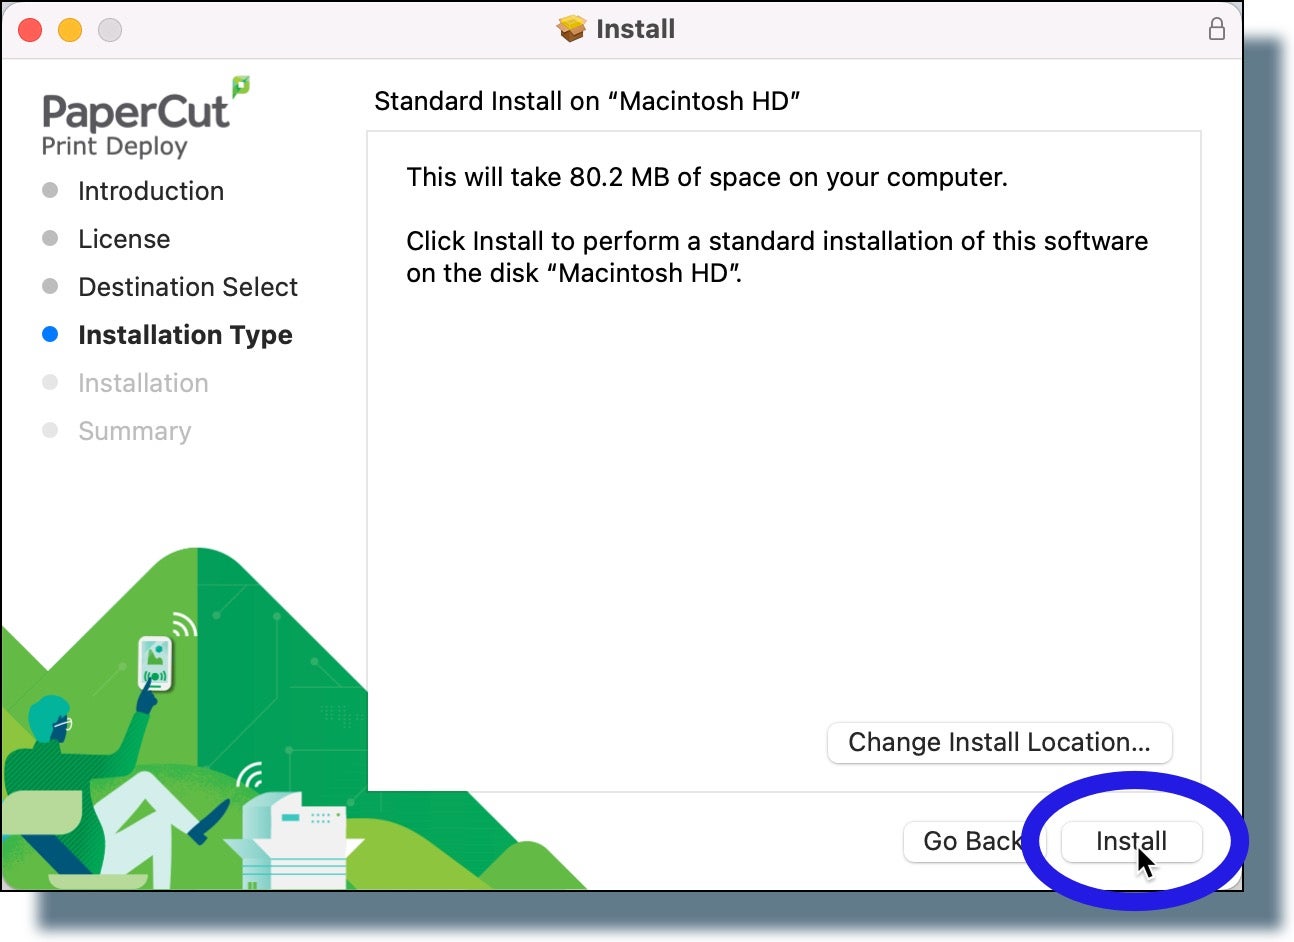
- Click Install in the next window.
- Authenticate to allow the installer to install the PaperCut client by either using Touch ID (if available) or using the password option.
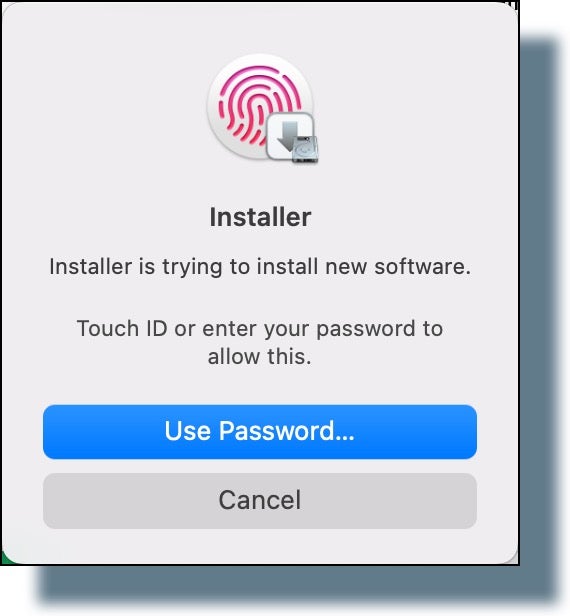
If you use the password option, click Use Password, enter your computer’s password, and then click Install Software.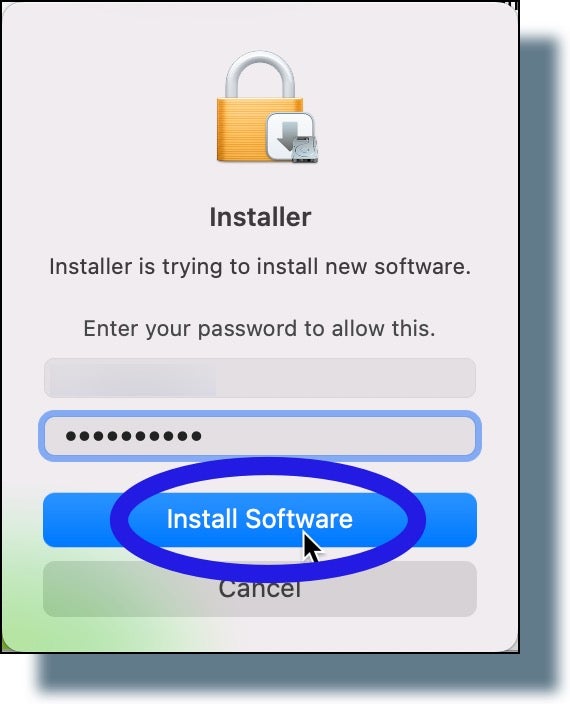
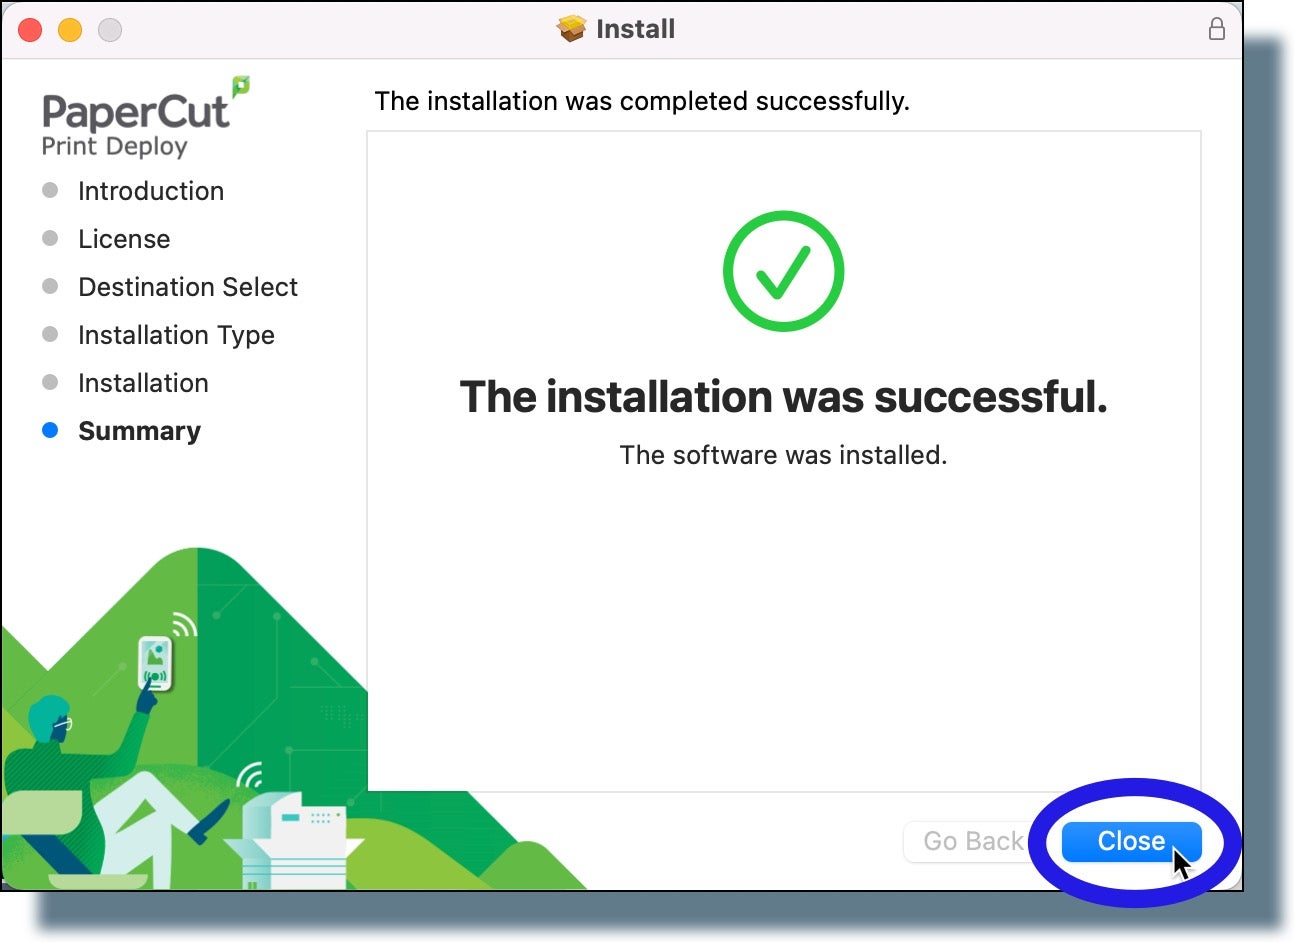
The installation process starts. In a few moments, the installation should complete. - Click Close in the installation confirmation window.
You should see the PaperCut client main screen.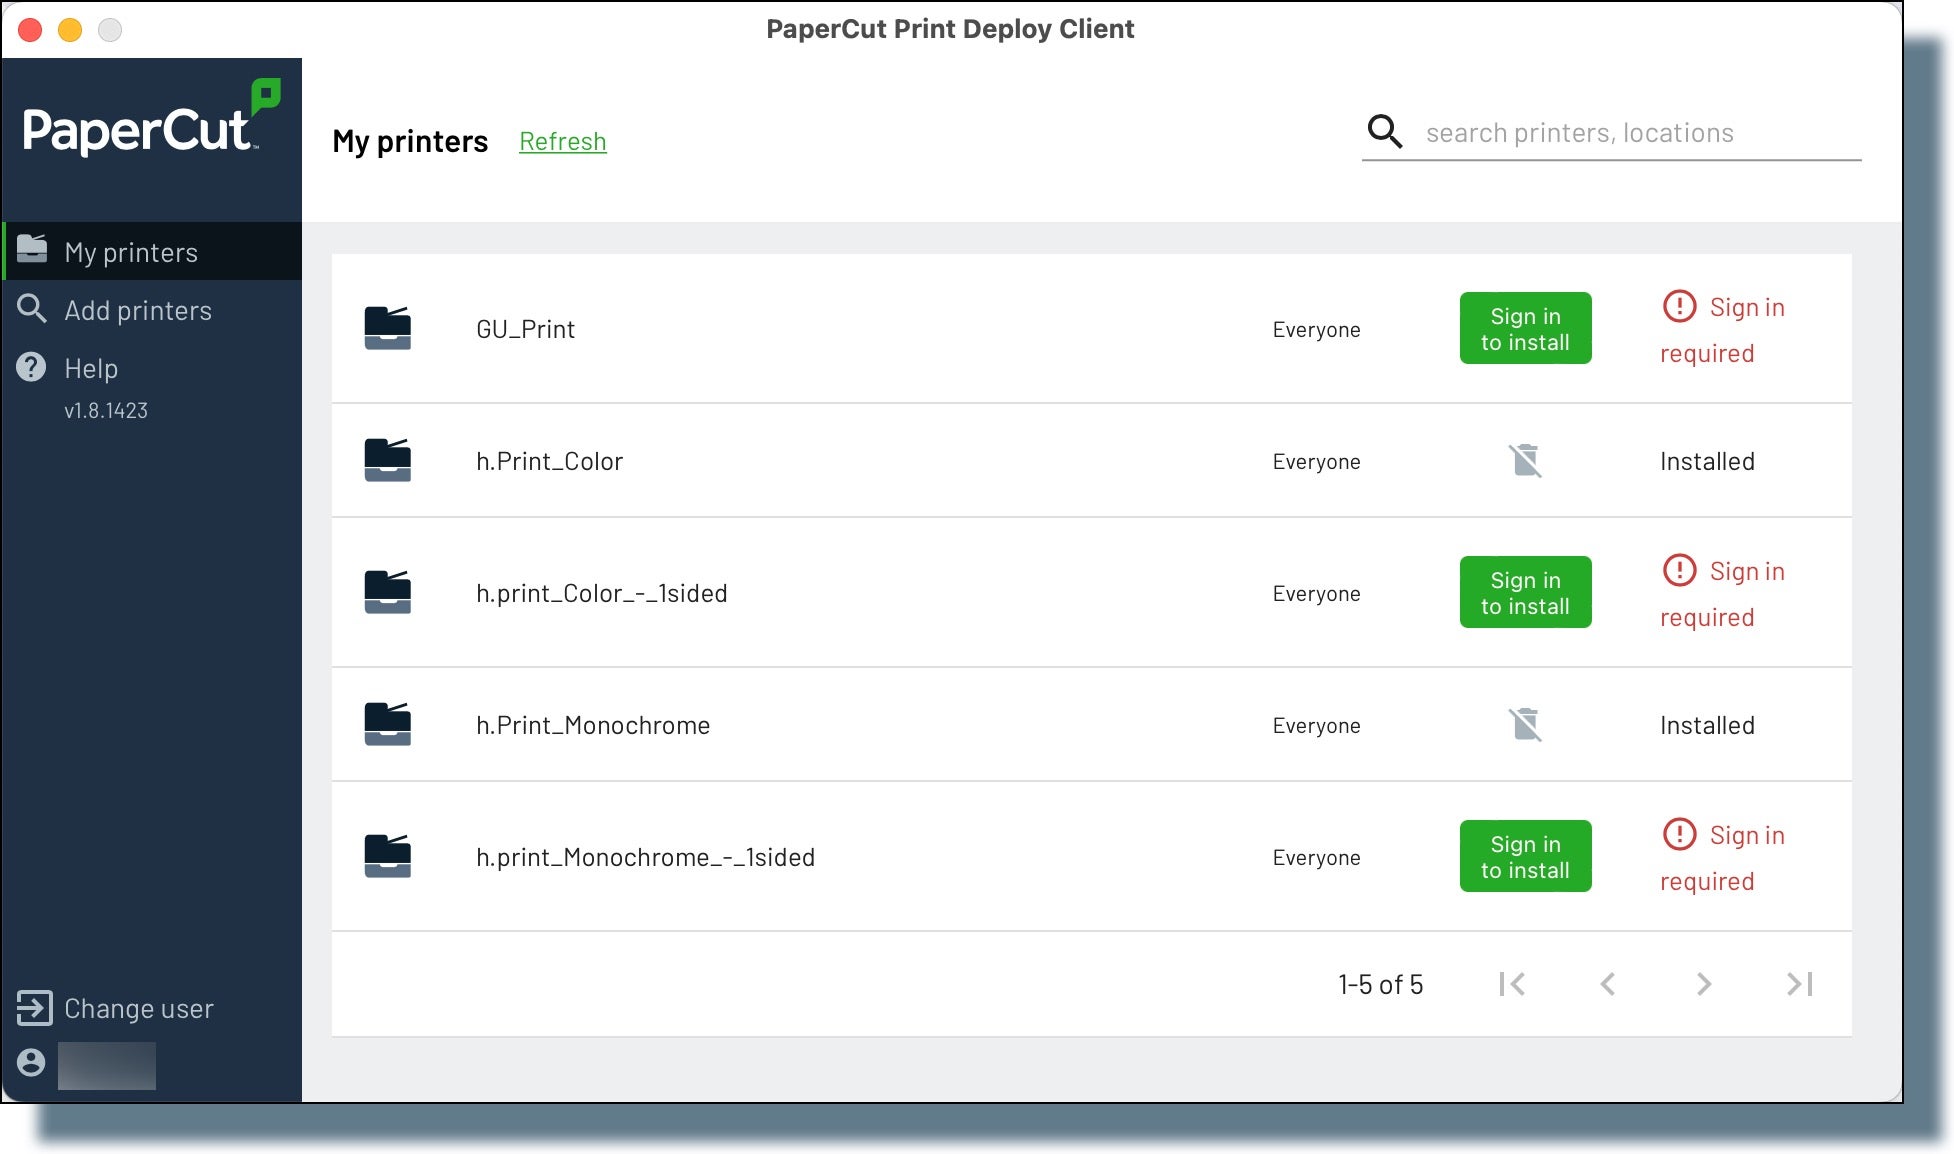
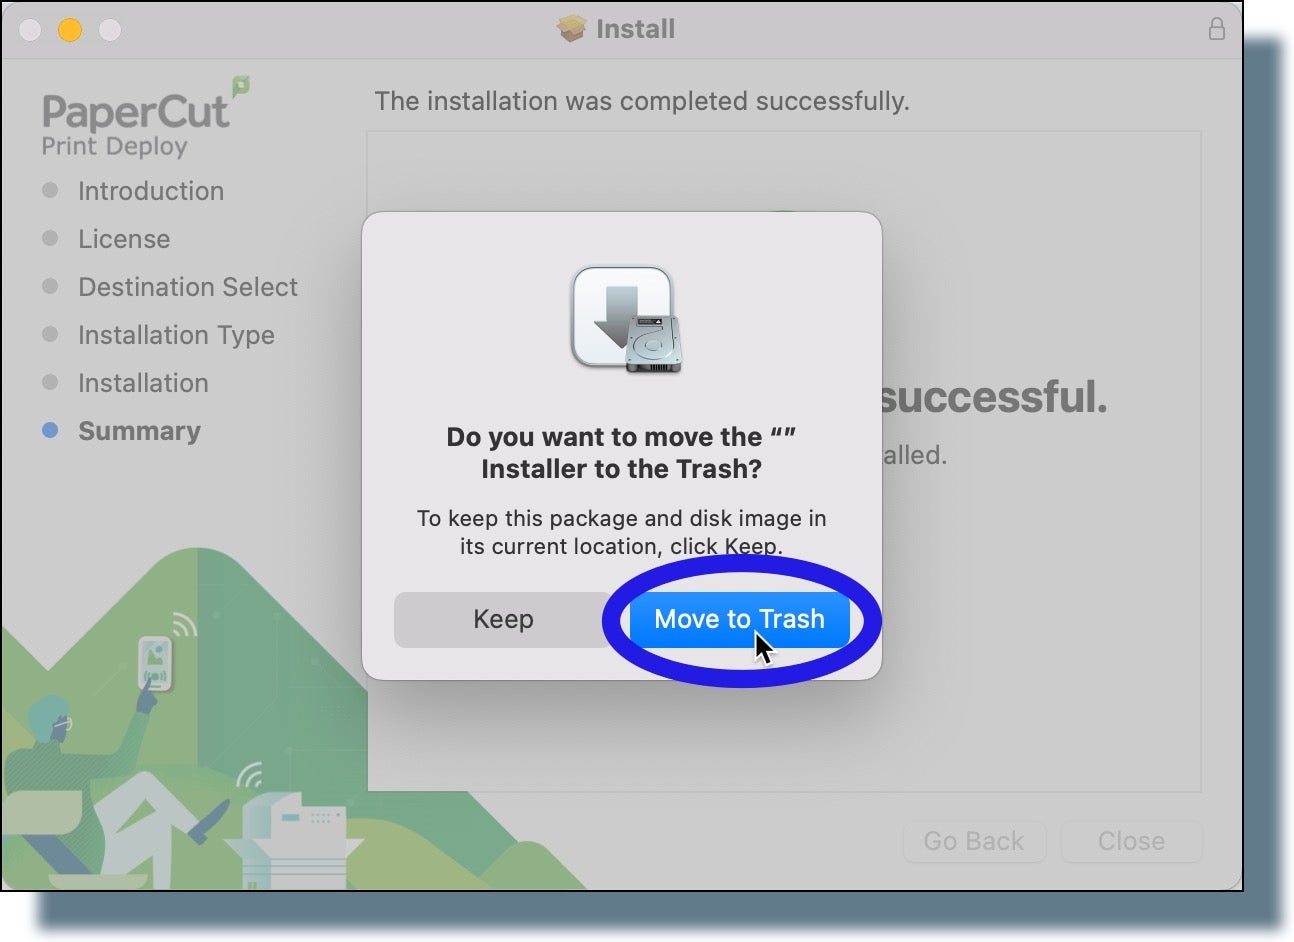
- If prompted, click Move to Trash to delete the installer file.
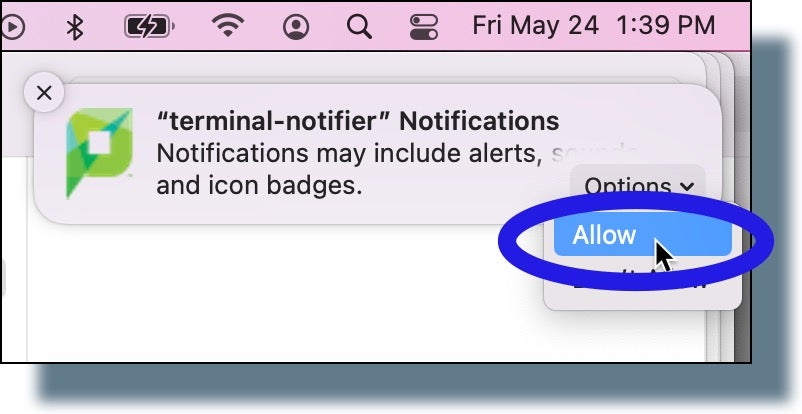
- Mouse over the PaperCut client notification on the upper right-hand side of your screen, click Options, and then select Allow.
Windows
- Click here to download the PaperCut Mobility Client installation installer file. (Note: If you are using Chrome and experiencing difficulty downloading the print client, we recommend switching to another browser such as Safari or Microsoft Edge.)
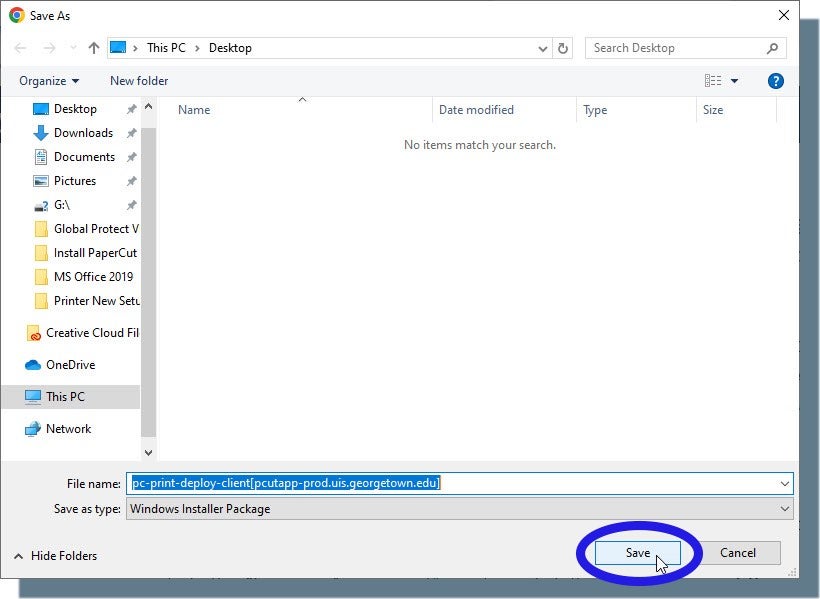
- Click Save in the ‘Save As’ window. (Make sure your Desktop is selected as the destination.)
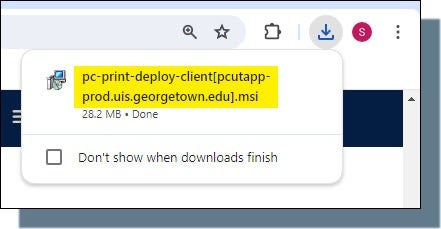
- Click on the installer file name in the pop-up notification located on the upper right-hand side of your screen.
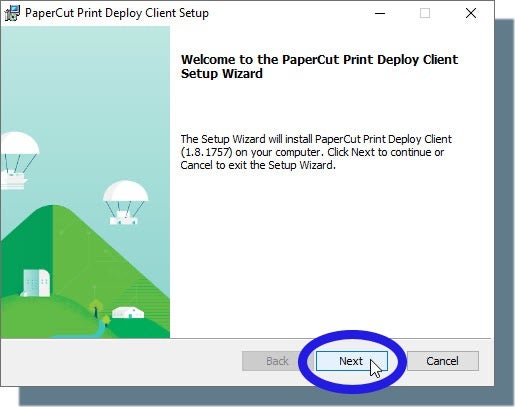
- Click Next in the PaperCut client setup welcome window.
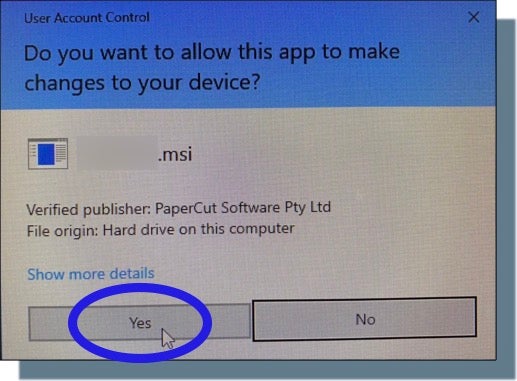
- Click Yes in the security window. The installation process starts.
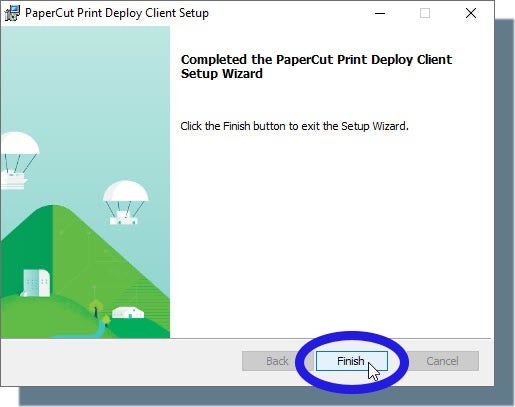
- If the client installed successfully, the following confirmation window is displayed. Click Finish.
You should also see the PaperCut client main window displayed.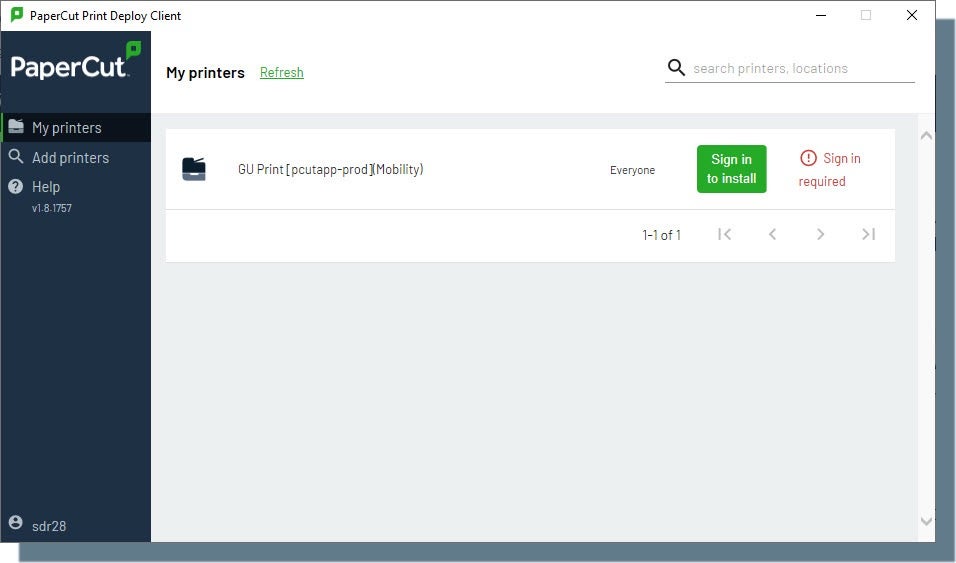
(Note: If you don’t see the client window, click on the PaperCut icon in your system tray.)
iOS
- Open a browser window (you must use Safari), and then go to the PaperCut Print Mobility Client installation setup page.
- Make sure the correct operating system for your device is displayed at the top of the screen. If it isn’t, click the icon for your operating system (icons for Windows, Apple, iOS, and Android operating systems are located at the bottom of the screen), and then tap Download.
- In the pop-up stating that this site is trying to download a configuration profile, tap Allow. You should see the “Profile Downloaded” confirmation message.
- Tap Close.
- Tap the Settings icon to open your settings.
- In Settings, tap Profile Downloaded.
- Tap Install in the next window displaying “PaperCut Mobility Print for iOS”.
- Enter your device’s passcode, and then tap Install at the prompt.
- Tap Done.
Android
Note: These steps were performed using a Samsung Galaxy S9 with Android 10. You may want to refer to your device’s settings to verify whether these steps are correct for your device.
- Open a browser window, and then go to the PaperCut Print Mobility Client installation setup page.
- Make sure the correct operating system for your device is displayed at the top of the screen. If it isn’t, click the icon for your operating system (icons for Windows, Apple, iOS, and Android operating systems are located at the bottom of the screen), and then tap Install or update. Google Play opens showing the listing for the Mobility Print client app.
- Tap Install, and then tap Sign in from the pop-up window.
- In the next screen, enter your Georgetown email address and then tap Next.
- In the next screen, tap Google Workspace account.
- At the Georgetown login prompt, enter your NetID and password, and then tap Sign in.
- At the Duo prompt, tap Send Me a Push. (Note: Make sure you have your mobile device with you to accept the Duo authentication notification. Be sure to check your device for the Duo notification immediately after you tap Send Me a Push.) A pop-up window should be displayed showing your device model.
- In the pop-up window, tap Install.
In the next pop-up window, tap OK. You should return to Google Play with “Installed” displayed on the screen.