
Releasing Your Print Job
After you’ve sent a document to the print queue, you can then “release” your document (print the document). When you release your document, you print the document from the printer using the keypad displayed on the printer. You can print at any of the printers available on campus (or another campus).
Notes:
- Faculty and staff might see charges for their print jobs, but those charges will be paid for at the campus level. Students, however, will be charged for their print jobs, unless they are printing as a student employee and select the department they’re working for as the account to be charged.
- If you have a GOCard that isn’t NFC-enabled (printed before fall 2020), you can convert that card to a Mobile GOCard (if you’re eligible for Mobile GOCard). You can switch to an NFC-enabled physical card by going to the UIS Service Desk.)
- If you don’t have Mobile GOCard or an NFC-enabled physical GOCard, you can click here for instructions on how to log in to the printer either with your NetID and password, or with your GOCard’s GUID and a PIN.
IMPORTANT: If you don’t release your document within 6 hours of having sent it to the print queue, you’ll receive an email notification from PaperCut that your print job has been cancelled. If your document is removed but you still want to print it, you can just resend the document to the print queue.
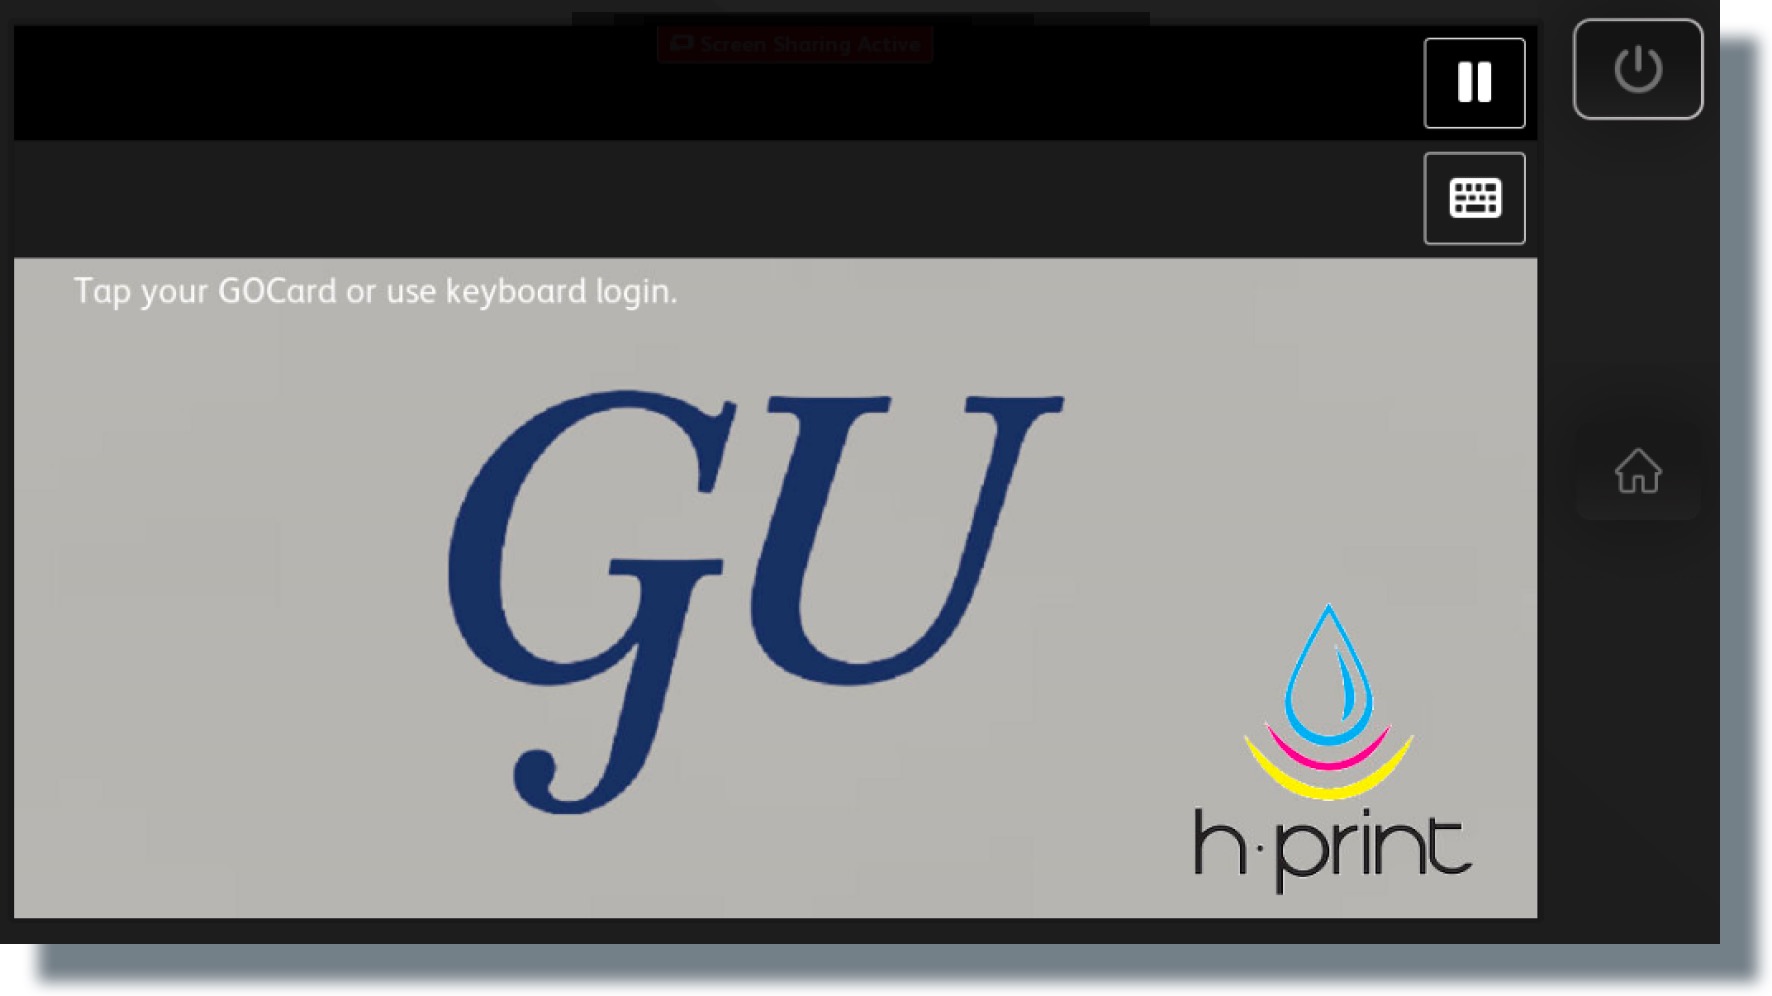
- Go to the printer to which you want to print your document. You should see the following screen:
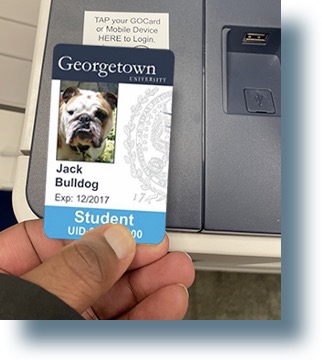
- Authenticate by tapping your Mobile GOCard or NFC-enabled physical GOCard on the print reader.
To find out if your physical GOCard is NFC-enabled, look for the following icon on the back of your GOCard: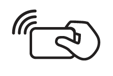
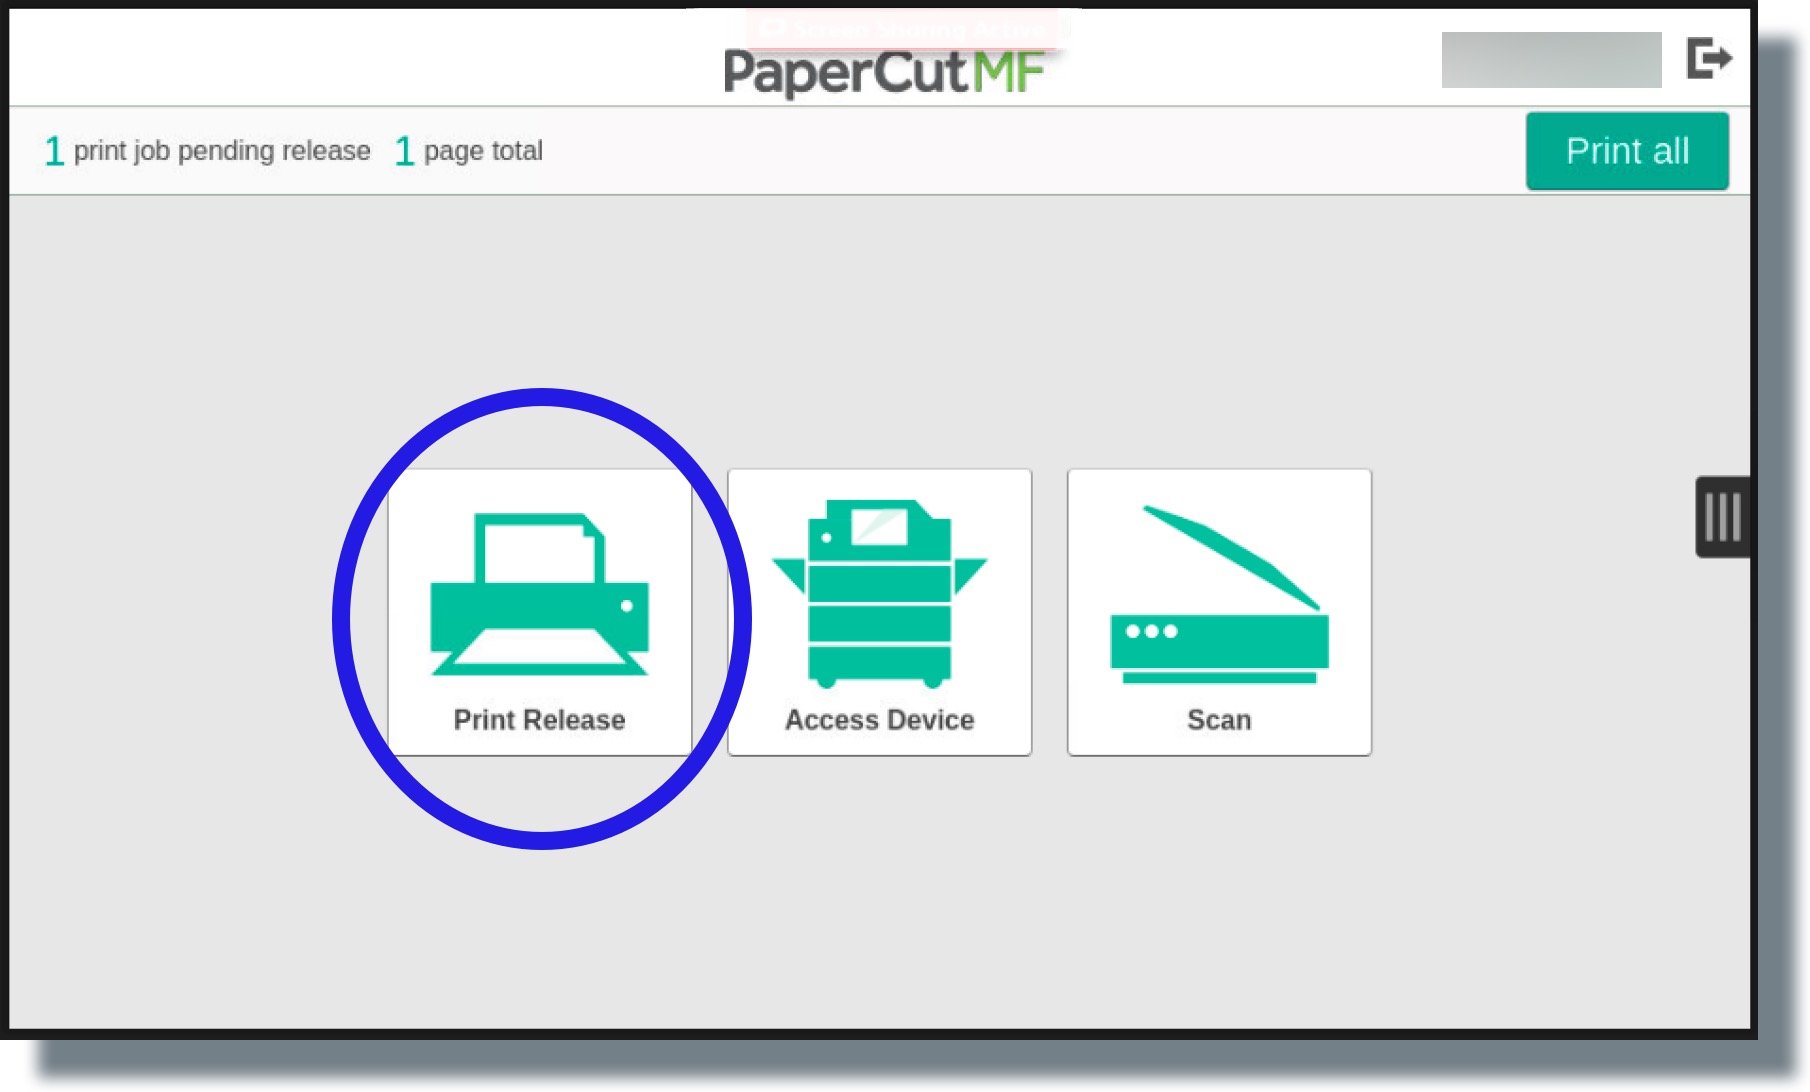
Note: If you don’t have Mobile GOCard or an NFC-enabled physical GOCard, you can click here for how to log in to the printer with your NetID and password, or with your GOCard’s GUID and a PIN. - On the printer panel shown below, tap on the Print Release button if you have multiple documents in the print queue and want to print specific documents now, or tap Print all if you want to print all your current print jobs.
You will see a list of all the documents currently in your print queue waiting to be released (printed). (Note: You will not be able to see anyone else’s pending print jobs in the queue; conversely, no one will be able to see your pending print jobs.) - Select the print job(s) you want to print, as shown in the example below, and then select Print.
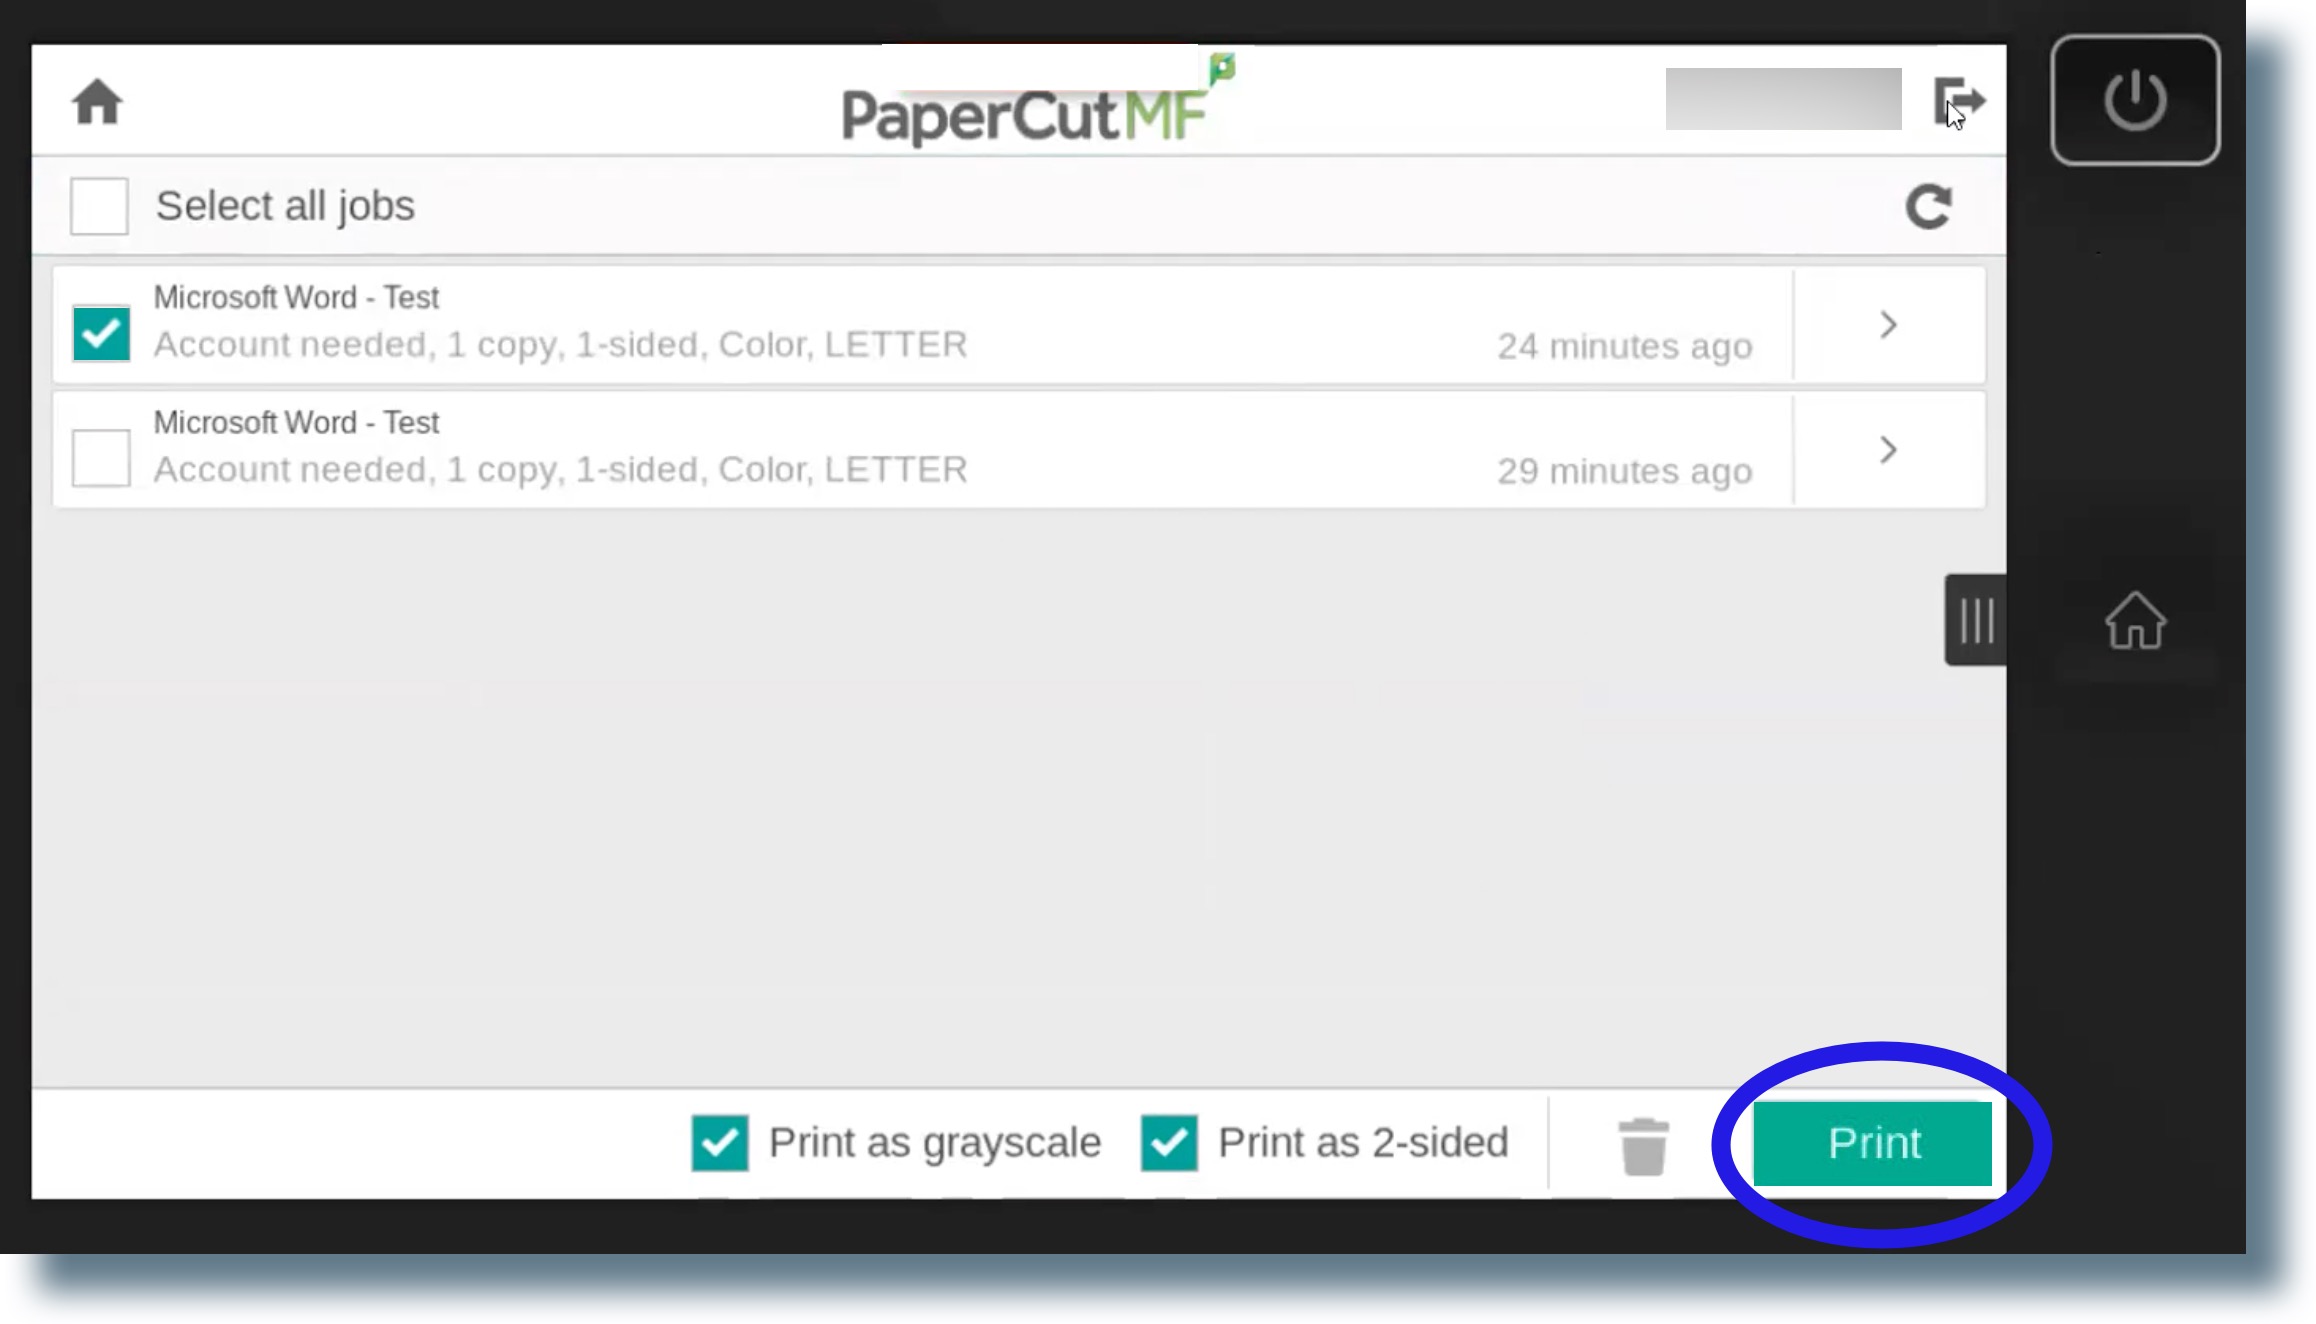
Please note that grayscale (black and white) and 2-sided are the defaults. To change either setting (e.g., grayscale to color; 2-sided to single-sided), click on the check box next to that setting so that a check mark no longer appears.
Note: Faculty and staff might see charges for their print jobs (as shown below), but those charges will be paid for at the campus level. Students, however, will be charged for their print jobs, unless they are printing as a student employee and select the department they’re working for as the account to be charged.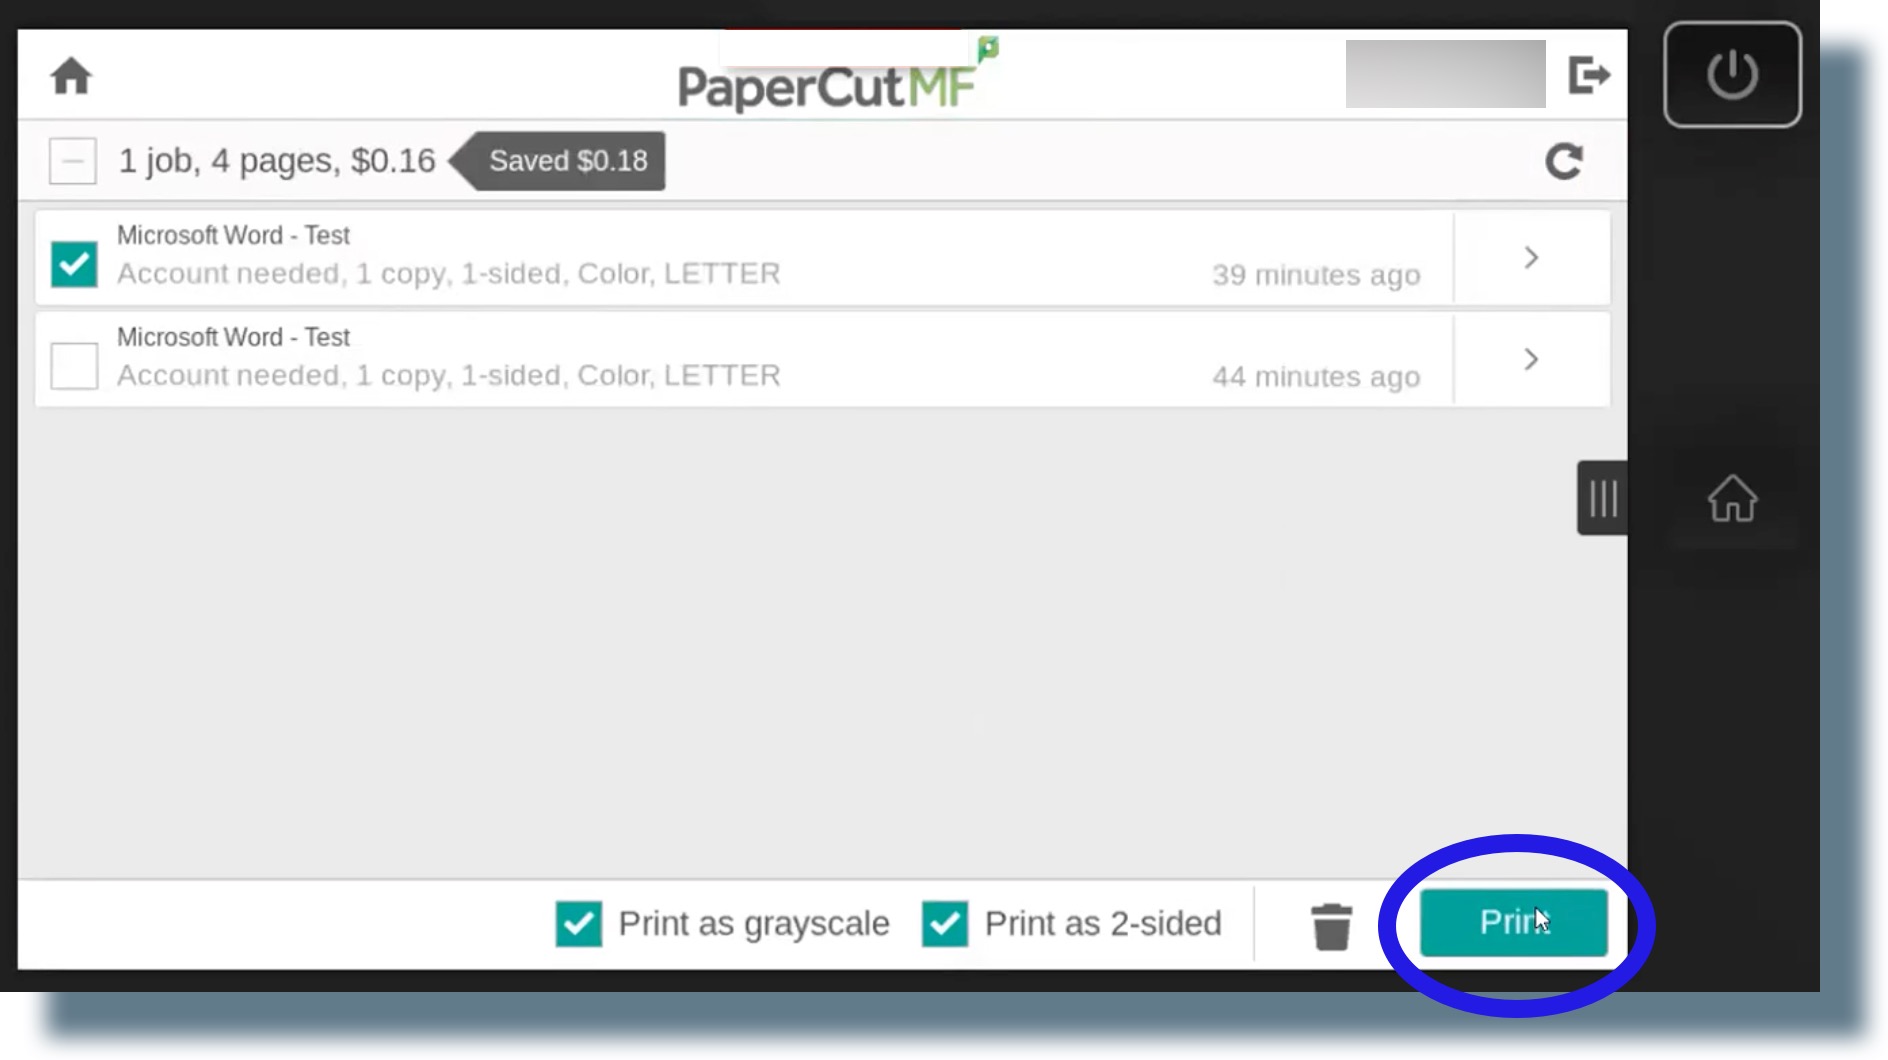
- Student employees may see a screen in which they can select from their personal account or from their work department or program account. Student employees should select their department account if they’re printing on behalf of their department.
If your document(s) printed successfully, you should see a confirmation message similar to the following: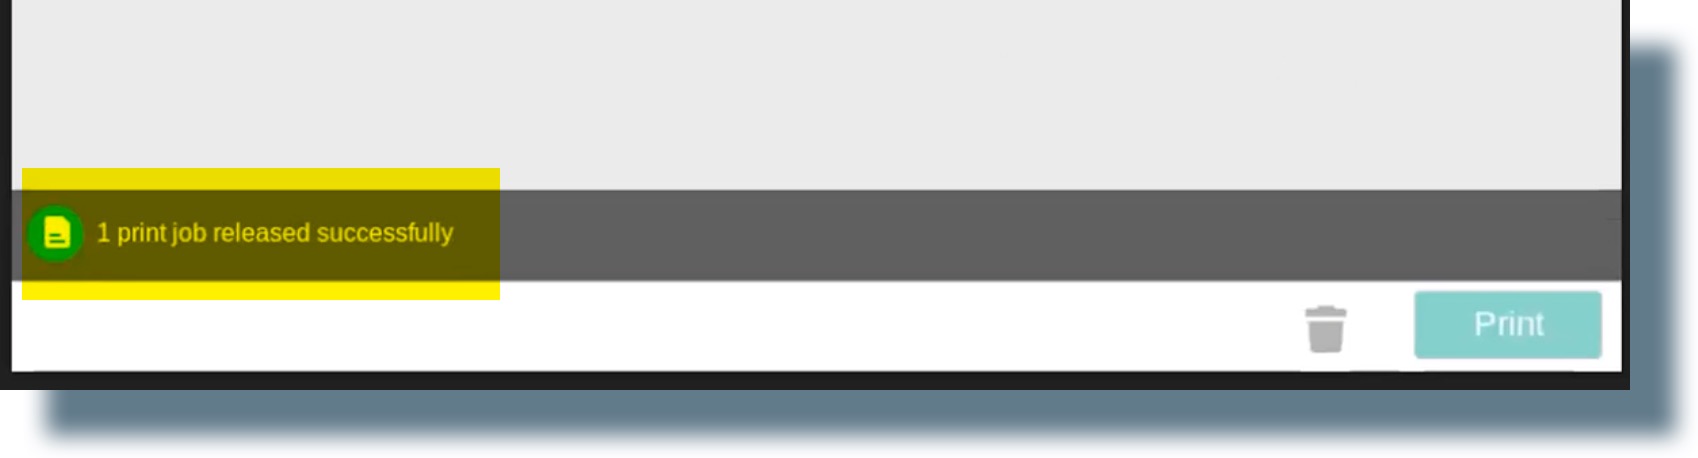
- If you’re done using the printer, log out of the printer by tapping the card reader with your GOCard (Mobile GOCard or NFC-enabled [chip] physical GOCard), or press the logout icon (
 ) located at the top right-hand corner of the screen. If you want to print any other jobs, copy a document, or scan a document, press the home button (
 ) located at the top left-hand side of the screen, to return to the main menu.