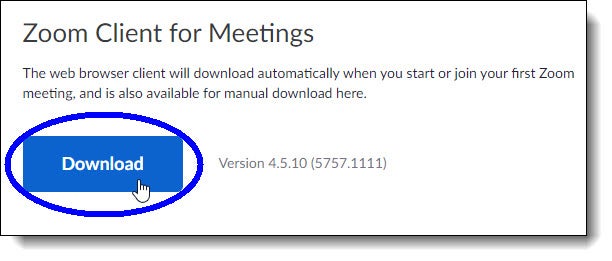
From the “Download Center” page, click Download under Zoom Client for Meetings.
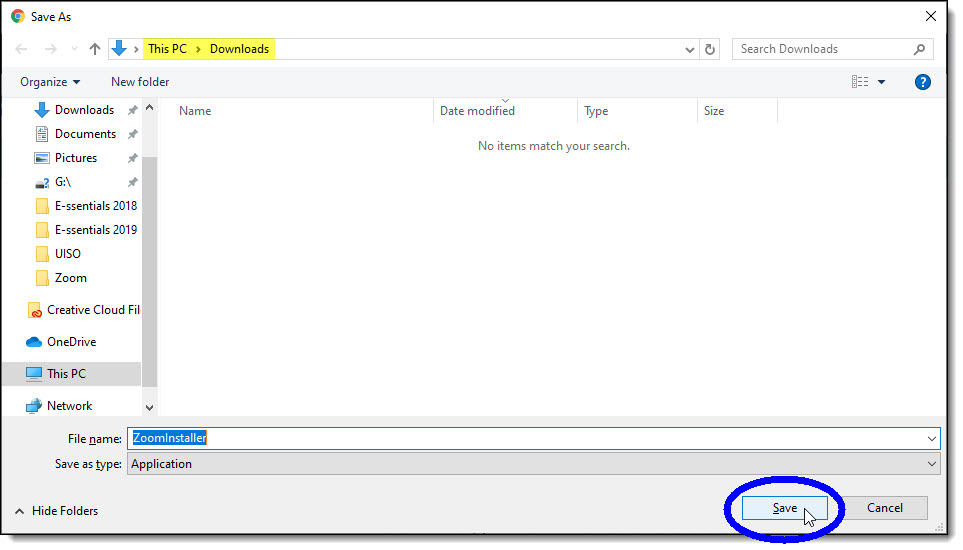
In the “Save As” dialog box, select the Downloads folder as the destination folder on your computer in which to save the installer file ZoomInstaller, and then click Save.
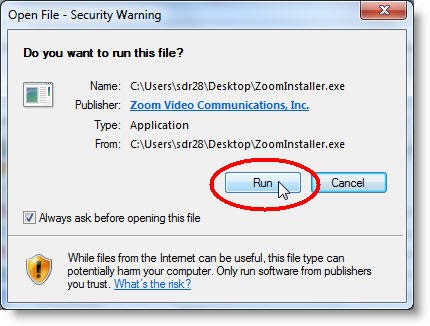
Once you’ve downloaded the ZoomInstaller file, double-click on the installer file in Windows Explorer to start the installation process.
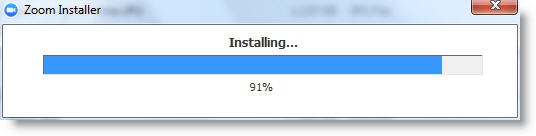
If the following “Open File” pop-up window displays, click Run. The install process starts, as shown by the progress bar below:
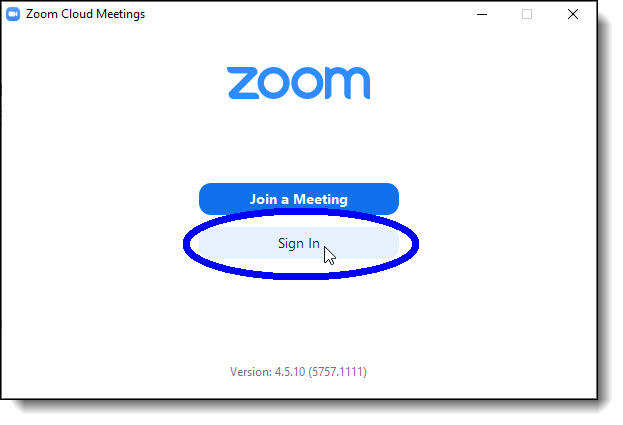
In the following window, click Sign In.
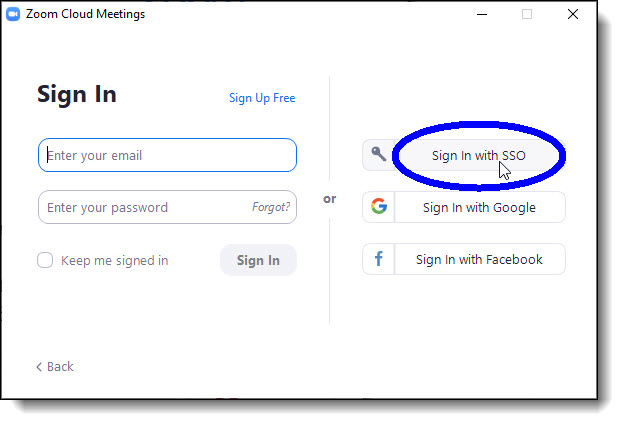
In the next window, click Sign In with SSO.
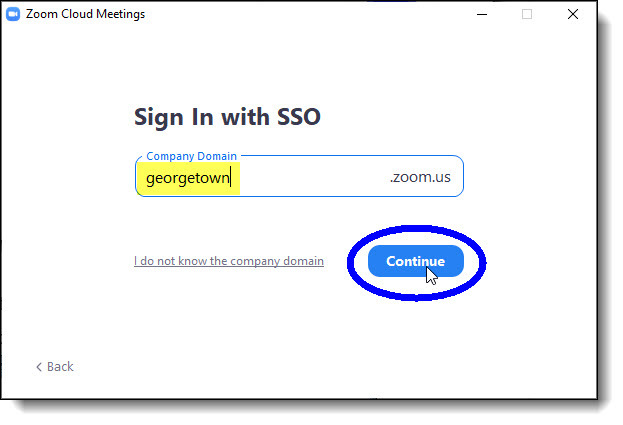
In the next window, make sure georgetown is entered as the company domain, and then click Continue.
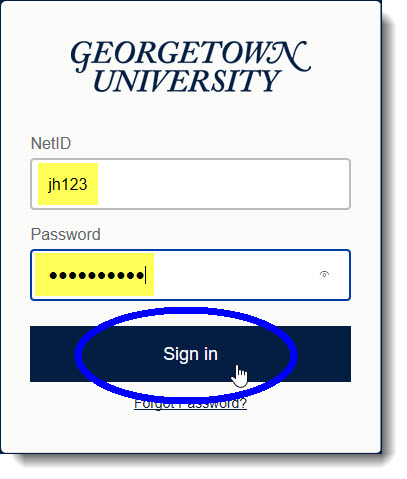
In the next window, enter your NetID and password, and then click Sign in. (Note: In the example below, “jh123” is entered as the NetID.)
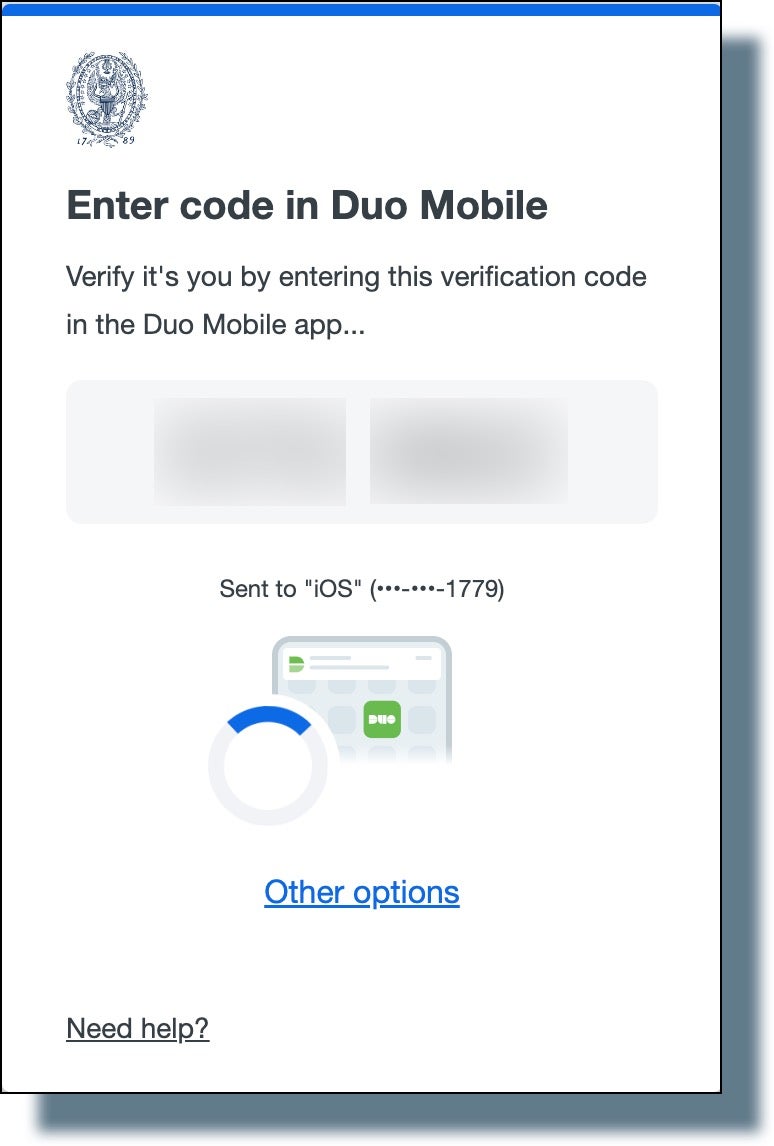
You will see the following Duo screen displaying a six-digit verification code:
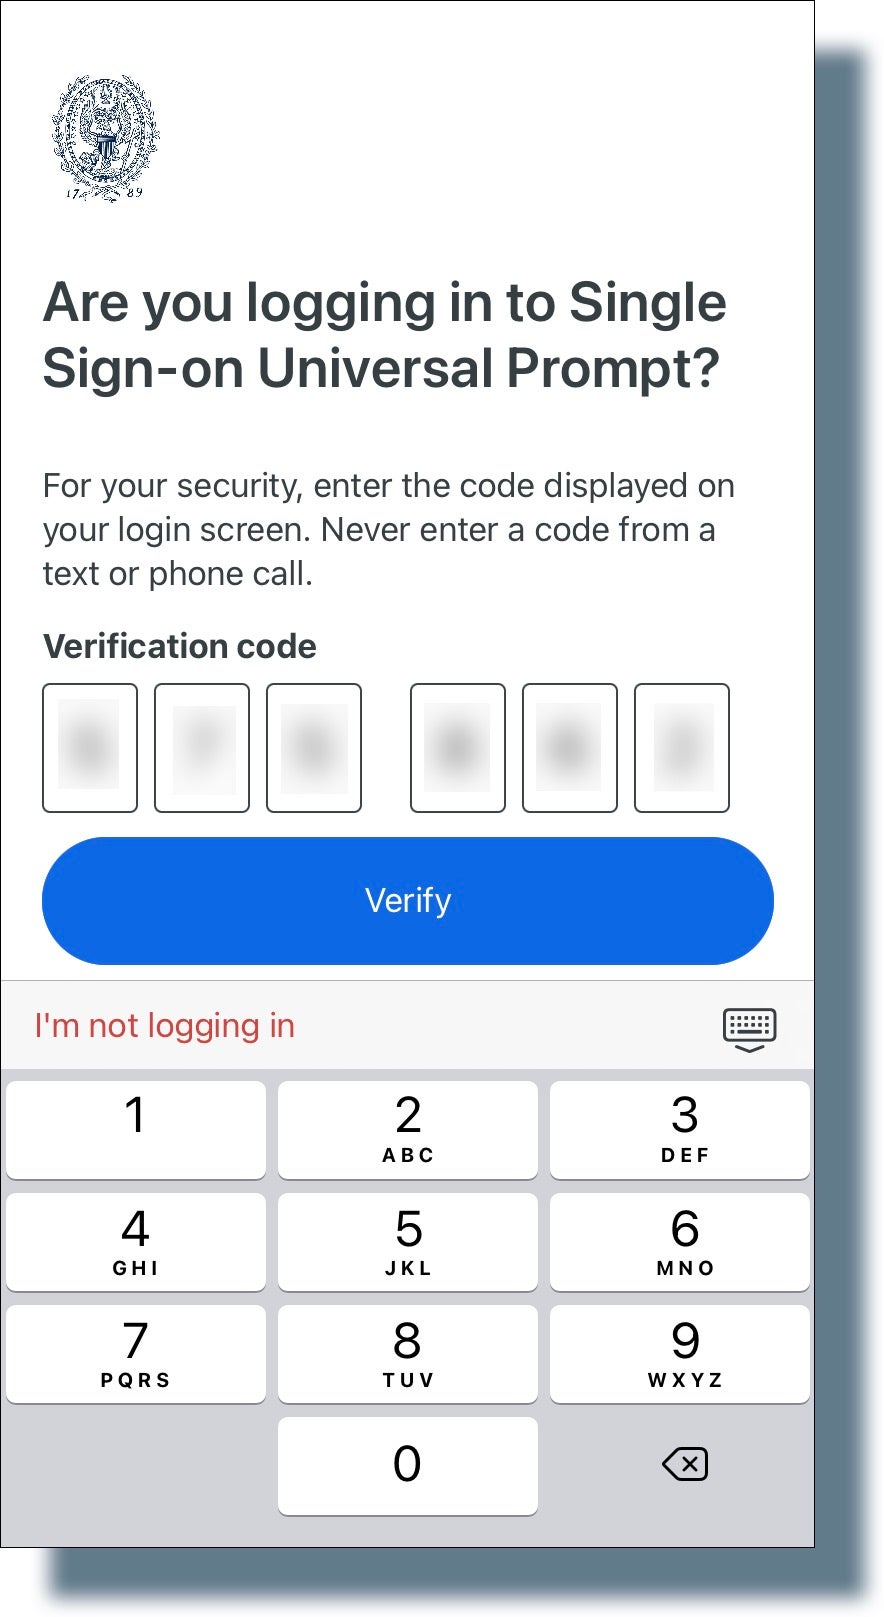
Tap or swipe the notification banner on your mobile device. (Make sure to have your mobile device with you.)
On your mobile device, enter the six-digit verification code, and then tap Verify.
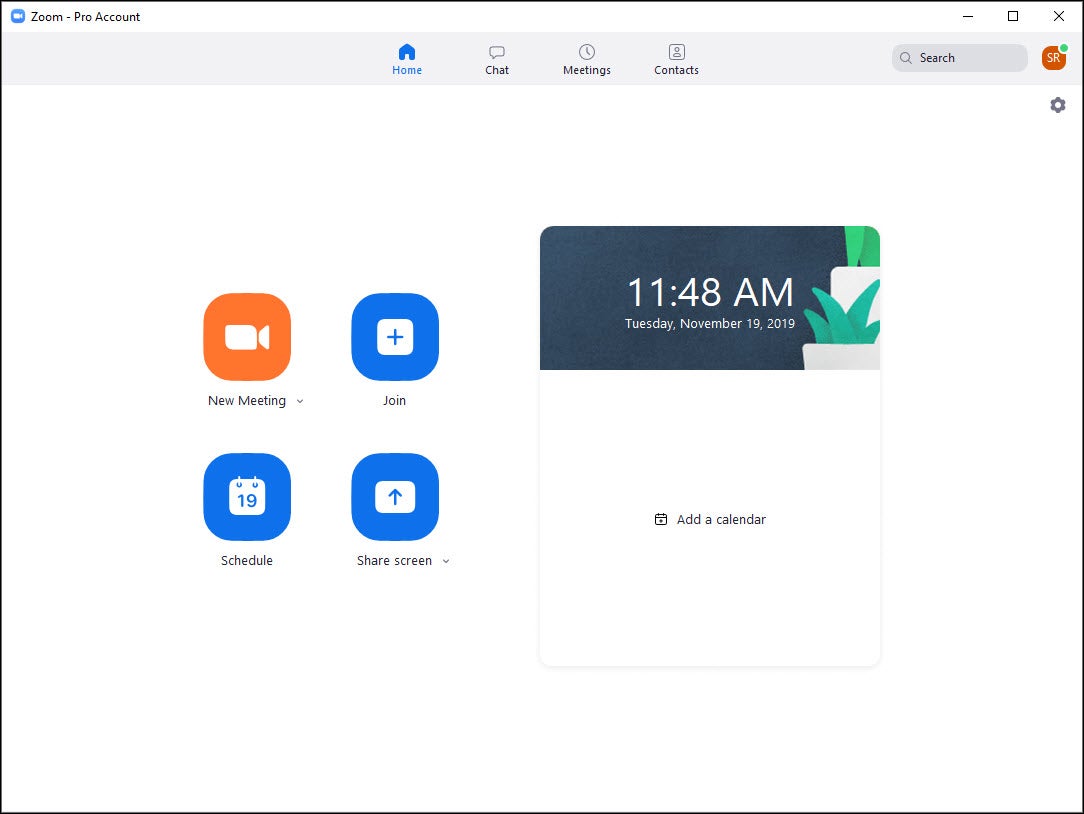
The Zoom main window is displayed, as shown below:
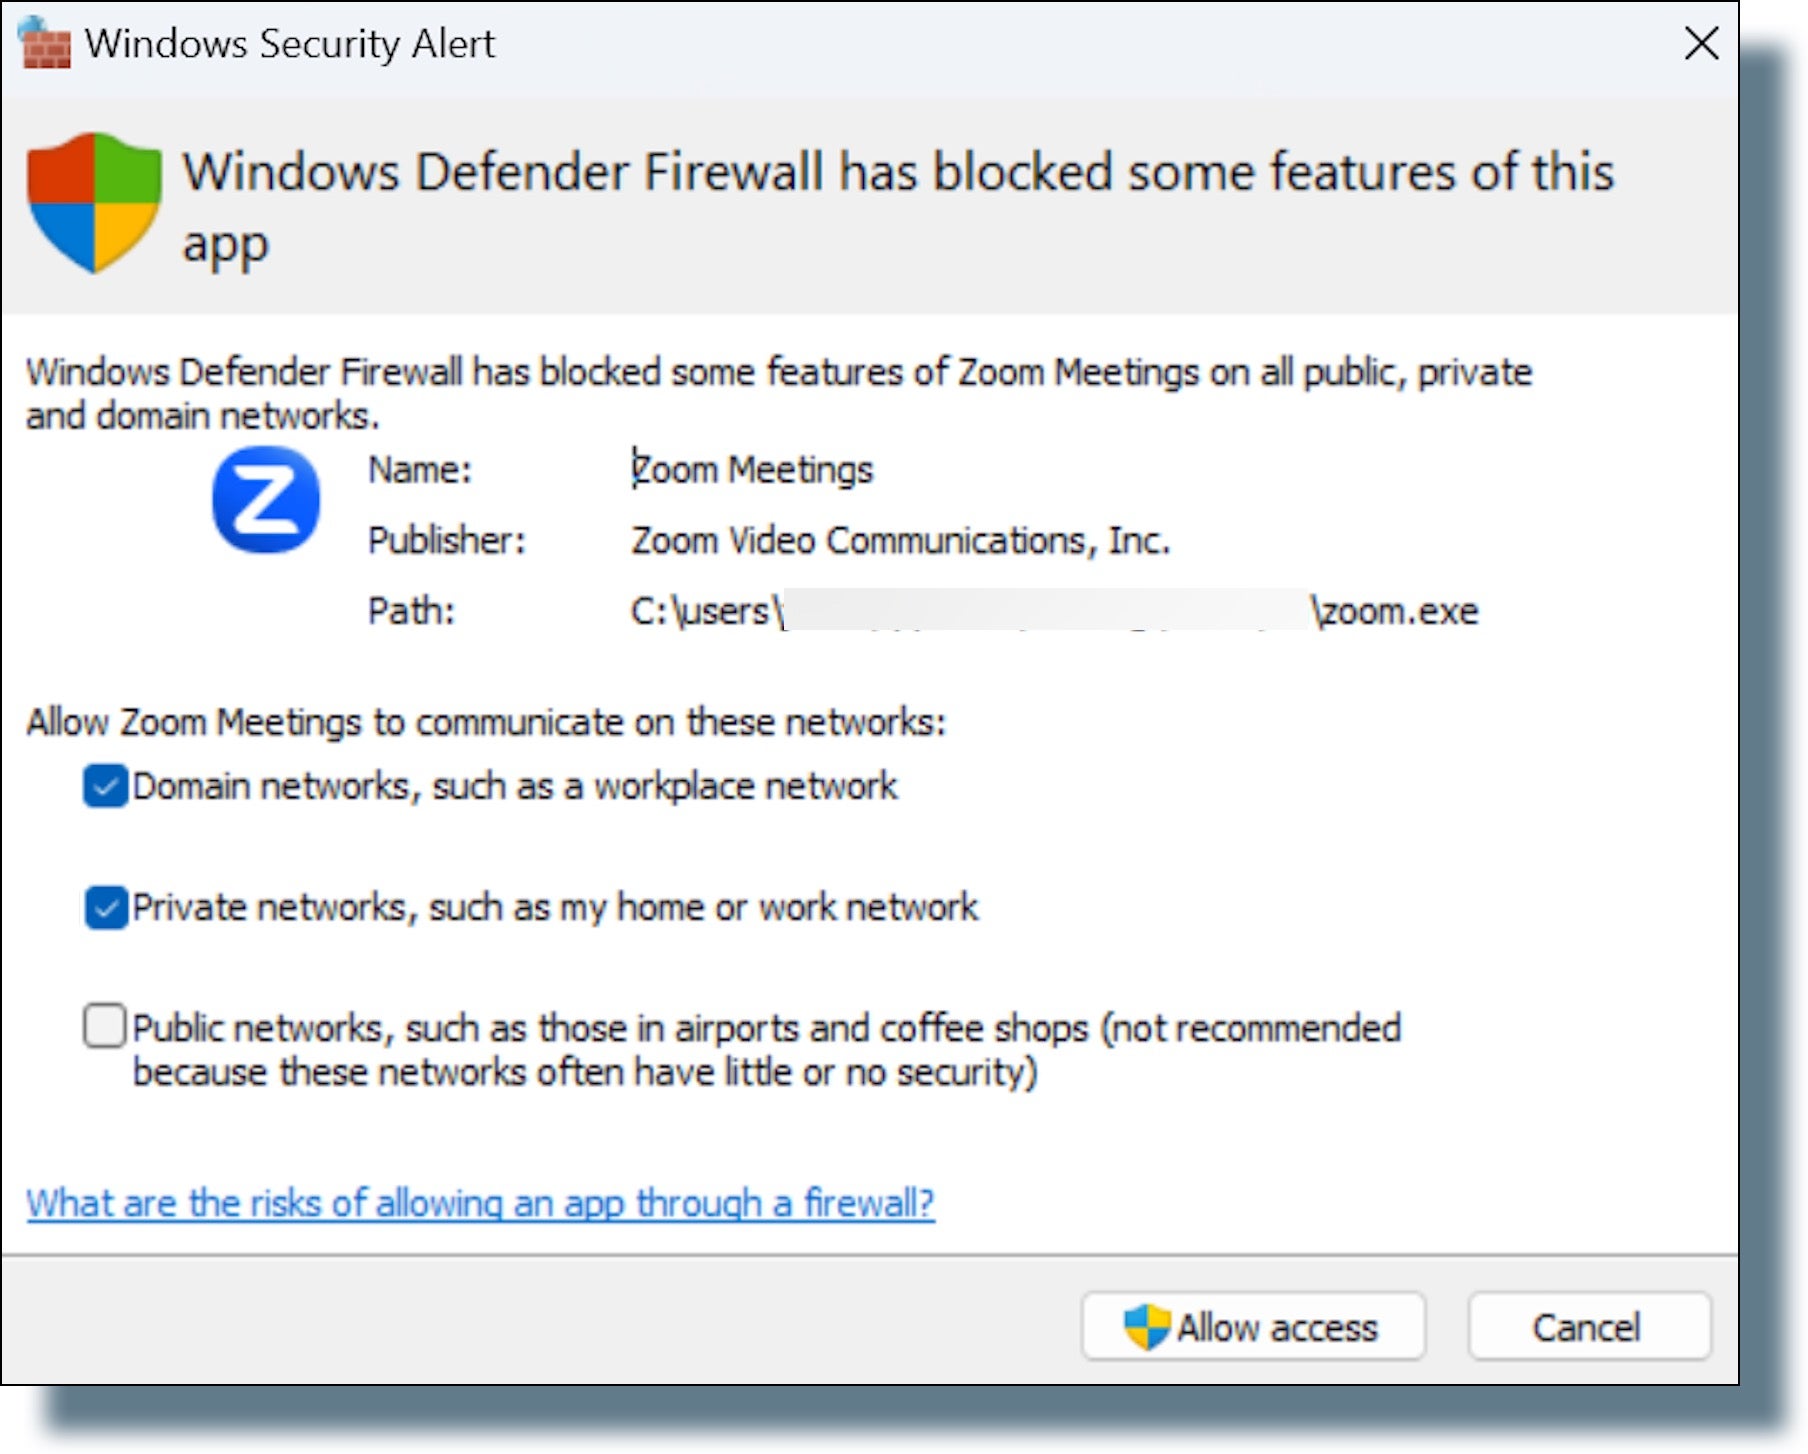
You might see the following screen (Windows Security Alert) overlayed on the Zoom main window. If you see this screen, select the first two options, as shown in the image above, and then click Allow access.