
Installing the GlobalProtect VPN Client (Mac)
- Installing the VPN from the Self Service Desktop Client
- Installing the VPN from the GU Software Online Store
Installing the VPN from the GU Self Service Desktop Client
Notes:
- The installation procedure outlined below is the preferred method of installing the VPN client on university-managed computers used by GU faculty/staff, sponsored associates [SUAs], and student employees approved for VPN access.
- Instructions are available for how associates and student employees can install the VPN client on their personally-owned Mac computer.
- Open the GU Self Service application. (You can open the GU Self Service client either from the Dock or from your Finder Applications folder.)
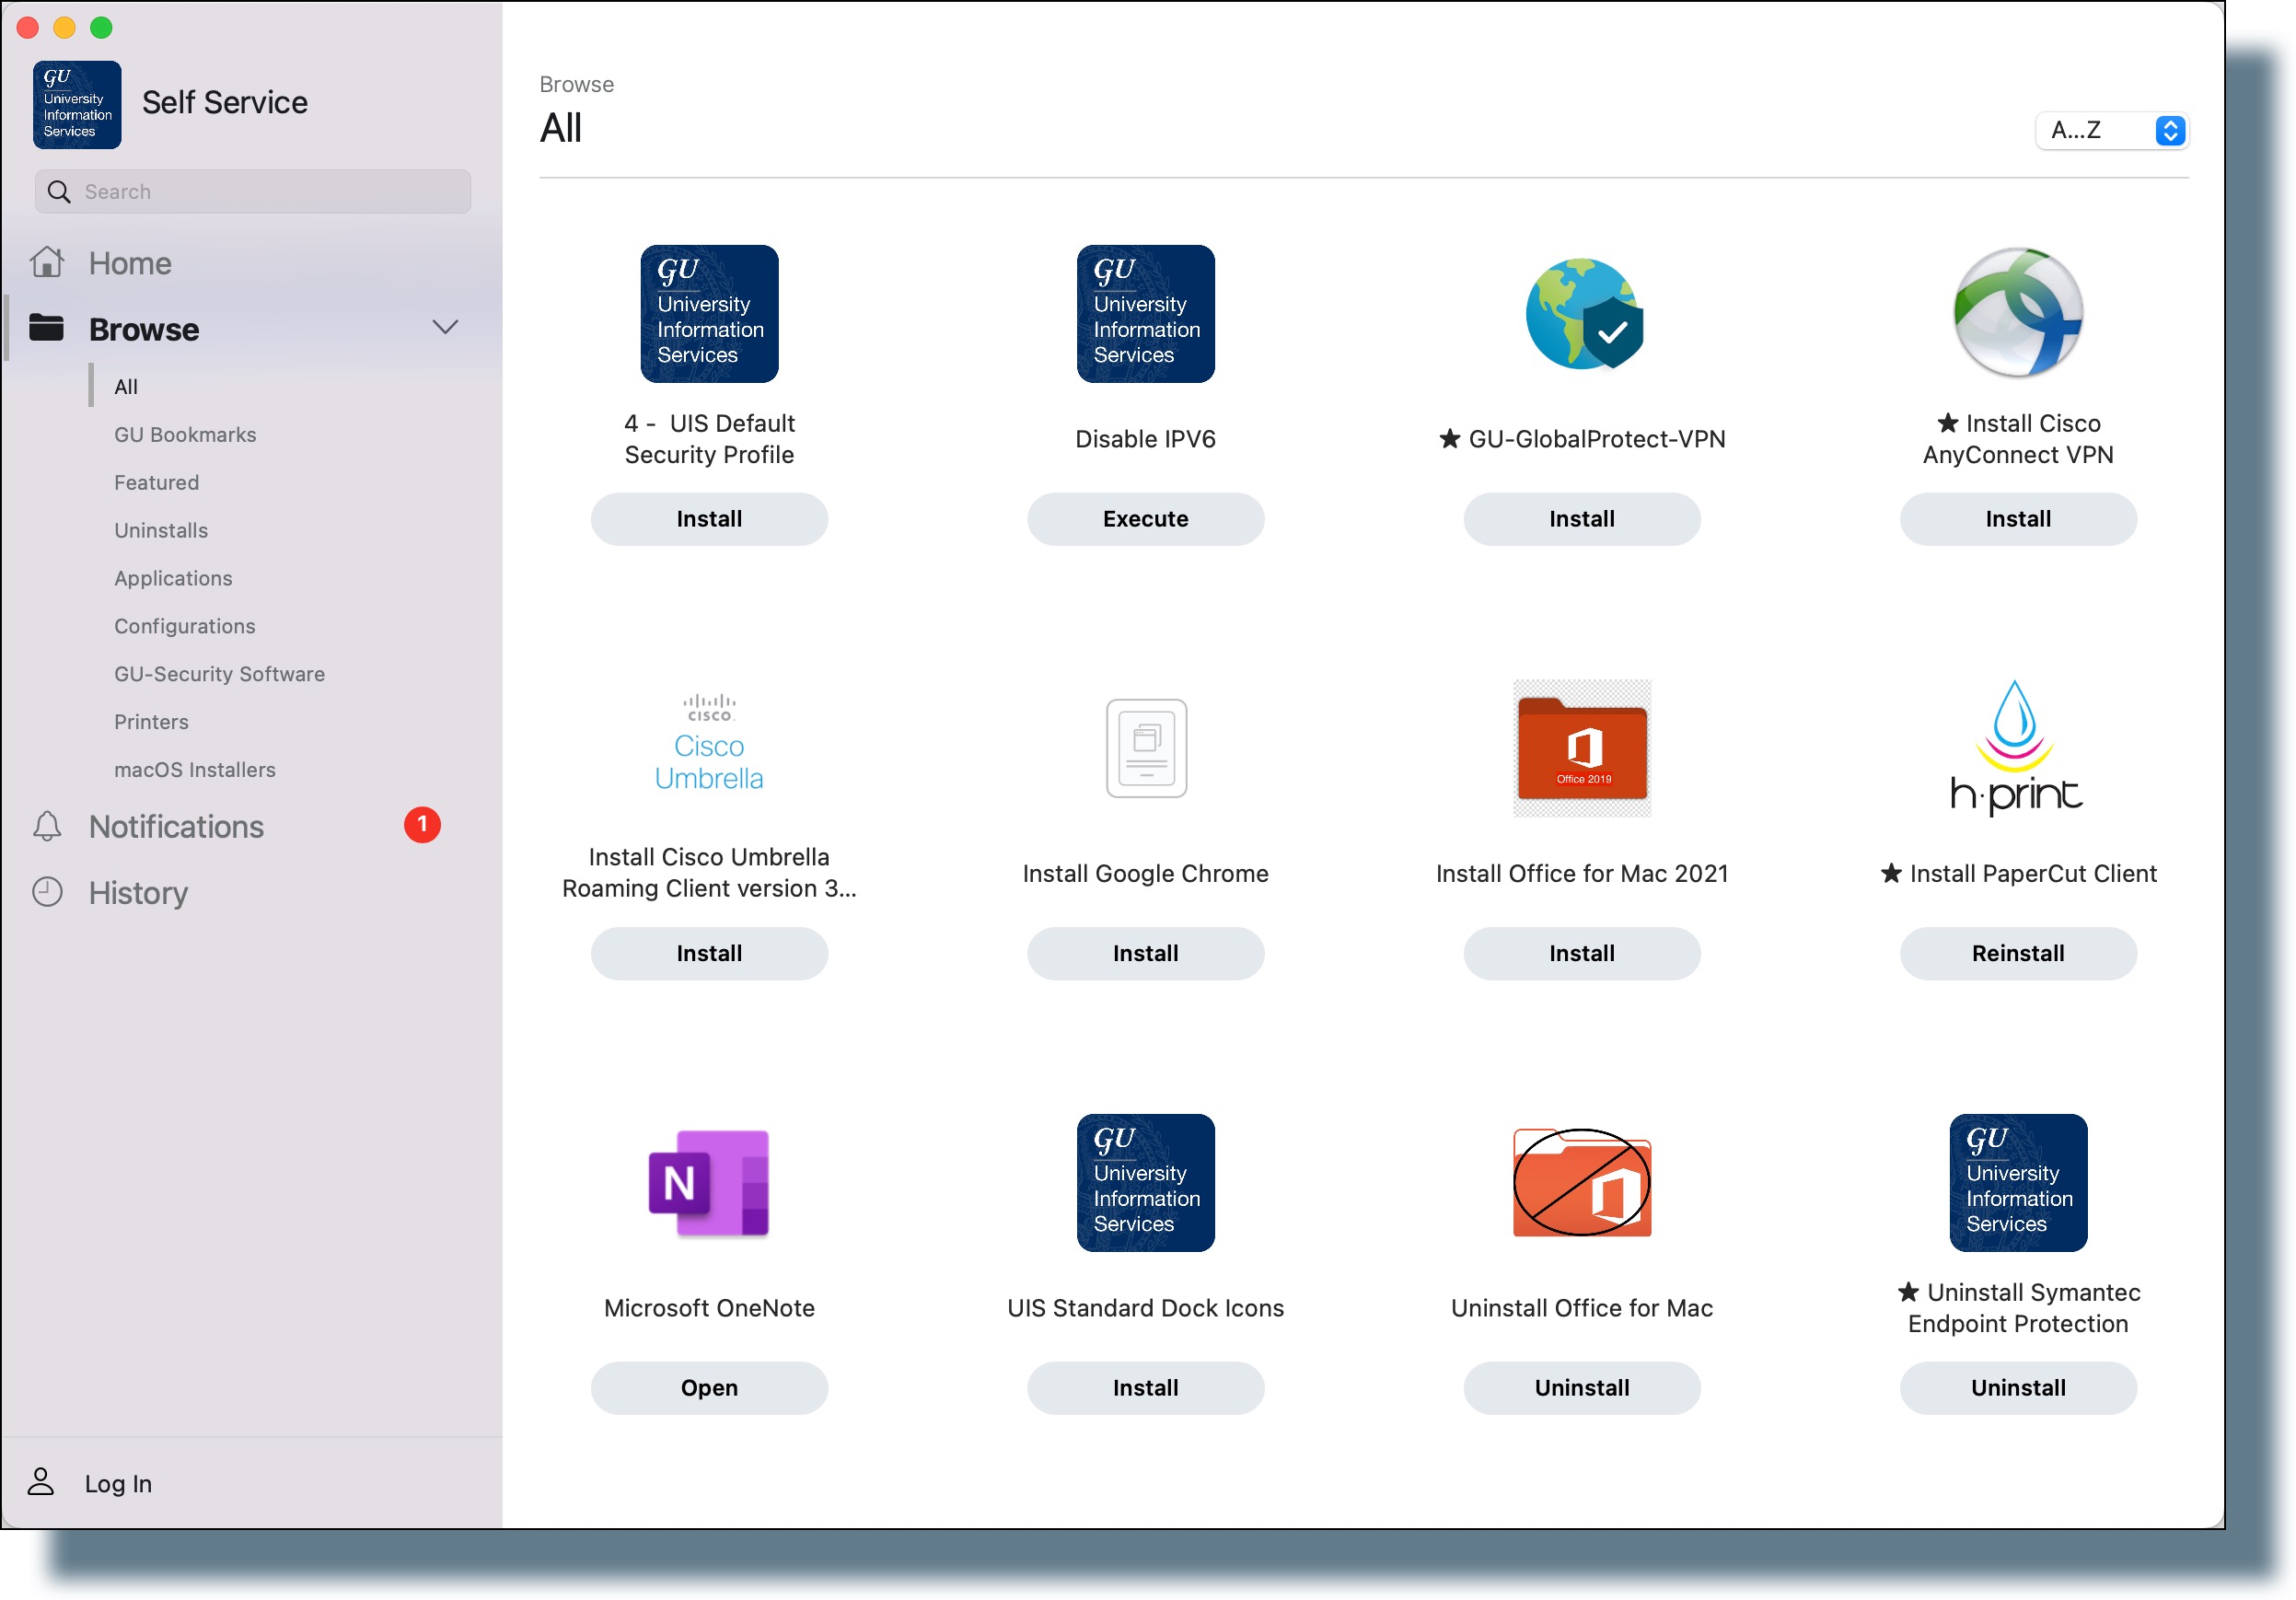
- Locate the icon GU-GlobalProtect-VPN, and then click Install.
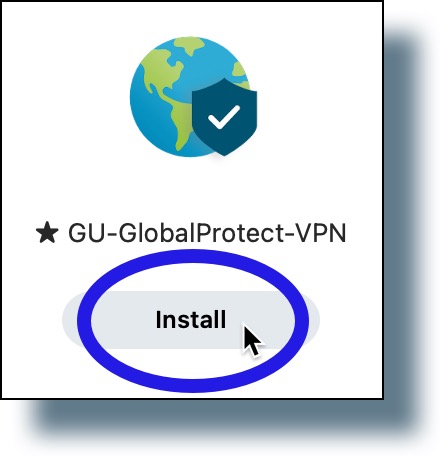
You should see the following image indicating that the install process has started.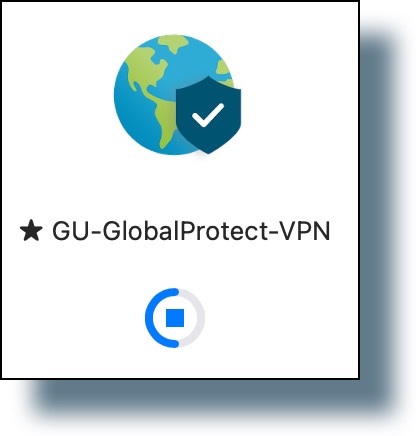
- Click Options from the banner that appears in the upper right-hand side of your screen, and then select Allow from the drop-down list to allow the GlobalProtect VPN client to send you notifications.
(Note: You can also allow notifications by clicking on the Apple menu, selecting System Preferences, then selecting Notifications & Focus, and then selecting GlobalProtect from the left-hand panel.)
After a few moments, the GU-GlobalProtect-VPN install icon will no longer appear in Self Service. In the notification bar at the top of your Mac screen, you should see a globe-shaped icon, as highlighted in the example below.
The GlobalProtect VPN is now available on your computer.
Installing the VPN from the GU Software Online Store
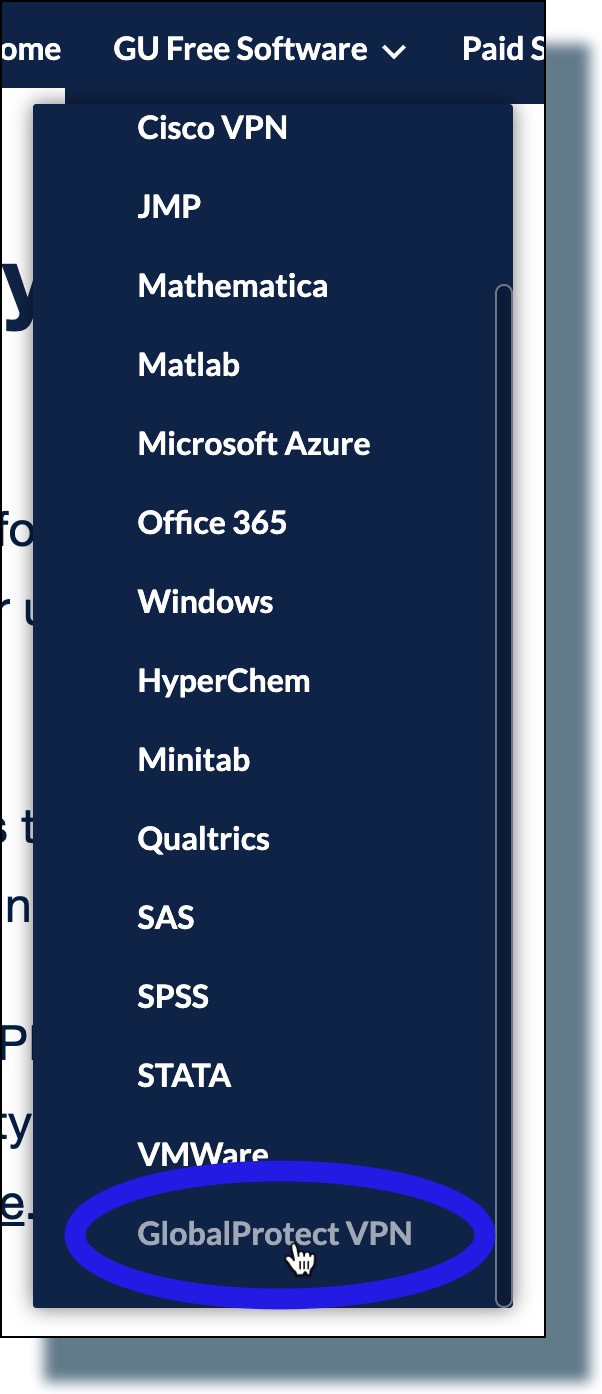
- Go to the GU software store for faculty and staff.
- Click on the GU Free Software menu item at the top of the page, and then select Global Protect VPN from the drop-down list. (You might have to scroll down the list to see the listing for Global Protect VPN.)
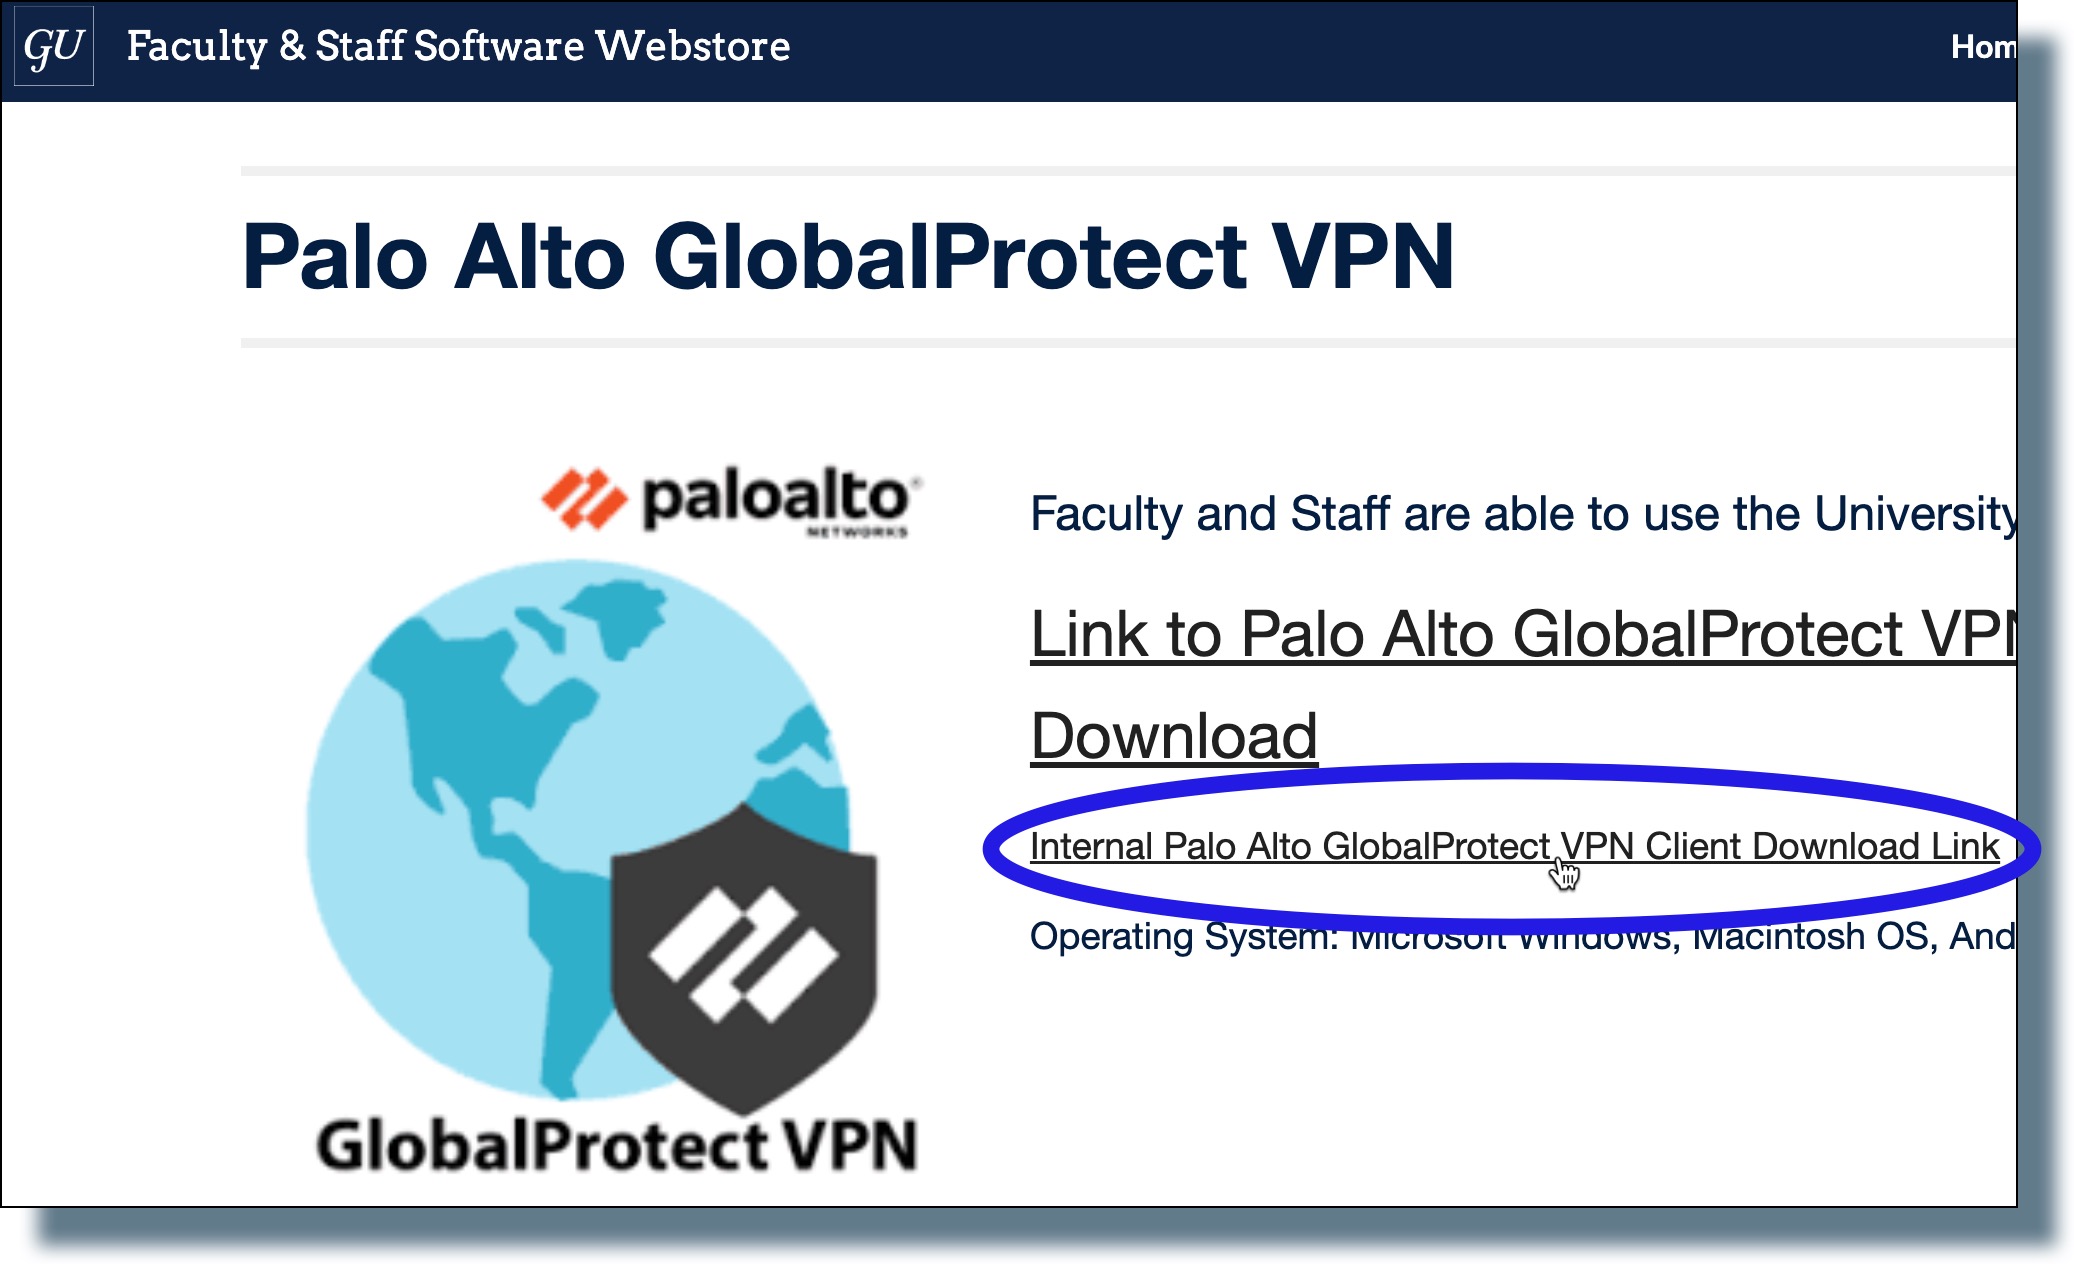
- On the VPN page, click on the link Internal Palo Alto GlobalProtect VPN Client Download link.
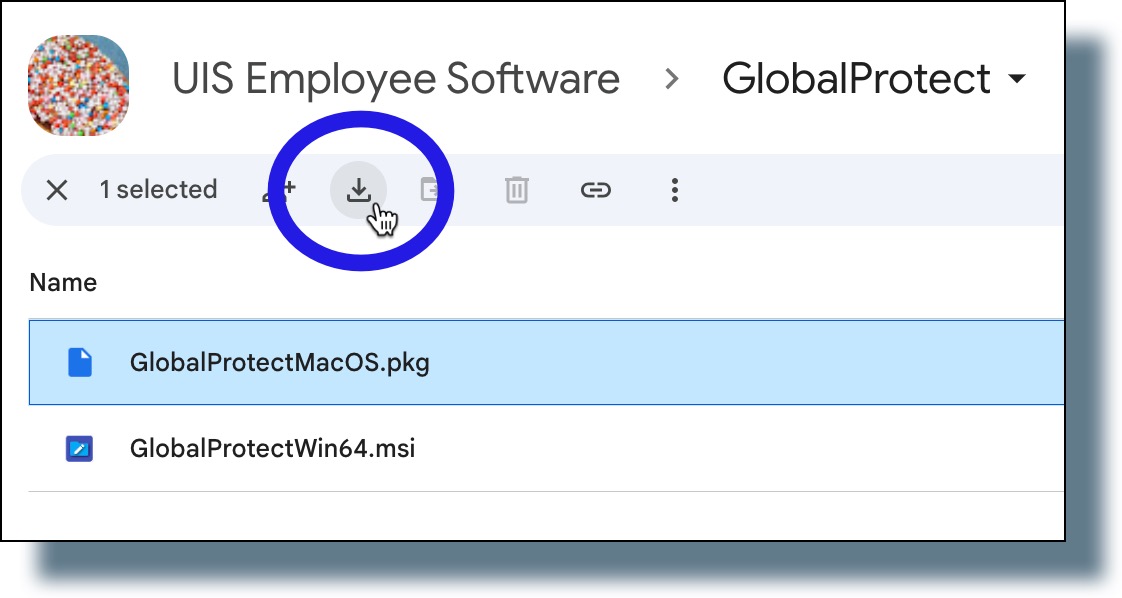
- In the Google Drive window, select the file GlobalProtectMacOS.pkg and then click on the file download button.
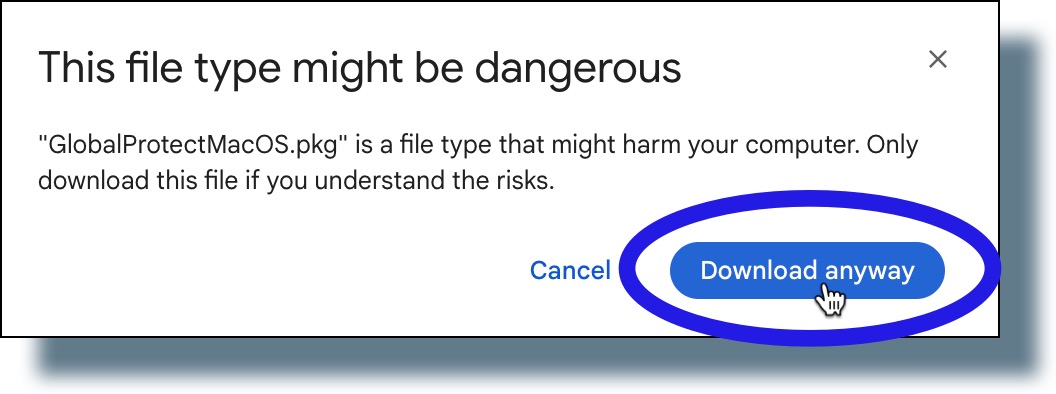
- Click Download anyway in the pop-up window.
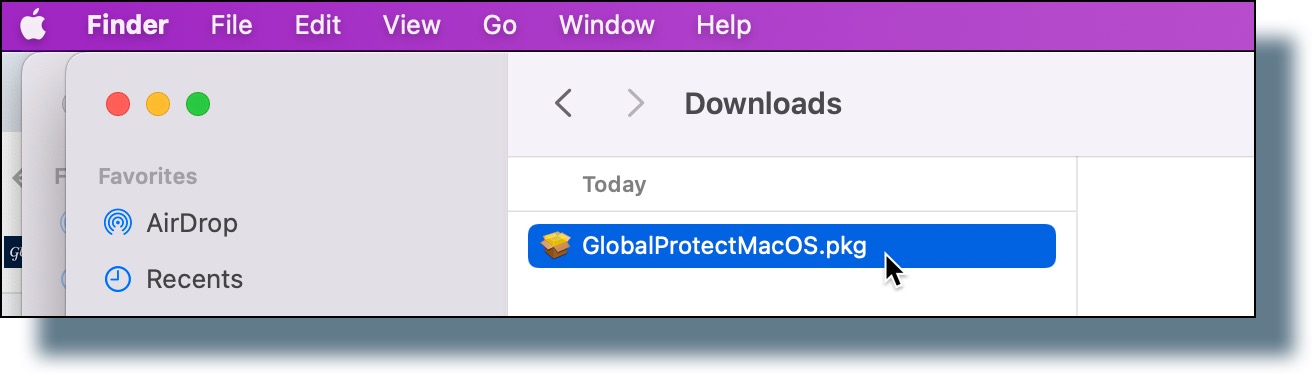
The file should be downloaded to your Downloads folder. - Open a Finder window, navigate to your Downloads folder, and then double-click on the installer file GlobalProtectMacOS.pkg.
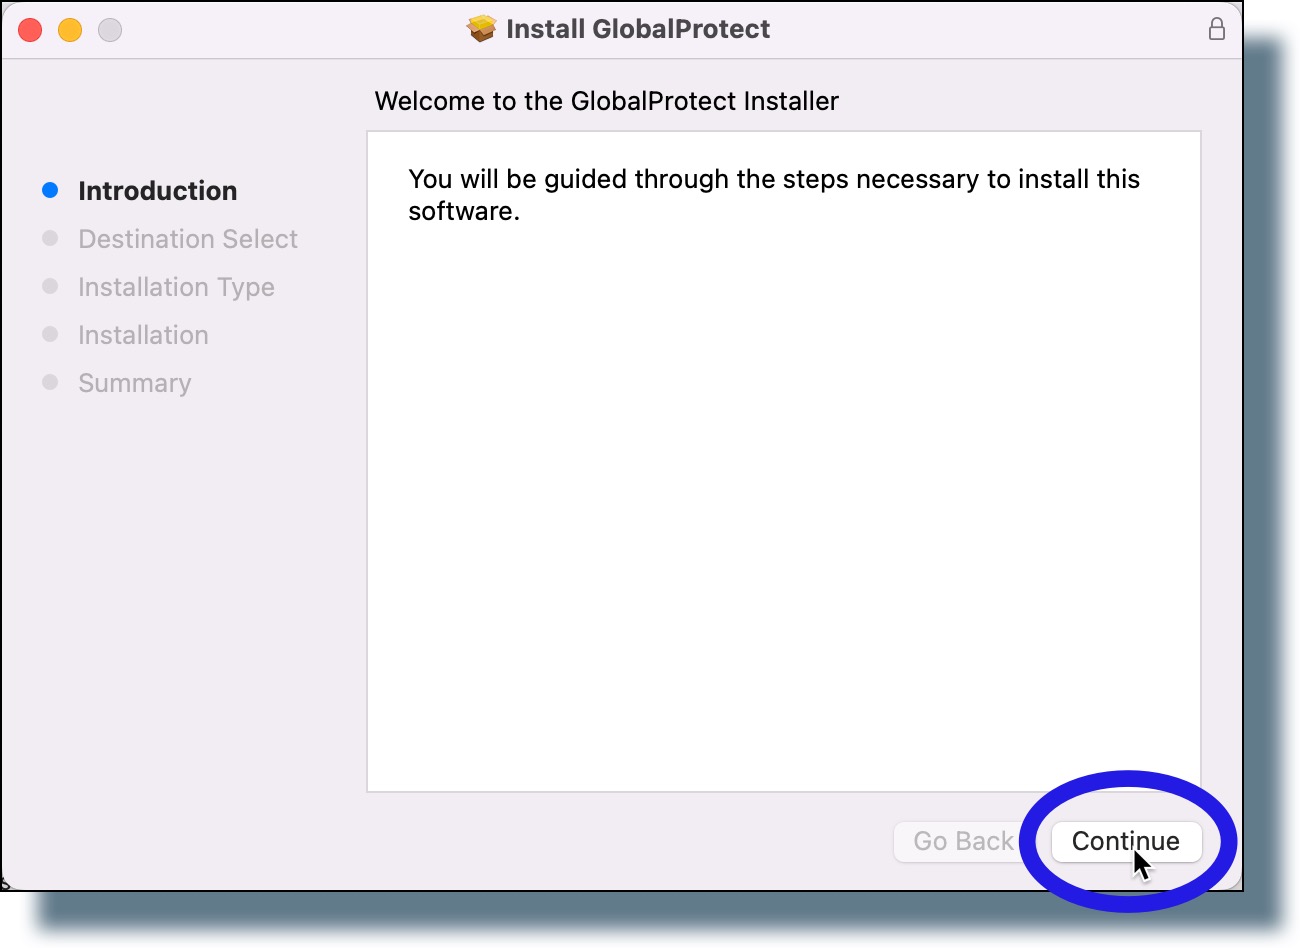
- In the welcome window, click Continue.
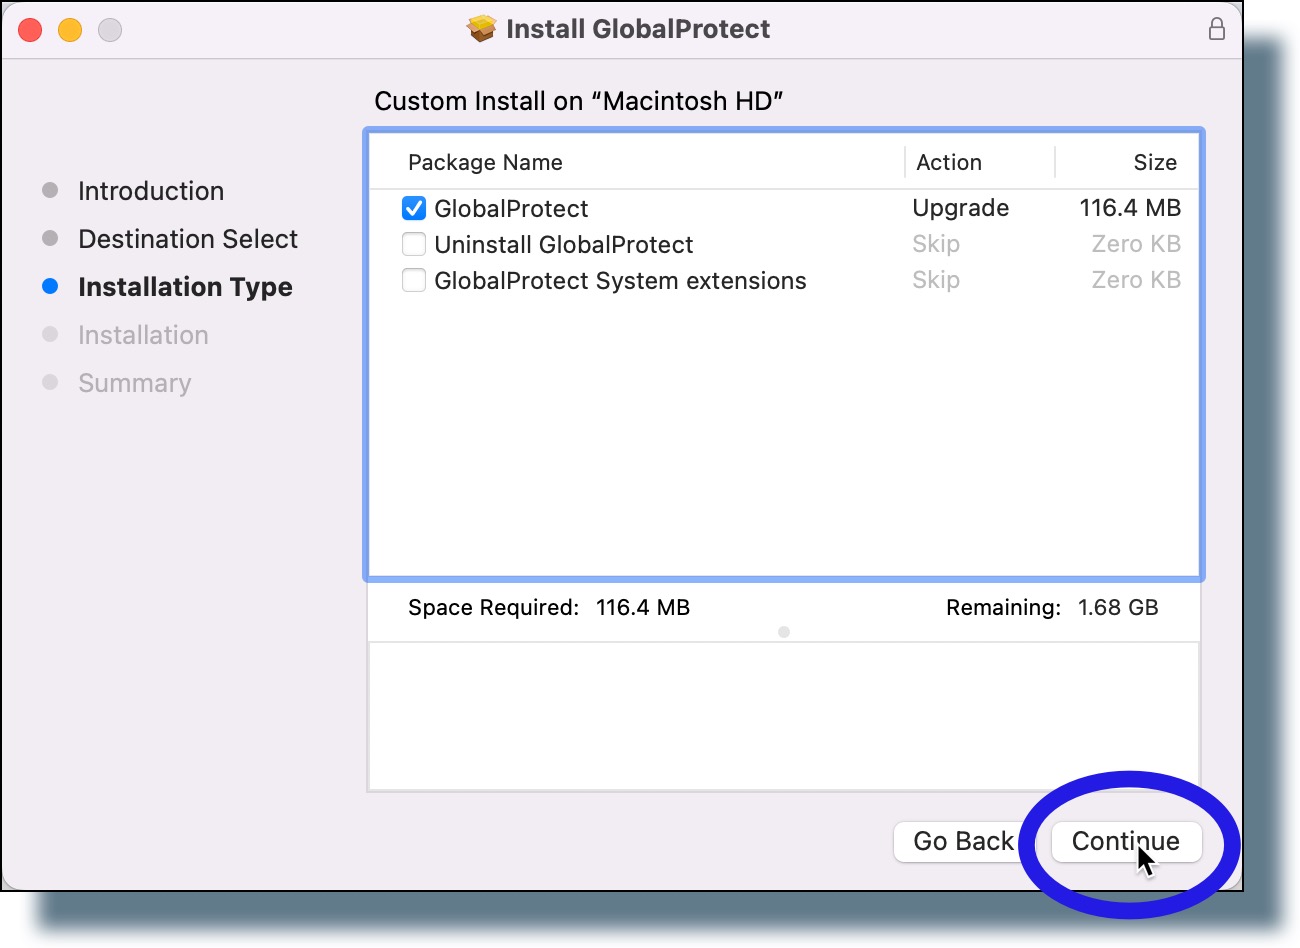
- In the next window, click Continue.
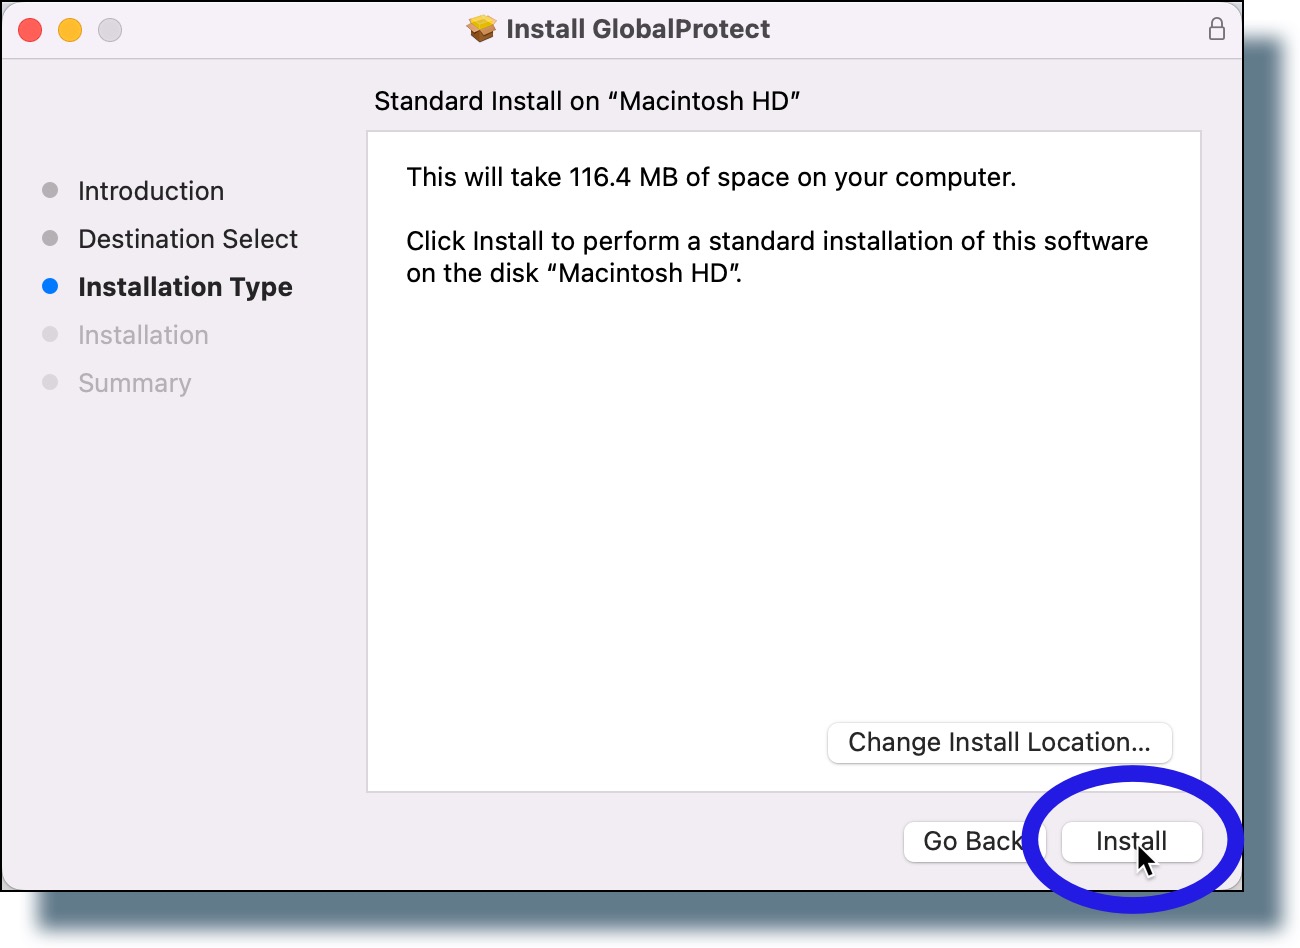
- In the next window, click Install.
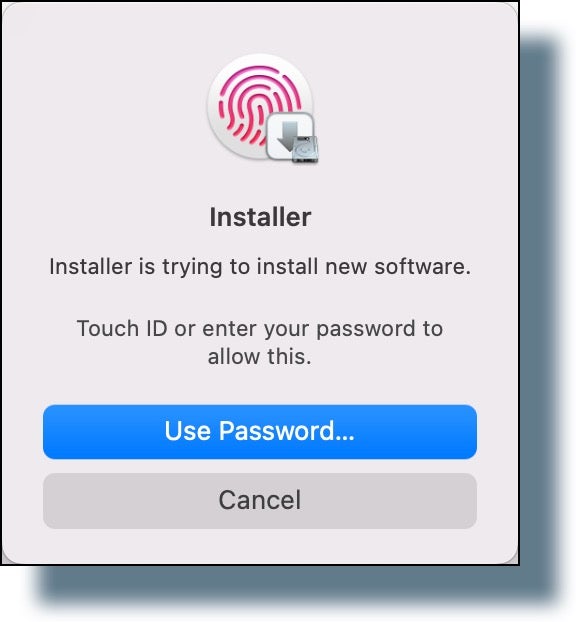
- In the pop-up window, choose whether to authenticate either by using Touch ID or by entering your Mac password.
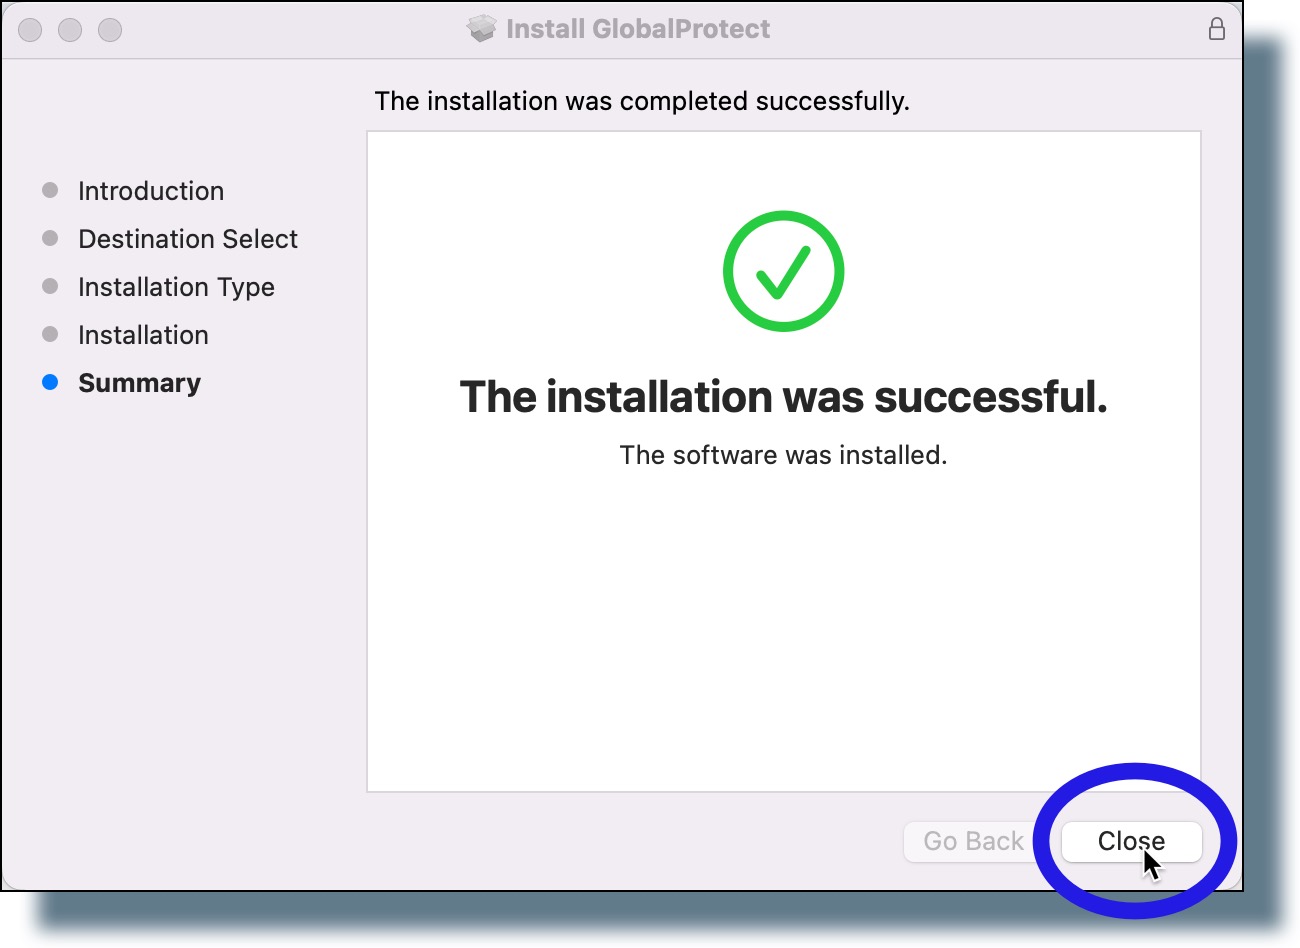
- After the installation completes, you should see the following confirmation window. Click Close.
- In the next pop-up window, click Move to Trash to move the installer file to your Trash folder.

- Go to the top of your computer screen to see the application icon for the GlobalProtect VPN, as shown highlighted below.

You can now connect to the GlobalProtect VPN.