Creating a Zip (Compressed) File
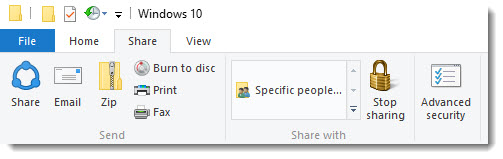
- In File Explorer, click on the Share menu. The Share ribbon is displayed.
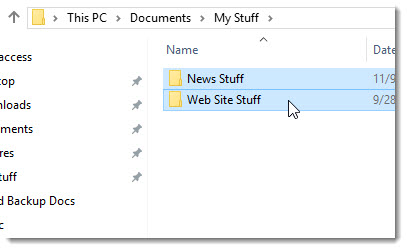
- Navigate to the folder where you want to create the Zip file.
- Select the item(s) (files and/or folders) you want to include in the Zip file. (in the example below, the folders “News Stuff” and “Web Site Stuff” are selected. Note: If you select folders, the contents of those folders will be included in the Zip file.)
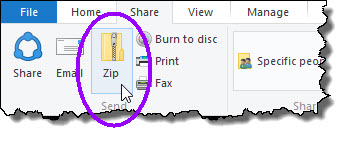
- In the Share ribbon, click on the Zip icon.
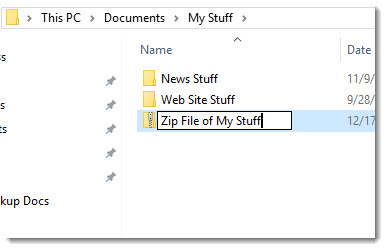
Windows creates a Zip file that contains your selected items.
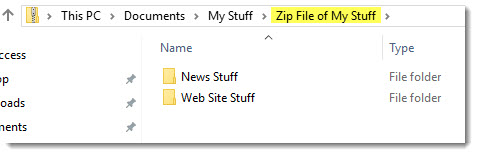
- Enter a name for your Zip file. (Windows might arbitrarily give your Zip file the name of the current folder.)
- If you want to verify the contents of the Zip file, just double-click on the folder. You’ll see the contents of the Zip file, as shown in the example below.