Installing the Free Printer (Windows)
Once you install the plug-in for your computer, you’ll be able to take advantage of free printing at any public printer on campus.
Notes:
- You will need to delete the “UIS Free Printing” printer (if you previously installed it) before you can install the new “UIS Free Printing 2017” printer.
- Your computer must be connected to SaxaNet before you can install the printer.
- Go to the GU Box page containing the free printing printers. (You might be prompted to log in to your GU Box account if you’re not already logged in. If prompted to log in, enter your NetID and password.)
- From the Box page displayed, double-click on the file Win UIS Free Printing 2017.exe.
- Download to your computer.
- Open a File Explorer window, navigate to where you saved the file, and then double-click on the file listing.
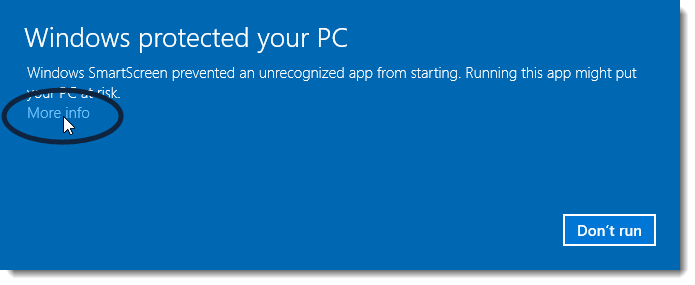
- If you see the following screen, click on the More info link.
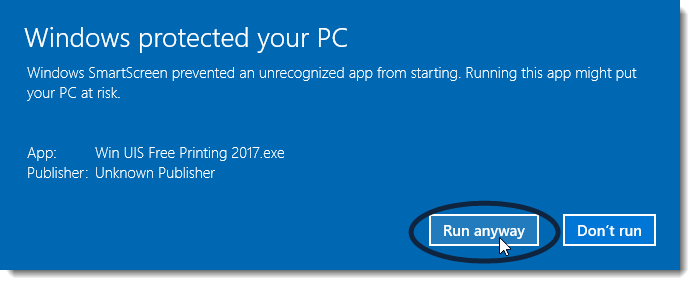
- In the same screen, click the Run Anyway button.
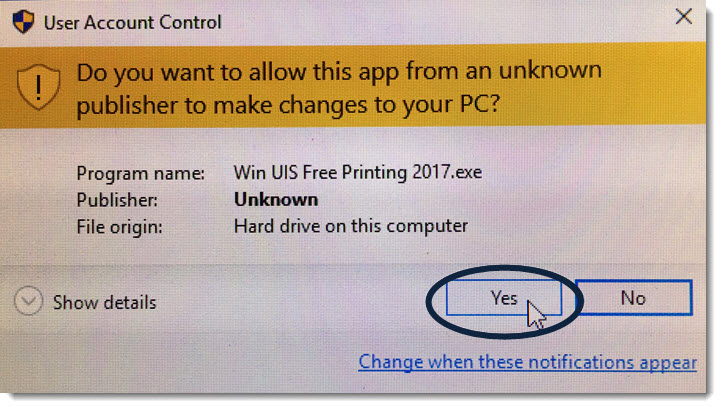
- In the following User Account Control screen, click Yes.
- In the next screen, click Install.
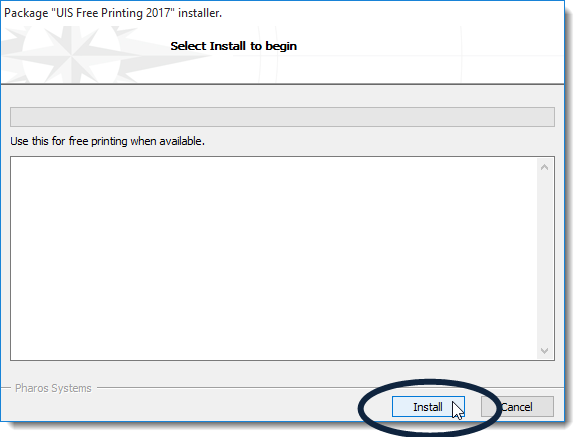
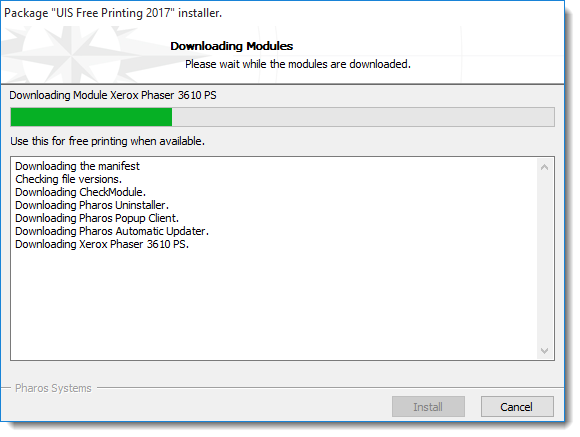
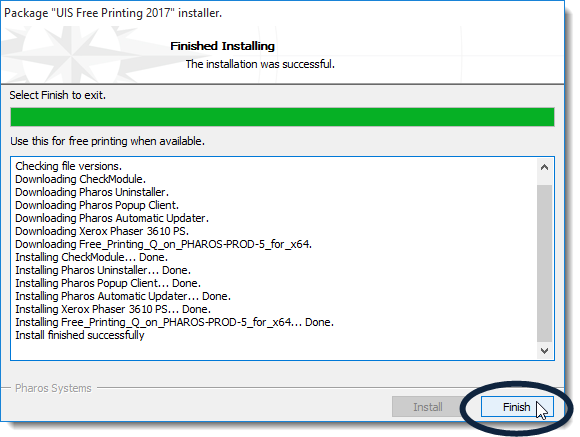
The installation process begins.
- After a few moments, you should see the following message that the installation was completed successfully. Click Finish.