Clone of Adding a Network Printer to Your Windows Computer-DRAFT
Note: Make sure you’ve first *** installed the Xerox Global Print Driver ***.
- Click on the Windows logo, and then select Settings.
win-addprinter1
- In the “Settings” window, click on Devices.
win-addprinter2
- In the “Devices” window, make sure Printers & Scanners is selected, then click on Add a printer or scanner.
win-addprinter3Windows searches for nearby printers or scanners.
- Click the link the printer I want isn’t listed if you don’t see your printer listed.
win-addprinter4
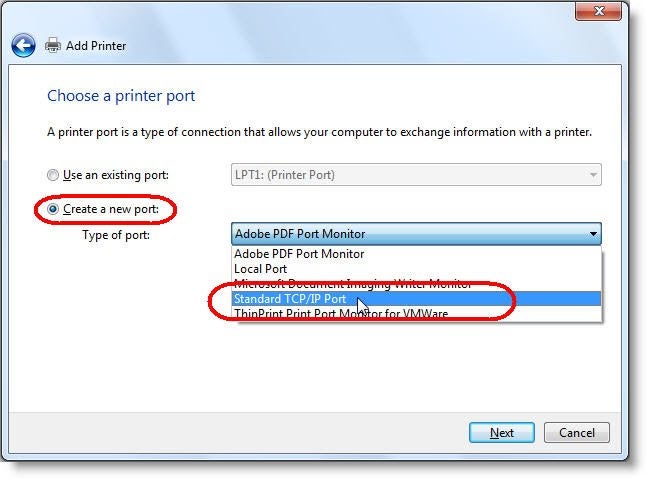
4. Select Create a new port, and then select Standard TCP/IP Port from the drop-down menu. Click Next when you’re done.
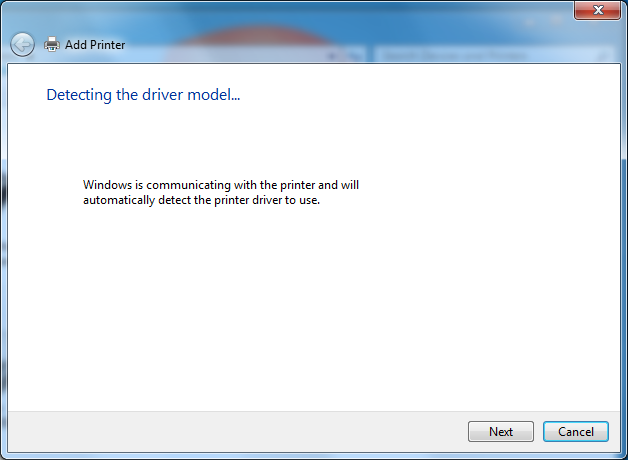
5. Enter the IP address of your printer. (Note: You can obtain your printer’s IP address by referring to the IP address lookup table for your location.) Select the option Query the printer and automatically select the driver to use. Click Next when you’re done.

Note: If the printer is not automatically detected, please select the Manufacturer and Driver in steps 6 and 7 below.
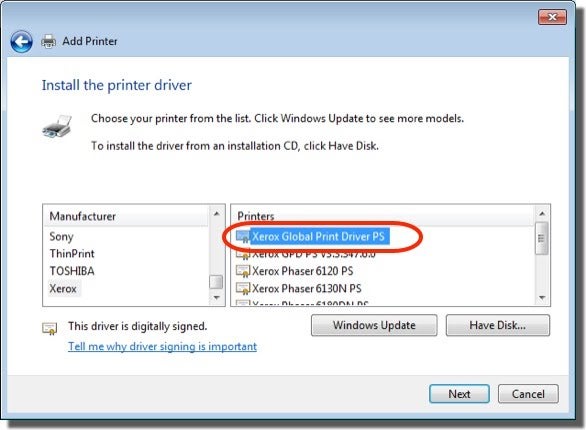
6. Scroll down to Xerox under Manufacturers.
7. Select Xerox Global Printer Driver PS and then click Next. (Note: If you see more than one listing for Global Print Driver, select the one with the most recent date.)
Notes:
- The global print driver will enable you to perform only basic printing functions on a multi-function printer. To perform advanced functions, download and install the print driver for that printer.
- If the Xerox Global Printer Driver PS is not available, you will need to download and install the Xerox driver by performing the following steps:
- Go to https://georgetown.box.com/s/oahoapi4dj11fclwxjn2 and download the appropriate driver for your system.
- Double-click the downloaded file to start the installation process.
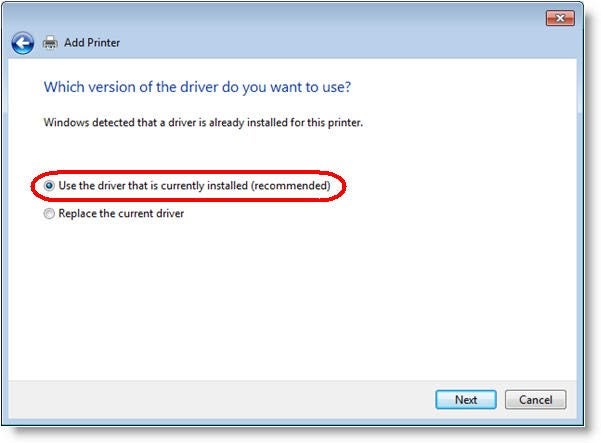
8. Select the option Use the driver that is currently installed (recommended).
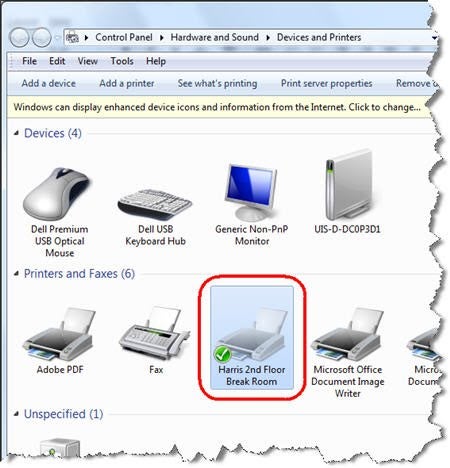
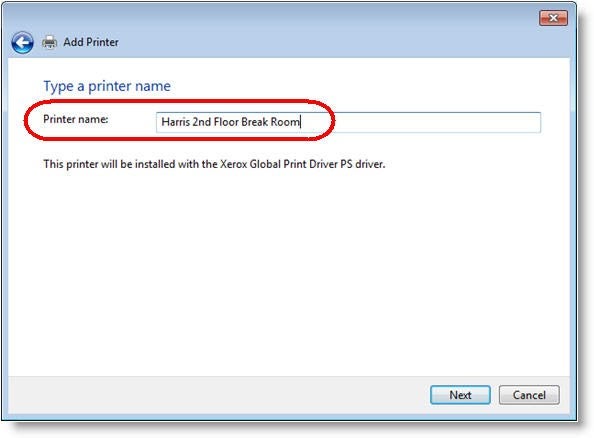
9. Enter a descriptive name for the printer in the text box next to Printer name. (In the example below, “Harris 2nd Floor Break Room” is entered as the printer name.)
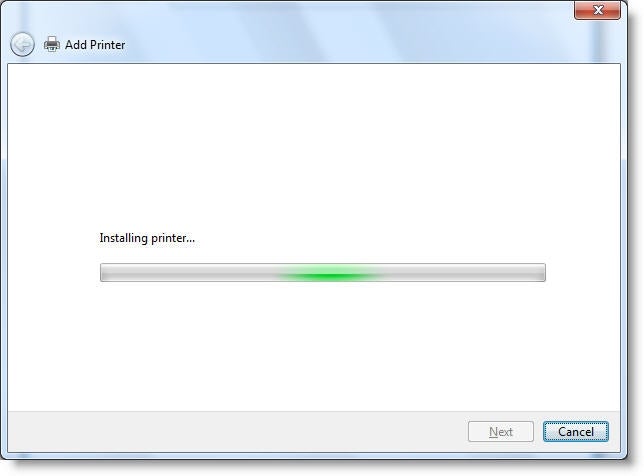
The following window will be displayed:
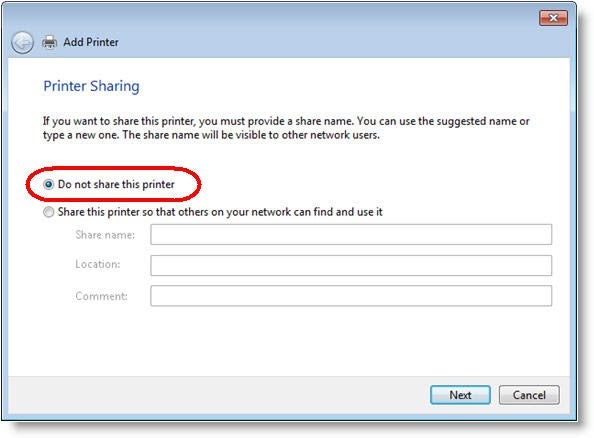
10. Select the option Do not share this printer and then click Next.
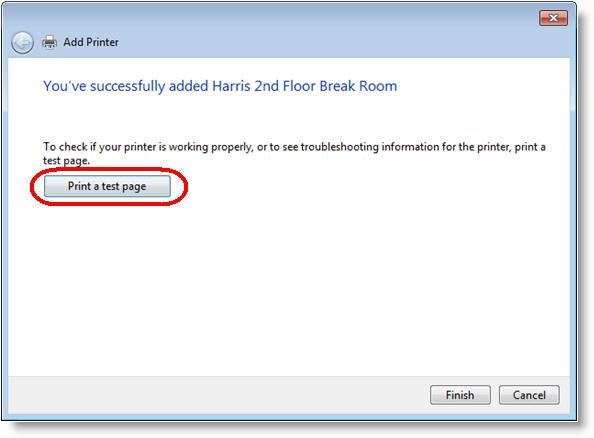
11. If the printer was added successfully, you should see the following confirmation message. Click Print a test page to confirm that you can print to the printer.
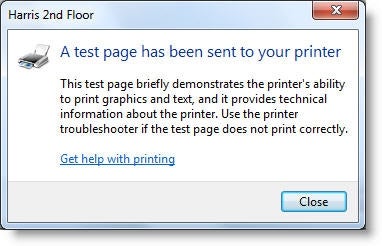
12. Click Close in the following window.
13. Click Finish.
14. If you want, you can view the new printer listing by clicking the Start button and then clicking on Devices and Printers. You should see the entry for your printer. (In the example below, the entry for printer “Harris 2nd Floor Break Room” is shown.)