
Clone of Adding a Network Printer to Your Mac Computer-DRAFT
Perform the following steps to download and install the basic print driver software for your printer. This print driver will enable you to perform basic printing functions on a multi-function printer. To perform advanced functions, download and install the print driver for that printer.
- Click here to download the Mac printer driver installer file.
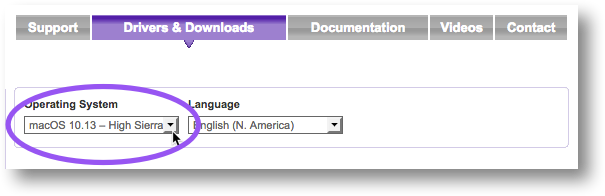
- On the Xerox support page, select your Mac OS by clicking on the arrow next to the Operating System drop-down menu. (Note: The installer supports Mac OS X 10.11 – Mac OS X 10.13.) A link to the appropriate driver for your Mac OS will be displayed.
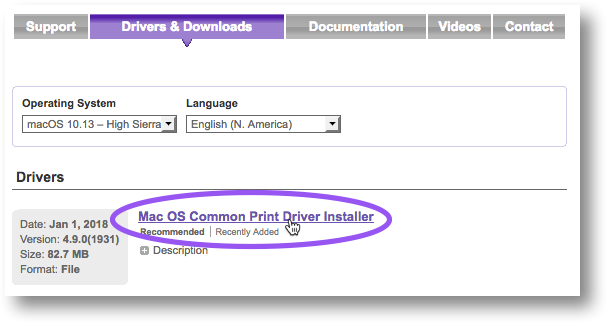
- Click on the link Mac OS Common Printer Driver Installer.
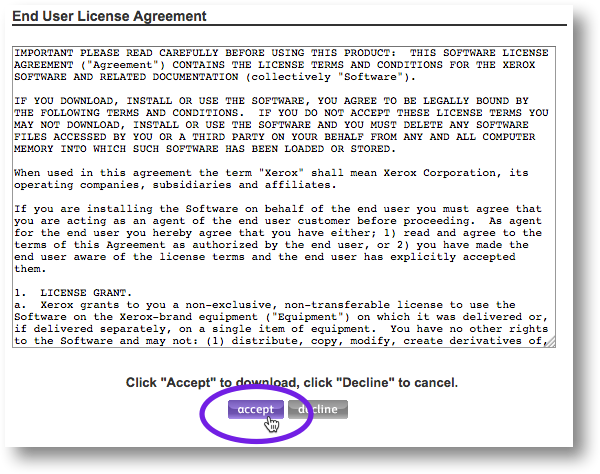
- On the next page, click accept to accept the license agreement.
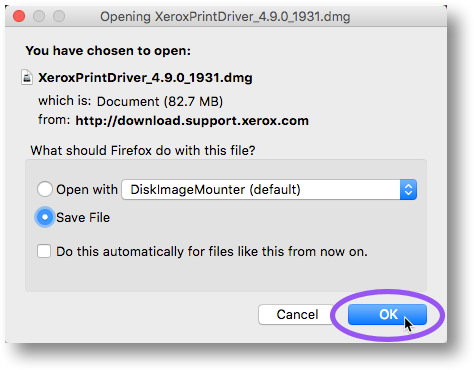
- In the pop-up window, select Save File and then click OK. (The file will be saved to your Downloads folder.)
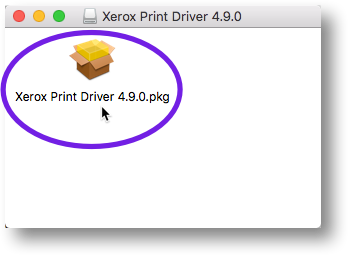
- In a Finder window, go to your Downloads folder and then double-click on the installer file, XeroxPrintDriver_4.9.0_1931.dmg. After a few moments, a new Finder window will open containing the file package Xerox Print Driver 4.9.0.pkg.
- Double-click on the file Xerox Print Driver 4.9.0.pkg.
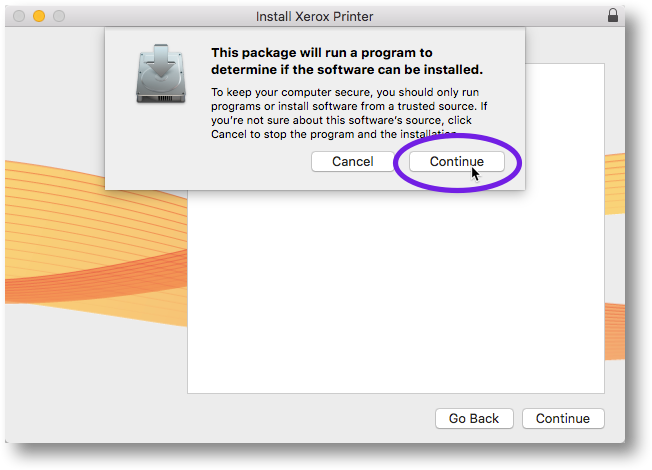
- In the next window, click Continue.
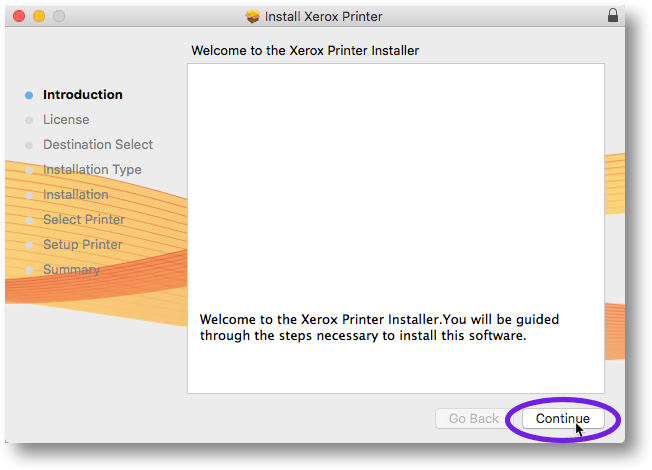
- In the Xerox Printer Installer welcome window, click Continue.
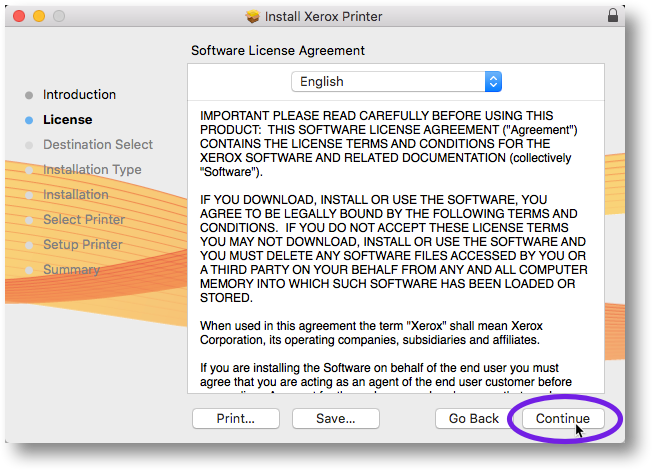
- Click Continue to accept the license agreement.
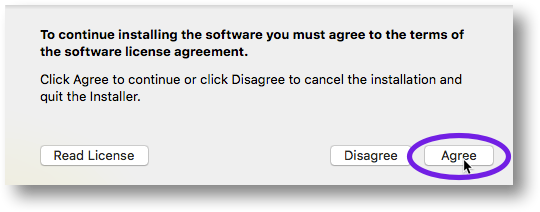
- In the next window, click Agree.
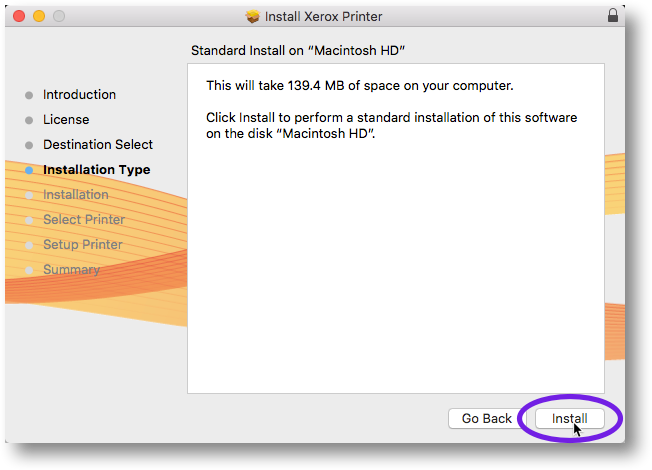
- In the next window, click Install.
-
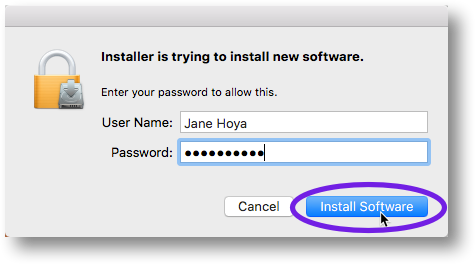
Enter your Mac user name and password at the prompt (this is not the same as your NetID and password), and then click Install Software. In the example below, “Jane Hoya” is the user name. (Note: The installation process may take several minutes to complete.)
-
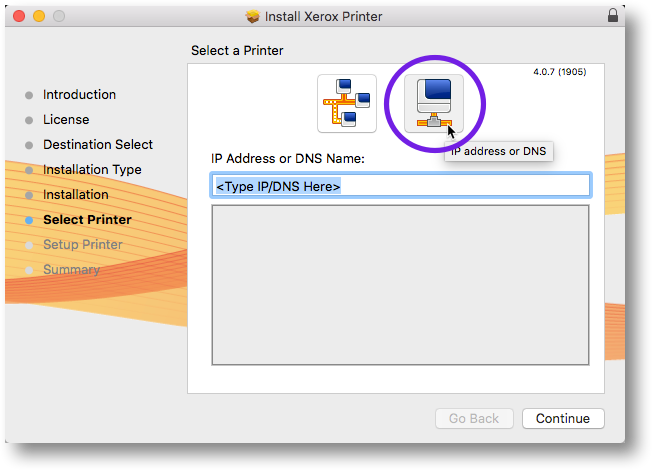
Enter your printer’s IP address in the text area below IP Address or DNS Name. (Note: You can obtain your printer’s IP address by referring to the IP address lookup table for your location.)
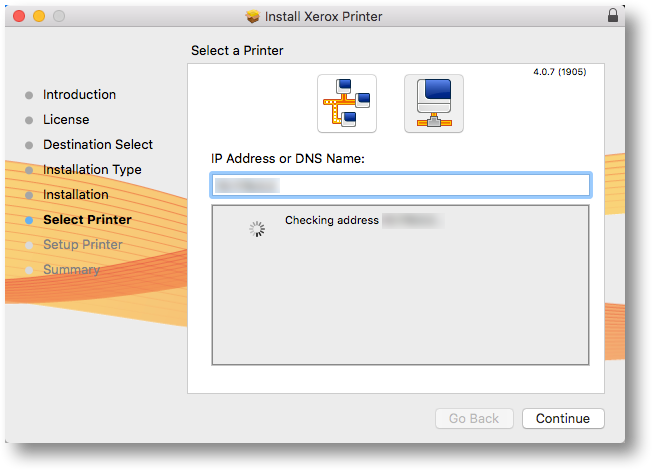
The installer will automatically check the IP address you entered, as shown below.
-
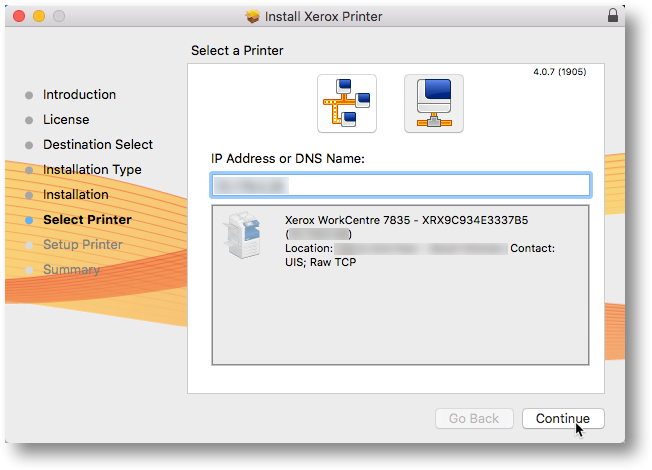
If you entered the correct IP address, the printer model and location (e.g., your department office) will be displayed in the window. Verify that this information is correct, and then click Continue.
-
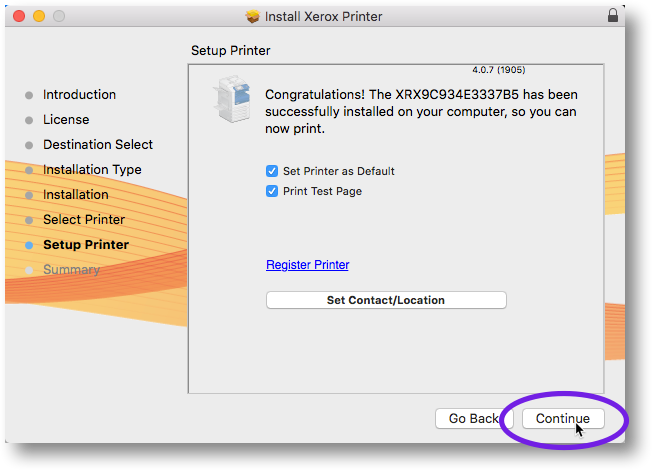
If the installation was successful, the confirmation message shown below will be displayed. Click Continue.
-
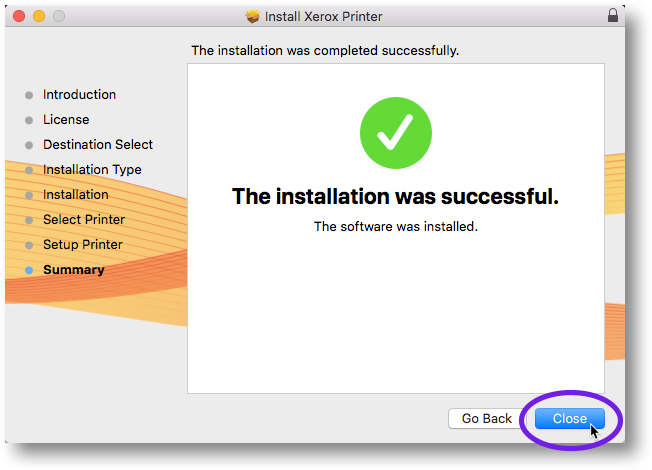
Click Close in the next window to complete the installation.